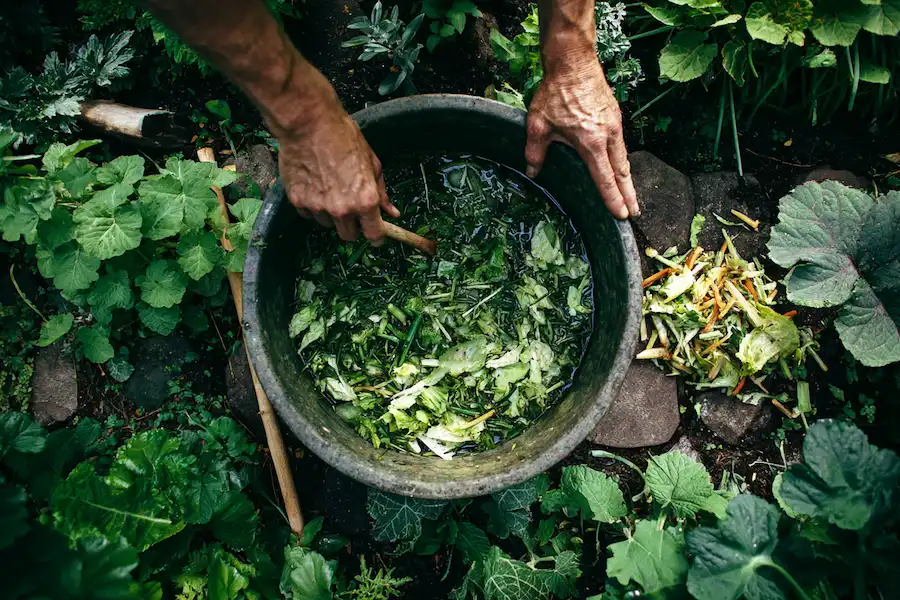
Turn Garden Weeds and Kitchen Scraps into Powerful Liquid Fertilizer
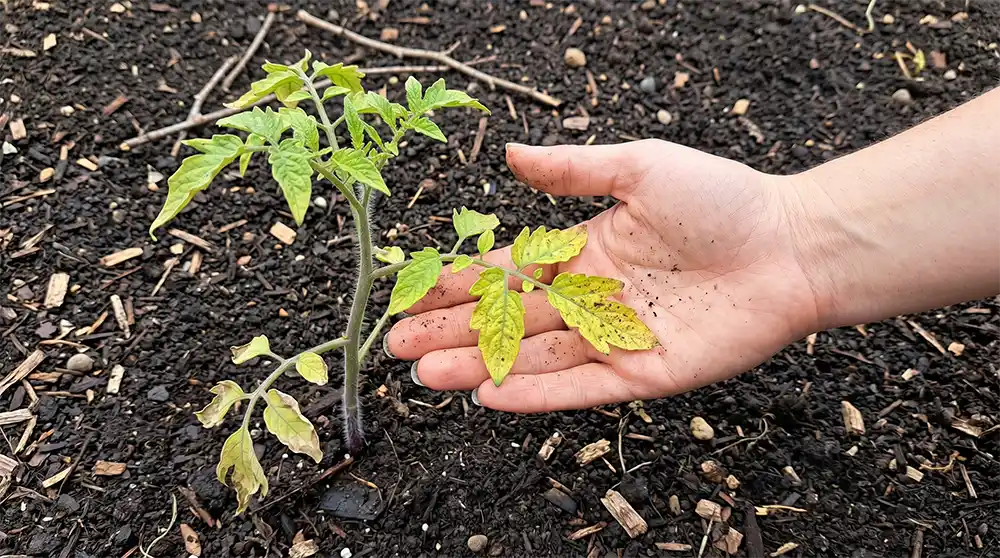
Keeping plants healthy doesn’t require expensive chemical fertilizers. With just a few simple steps and materials you already have at home, you can make a nutrient-packed liquid fertilizer that promotes vigorous plant growth, improves soil health, and helps your garden thrive — all while reducing waste.
This natural liquid fertilizer is made from a combination of fresh garden weeds and kitchen scraps, and the process is surprisingly easy. You don’t need fancy tools, and the results are fast, effective, and eco-friendly.
Why This Fertilizer Works
Both garden weeds and leftover vegetable peels are rich in essential plant nutrients. Weeds often contain minerals like nitrogen, potassium, calcium, and phosphorus, while kitchen scraps add organic matter and beneficial microbes to the mix. When these ingredients are fermented in water, the nutrients are released and transformed into a potent liquid that your plants can absorb quickly.
What You’ll Need
- A variety of fresh weeds (dandelions, clover, chickweed, grass clippings, etc.)
- Vegetable scraps: peels, stems, leaves from carrots, cabbage, lettuce, potatoes, etc.
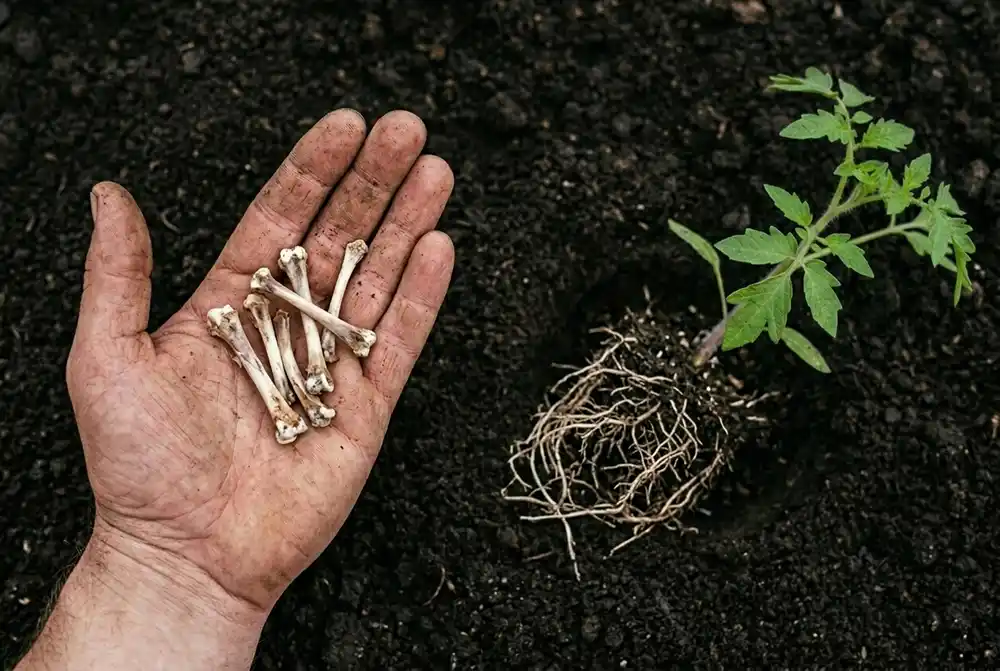
- Bone meal (optional but highly recommended)
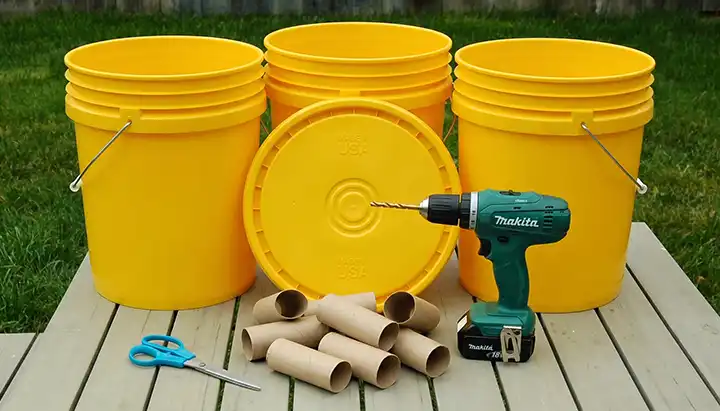
- A 5-gallon bucket (or any large container with a lid)
- Rainwater or non-chlorinated water
- Compost or aged manure (optional, to boost fermentation)
- A mesh bag or old pillowcase (for easier cleanup)
- A stick or long spoon for stirring
Step-by-Step Instructions
Step 1: Collect and Prepare the Ingredients
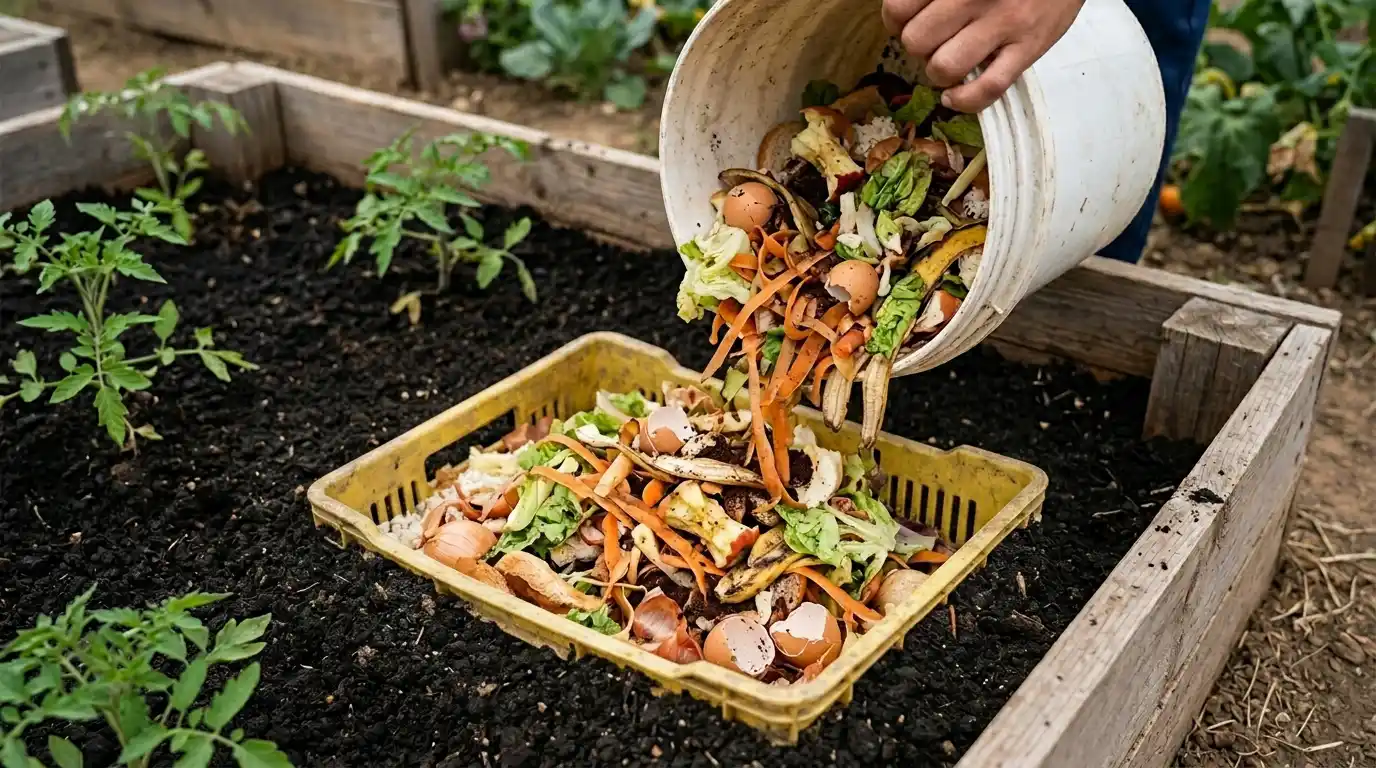
- Gather fresh weeds from your garden or yard. Choose a variety — different weeds bring different nutrients.
- Collect vegetable scraps from your kitchen. Avoid oily or salty food leftovers; stick to raw vegetable waste.
- Chop everything into small pieces. This increases the surface area and helps the breakdown process happen faster.
Step 2: Create the Mix
- Start layering chopped weeds and vegetable scraps at the bottom of your bucket.
- If you have compost or manure, sprinkle a thin layer over the scraps — this jumpstarts microbial activity.
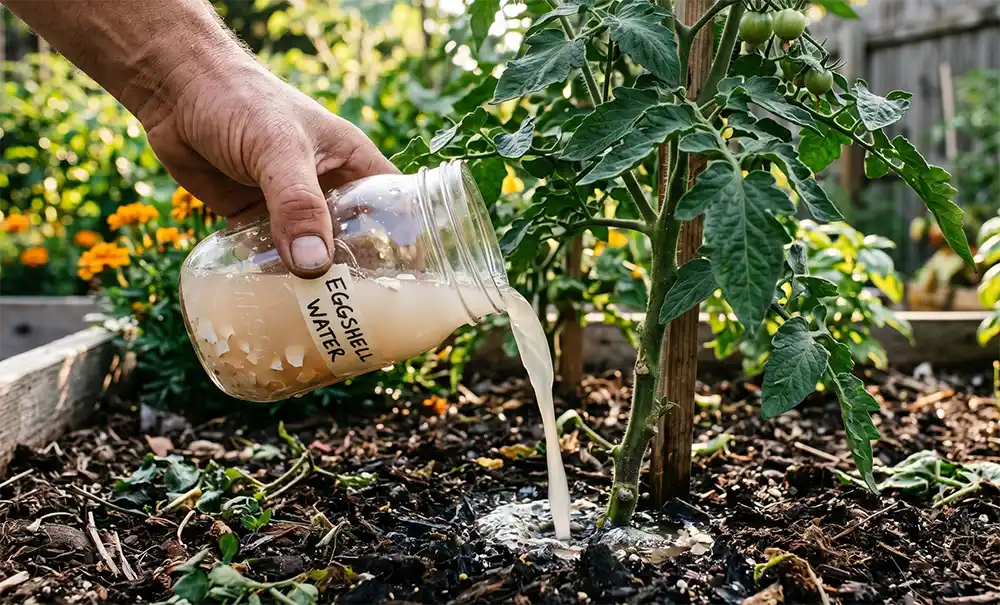
- Optional: Add 2-3 tablespoons of bone meal to the bucket. Bone meal adds phosphorus and calcium, which support strong roots and fruiting.
- Repeat layers until the bucket is about half full.
Step 3: Add Water
- Pour rainwater or non-chlorinated water into the bucket until it fully covers the mixture.
- Tap water often contains chlorine, which can harm beneficial microbes. If using tap water, let it sit uncovered for 24 hours before using.
Step 4: Optional – Use a Pouch
- You can place all chopped materials into a mesh bag or old pillowcase before adding them to the bucket. This will act as a tea bag, making cleanup and filtering easier later.
Step 5: Let It Ferment
- Stir the mixture well to distribute materials evenly.
- Cover the bucket loosely with a lid to allow airflow — fermentation needs a little oxygen.
- Place the bucket in a shaded, warm spot and leave it for 7 to 14 days.
- Stir it every few days to keep the fermentation going.
How to Tell It’s Ready
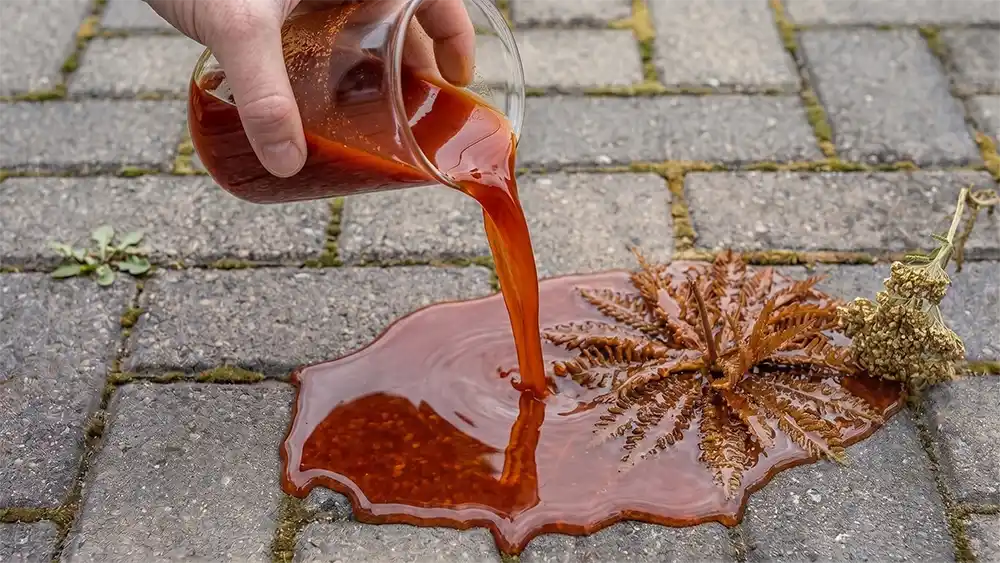
After a week or two, the mixture should have a strong earthy or compost-like smell — this is completely normal. The liquid will be dark and rich, filled with nutrients your plants will love.
If you used a pouch, simply remove it. If not, strain the liquid using a cloth or sieve.
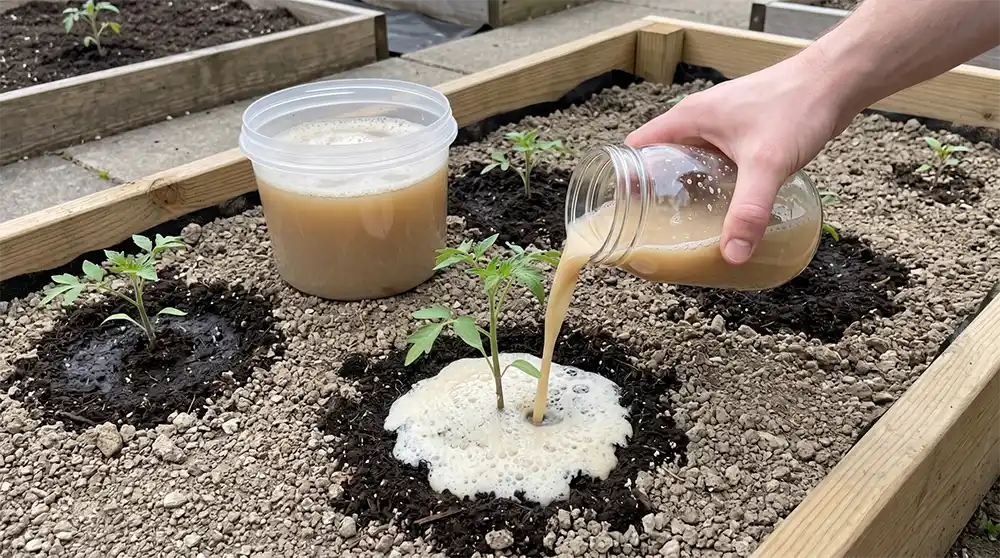
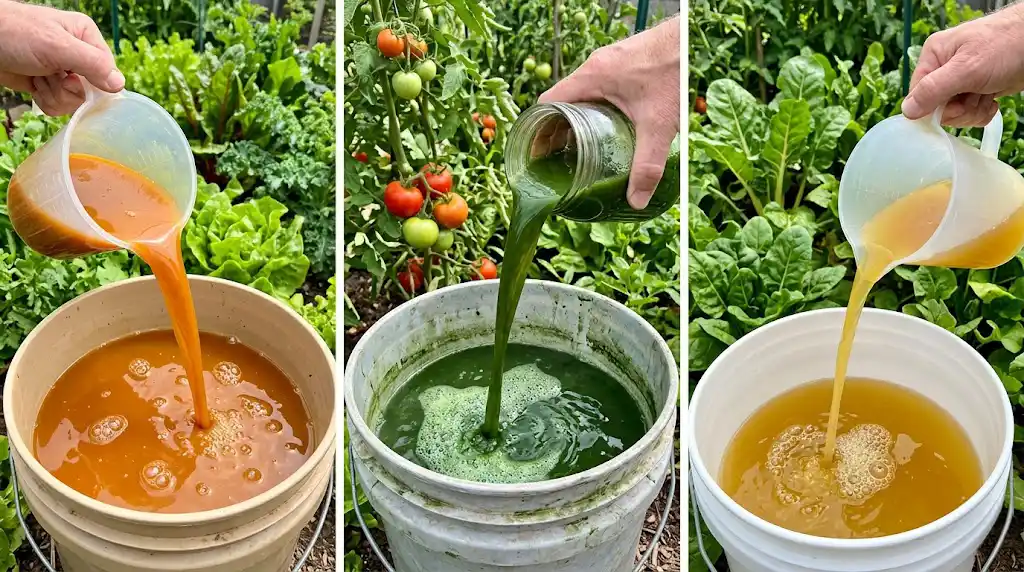
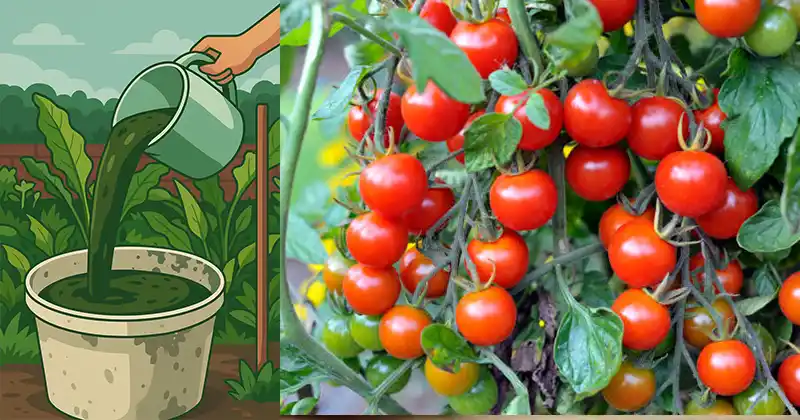
How to Use the Liquid Fertilizer
Important: Always dilute before use.
This fertilizer is highly concentrated and must be watered down to avoid harming plants.
✅ Dilution Ratio: 1 part fertilizer to 10 parts water.
You can use it:
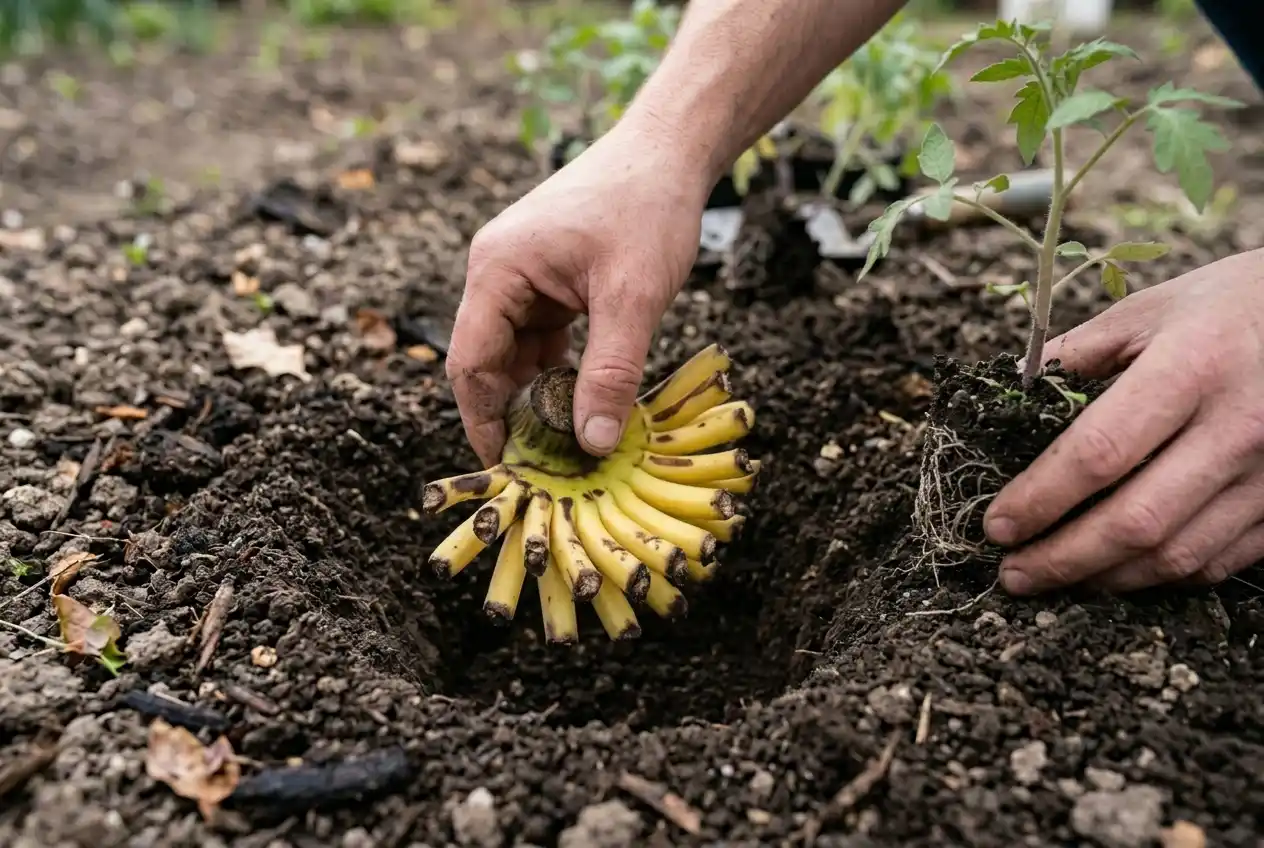
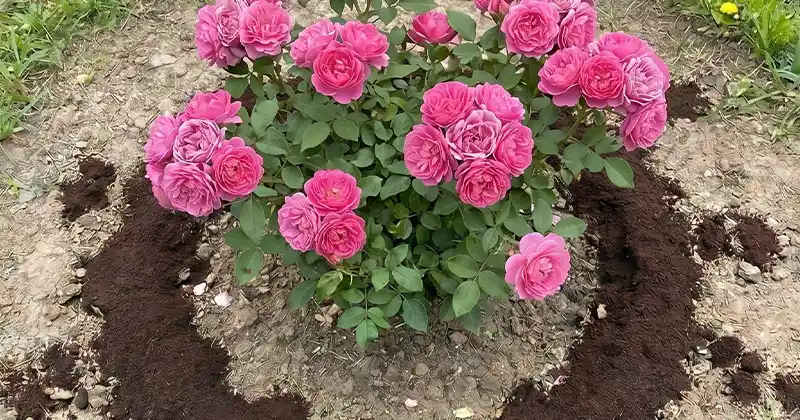
- As a soil drench: Pour around the base of plants.
- As a root booster: Especially during transplanting or early growth stages.
- For flowering and fruiting plants: The phosphorus from bone meal will help.
Benefits of This Natural Fertilizer
- Fast Nutrient Absorption – The liquid form allows roots to absorb nutrients almost immediately.
- Promotes Healthy Growth – Helps plants grow bigger, stronger, and greener.
- Boosts Root Development – Bone meal adds calcium and phosphorus, ideal for flowers and fruits.
- Improves Soil Health – Beneficial microbes in the mix enhance soil structure and fertility.
- Reduces Waste – Recycles garden weeds and kitchen scraps into something useful.
- Saves Money – No need to buy expensive synthetic fertilizers.
- Eco-Friendly – Supports a natural, sustainable approach to gardening.
Tips and Reminders
- Use it during the growing season for best results — when plants need nutrients most.
- Avoid using it on hot sunny days — apply early in the morning or in the evening.
- Store the liquid in a cool shaded place and use within a month for optimal potency.
- You can repeat the process with new scraps every few weeks to keep a steady supply.

This simple homemade liquid fertilizer turns what many people throw away — weeds and vegetable peels — into a powerful tonic for plants. It’s easy to make, cost-effective, and kind to the environment.
If you’re looking for a way to feed your plants naturally while reducing waste from your kitchen and garden, this method is one of the most practical and rewarding solutions.
Disclaimer: Always test new fertilizers on a small patch of your garden before widespread use. This ensures your plants tolerate it well, especially if you use strong kitchen scraps like onion or garlic peels.