A Simple DIY: Kitchen Waste to Compost and Liquid Fertilizer

Composting your kitchen waste is a sustainable and fulfilling practice that can dramatically minimize the amount of waste sent to landfills while producing nutrient-rich soil for your cherished plants. In this comprehensive guide, we will delve into an innovative dual-purpose composting method. This method not only yields top-notch compost but also provides you with a valuable liquid fertilizer. It’s an eco-friendly win-win!
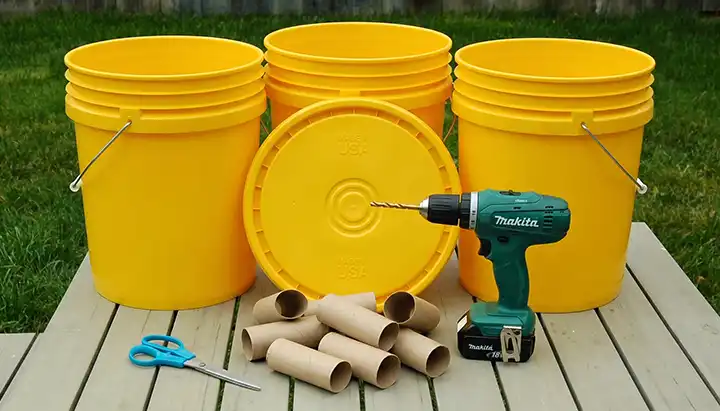
Materials You’ll Need
- Two buckets or containers (one should fit comfortably inside the other).
- A lid for the outer bucket to safeguard against pests.
- Small drain holes in the inner bucket.
- A faucet.
- Compost or soil.
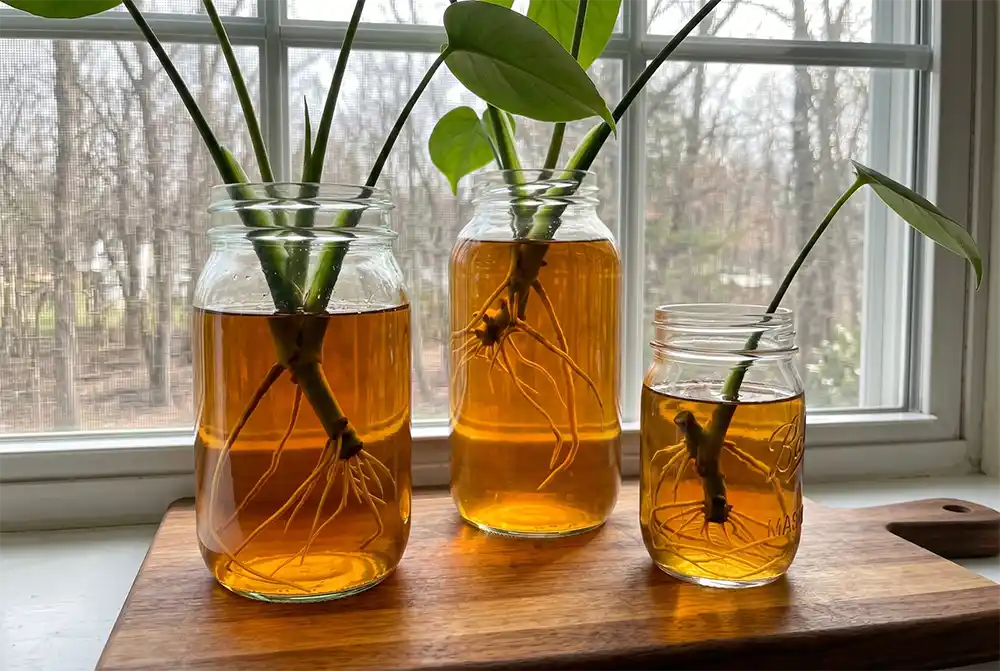
- Kitchen waste (think vegetable scraps, eggshells, fruit peels, coffee grounds, and more).
- Phosphate-solubilizing bacteria (PSB).
- A 1.5-liter bottle with a cap.
- A tool for mixing the compost.
Setting Up the Composting System
1. Prepare the Buckets: Start by outfitting the inner bucket with small drain holes to enable excess moisture to escape. Nestle this bucket inside the outer one, ensuring there’s space at the bottom for liquid collection. Approximately 10 cm from the bottom of the inner bucket, create a hole large enough for the faucet. Install the faucet here; it will collect the valuable liquid produced during composting.
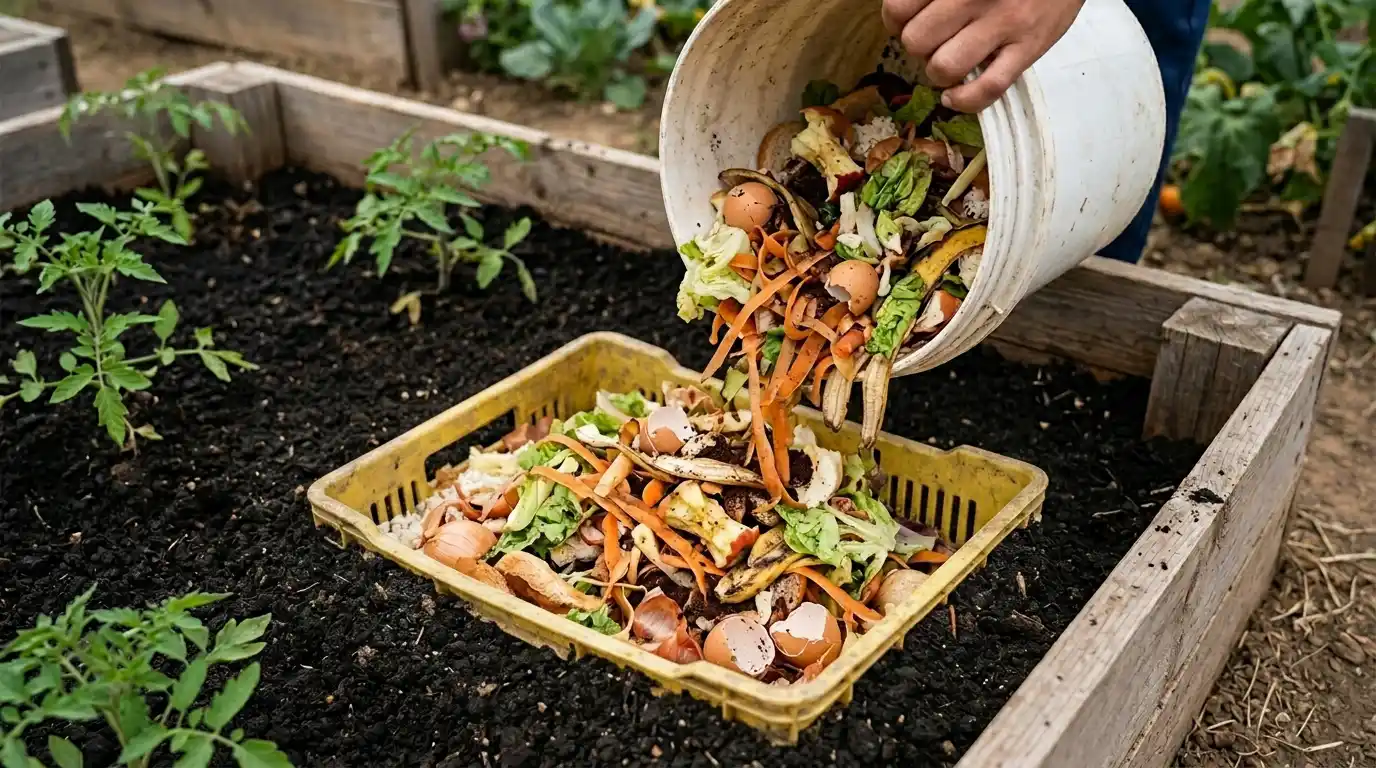
2. Layering the Compost: Kickstart the composting process by adding a layer of kitchen waste into the inner bucket. Cover this layer with a healthy dose of compost or soil. This layering technique helps to expedite the decomposition process.
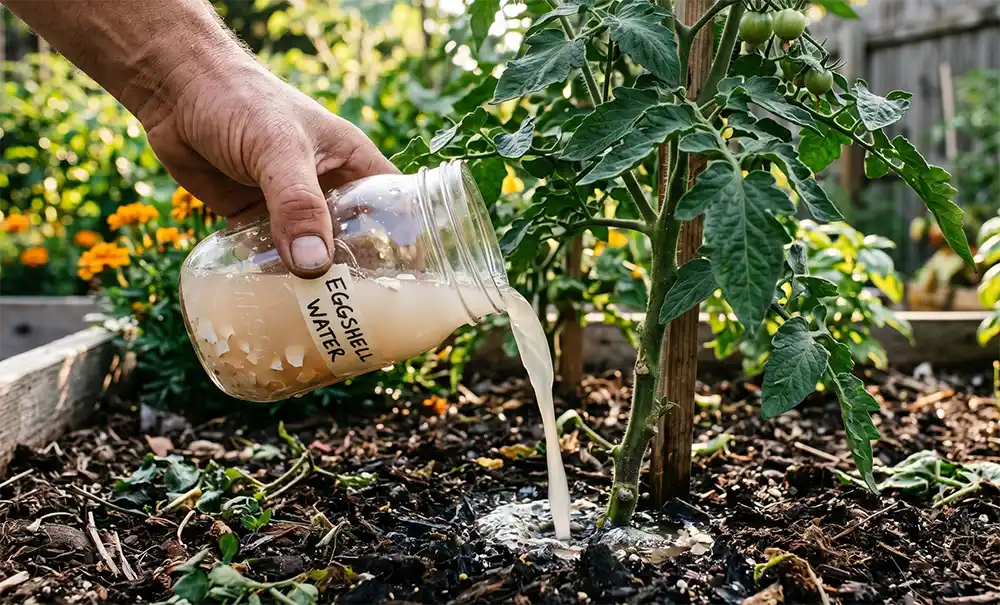
3. Applying the PSB Solution: Craft a PSB solution by mixing three caps of PSB with 1.5 liters of water. After piercing the cap of the 1.5-liter bottle multiple times, reseal it and shake to ensure thorough mixing. Gently pour this solution over the kitchen waste and compost in the inner bucket. The PSB serves a dual purpose by reducing unpleasant odors and aiding the decomposition process.
4. Initial Rest Period: Seal the inner bucket with its lid and let it sit for an initial resting period of 7 days. During this time, microorganisms start the vital task of breaking down the kitchen waste.
5. Mix and Add More Waste: After the 7-day resting period, open the inner bucket and use a tool to thoroughly mix its contents. Introduce more kitchen waste, cover it with another layer of compost, and seal the lid.
6. Repeat the Process: Continue this 7-day cycle for three additional iterations, resulting in a total of 30 days. To expedite the composting process, mix every 2-3 days. If possible, place the buckets in a sunny location to hasten decomposition.
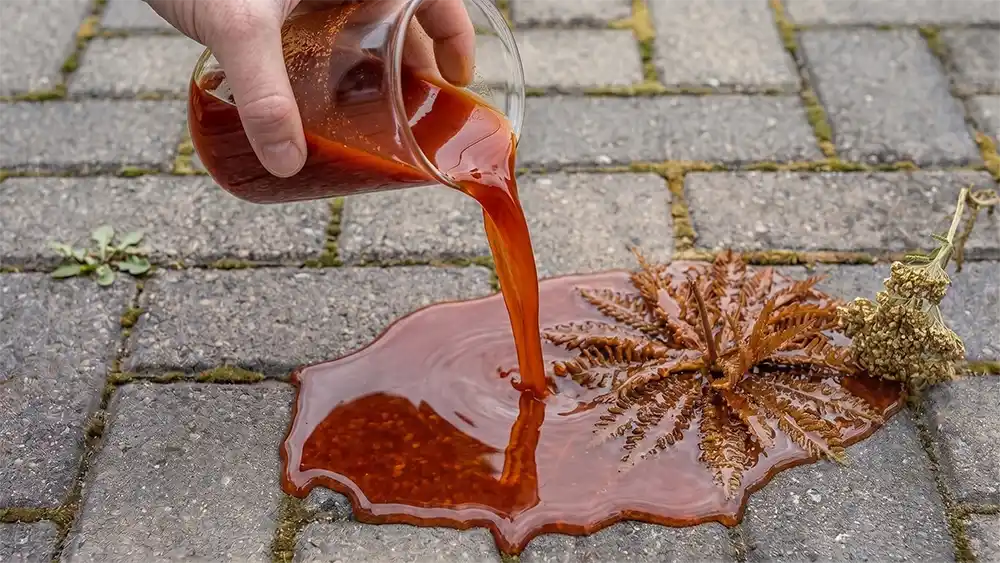
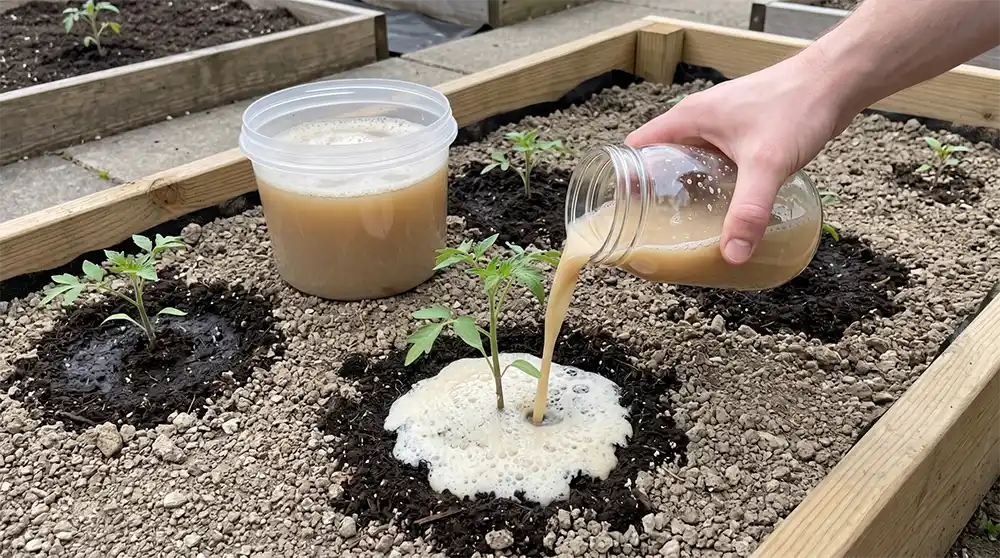
7. Harvest the Liquid Fertilizer: After 30 days, you’ll find nutrient-rich liquid fertilizer in the bottom bucket. Open the faucet to collect this precious liquid. Keep the buckets sealed for further composting.
8. Wait for Solid Compost: Allow the buckets to remain undisturbed for an additional 30 days, for a total of 60 days. At the end of this period, the top bucket will house nutrient-rich compost, while the bottom bucket will contain more liquid fertilizer.
Using Your Kitchen Waste Compost and Liquid Fertilizer
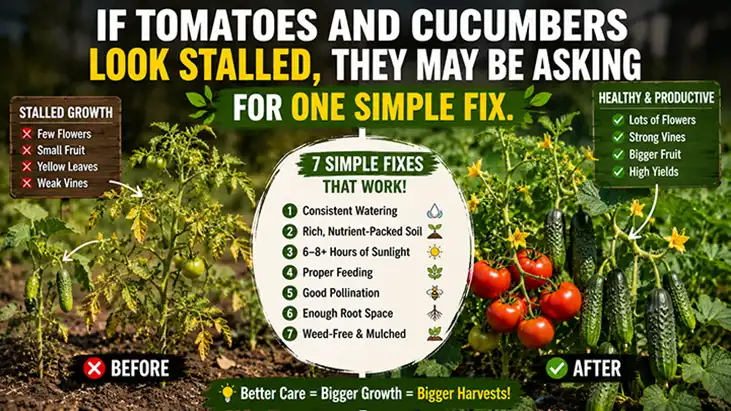
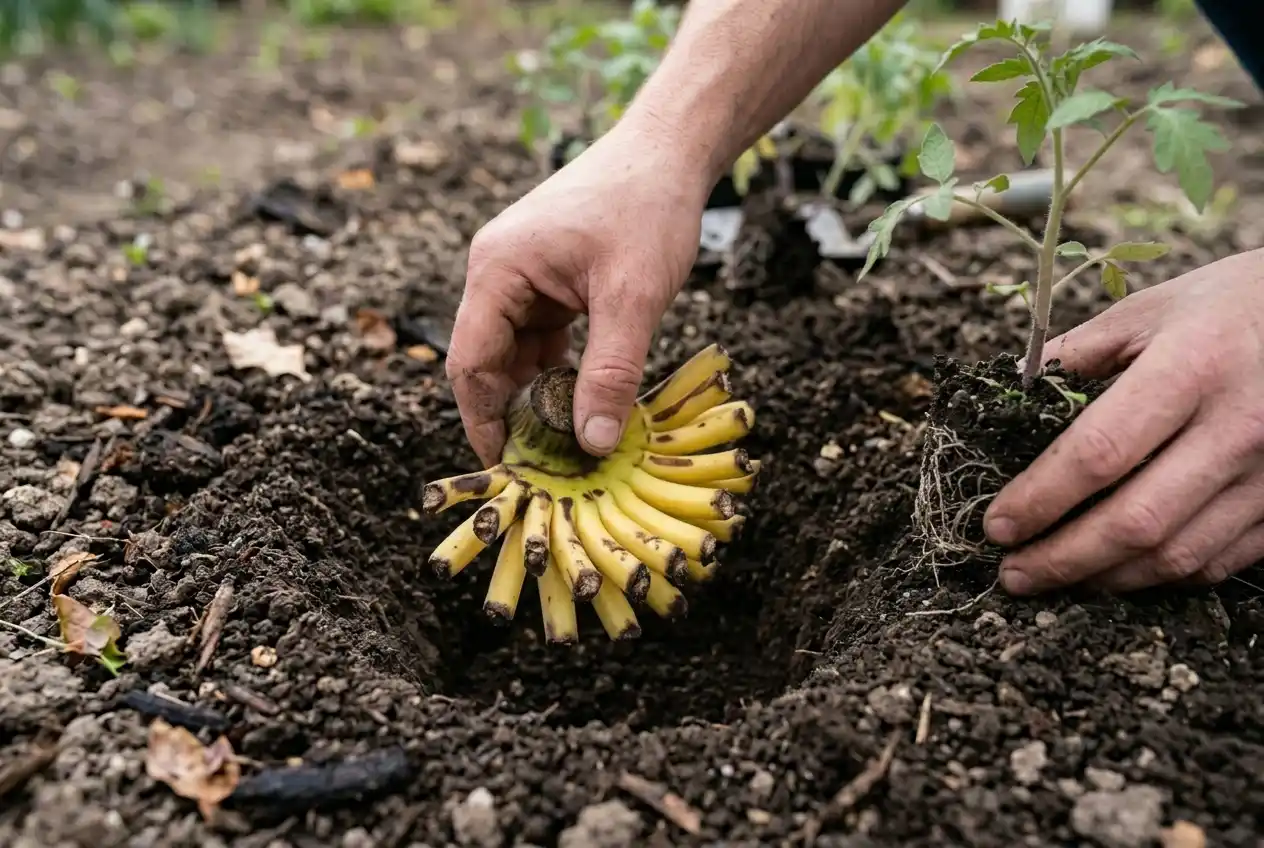
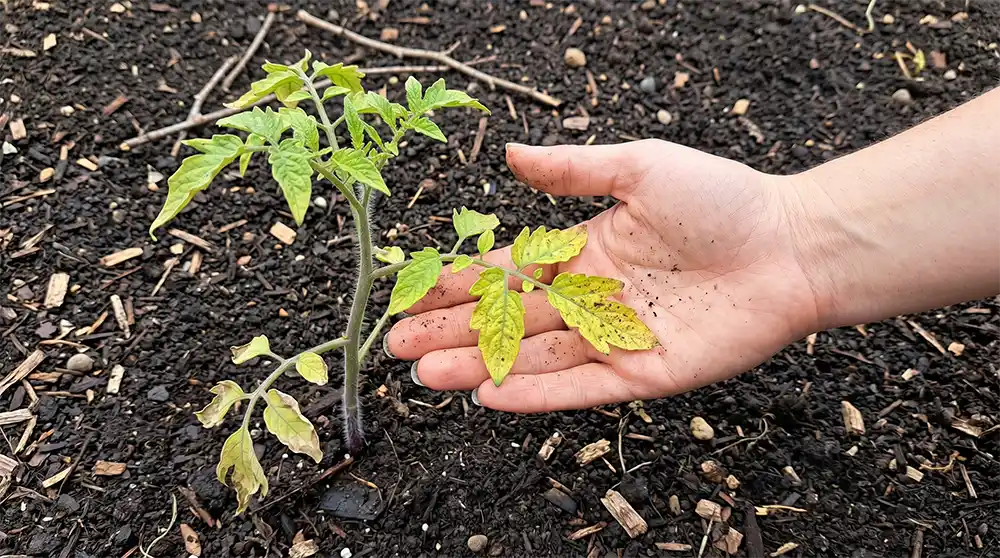
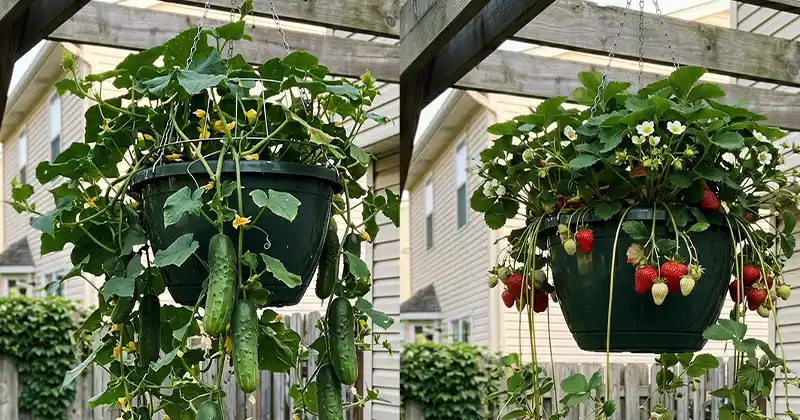
The kitchen waste compost is an exceptional source of nutrients for your plants. Simply apply the compost to your garden or potted plants to enhance soil quality, foster plant growth, and reduce the reliance on chemical fertilizers.
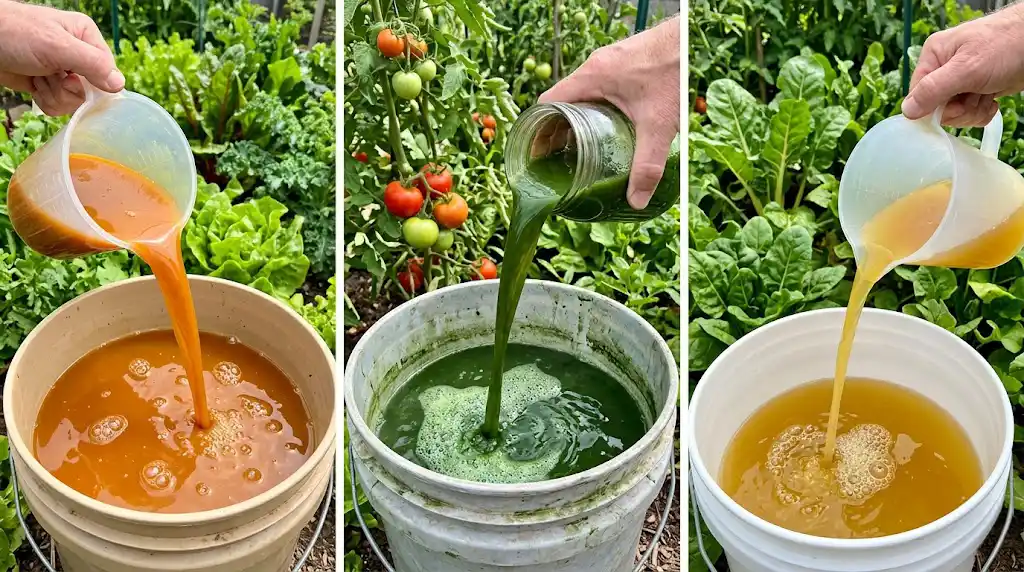
The liquid fertilizer you’ve gathered is a valuable asset for your plants too. Dilute it with water (usually at a ratio of 500 parts water to 1 part liquid fertilizer) and use it to nurture your plants, fostering vigorous growth and bountiful yields.
By embracing this two-in-one composting method, you not only diminish kitchen waste but also create organic, nutrient-rich resources that can enrich your garden while making a positive environmental impact. Enjoy the benefits of your sustainable efforts in composting!