How to Root Plant Cuttings Faster in Water with a Simple Living Propagation Method
Rooting plant cuttings in water is one of the easiest ways to multiply favorite garden plants, herbs, and ornamentals. The problem is that plain water does not always give fast or reliable results. Some stems sit for weeks before doing anything, while others weaken before roots can form. A better approach is to create a small propagation setup that gives the cutting steady moisture, oxygen, gentle biological activity, and a cleaner rooting environment.
This method uses a clear container, a shallow base layer, water, stones, and properly prepared cuttings to encourage quicker root formation. It is especially useful for plants that are commonly propagated from stem cuttings, such as jasmine, rosemary, lavender, oregano, hydrangea, bougainvillea, and hibiscus.
Why This Water-Rooting Method Works
A cutting needs the right balance of conditions before it can produce strong roots. It must stay hydrated without rotting, and it needs enough oxygen around the submerged stem to support healthy development. In this setup, the water container acts like a miniature propagation system rather than just a glass of water.
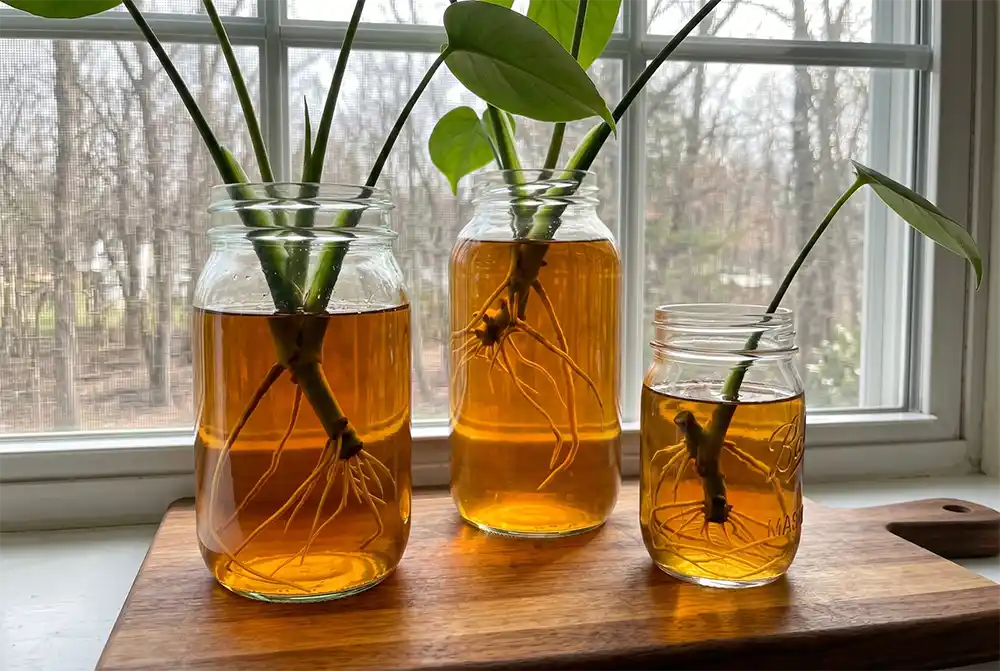
A transparent jar or cup is helpful because light can pass through the sides, creating a brighter environment around the water. At the bottom of the container, a thin layer of moist material and a few small stones create a more stable rooting base. Once the cutting is inserted, the stem remains hydrated while roots begin forming around the cut end and sometimes along the submerged stem.
What You Need
To prepare this method, gather the following:
- Clear plastic cups or glass jars
- A small amount of moist soil
- Small stones or pebbles
- Rainwater or dechlorinated water
- Fresh, healthy cuttings
- Optional green water from a natural outdoor source
- Synthetic fiber, filter floss, or similar breathable stuffing
Each container should match the size of the cutting. Short stems can go into small cups, while longer branches need taller containers so they stay hydrated and have enough room for future roots.
How to Prepare the Container
Begin by placing a thin layer of moist soil at the bottom of the container, roughly 1 centimeter deep. This layer does not need to be thick. Its job is simply to create a base where natural activity can develop without muddying the entire cup.
Add a layer of small stones or pebbles on top. These help keep the soil settled at the bottom, prevent it from drifting upward, and create support around the lower part of the stem.
Next, pour in rainwater if available. If you are using tap water, let it stand first so chlorine can dissipate. Fill the container about halfway, or enough so the lower portion of the cutting can stay submerged while the leaves remain dry.
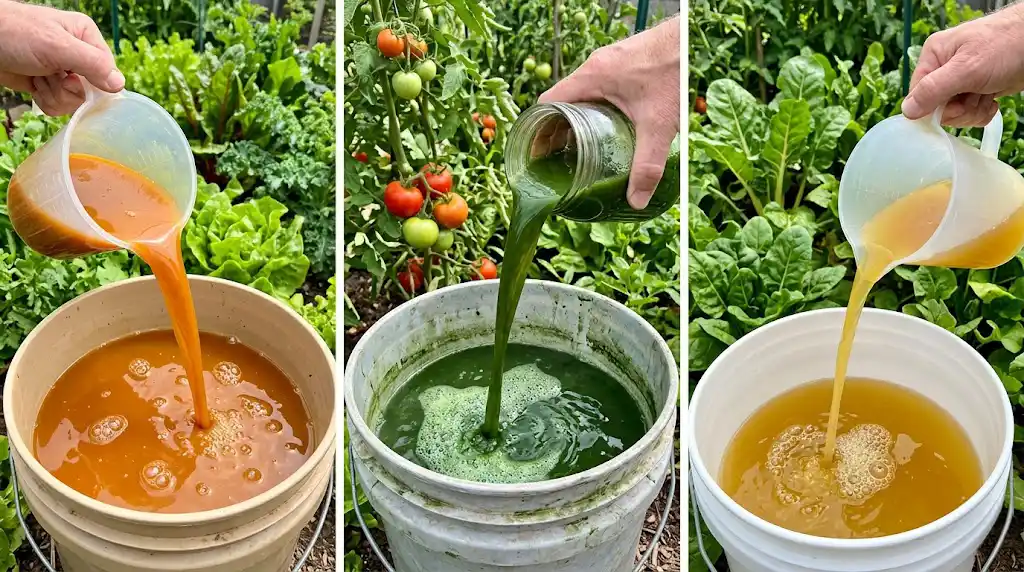
If you have access to green water from an outdoor tray, rain barrel, or another naturally active water source, adding a spoonful can help bring the setup to life more quickly.

How to Choose and Prepare the Cuttings
Select young, healthy stems that are actively growing. Avoid stems with flowers if possible, because flowering takes energy away from root formation.
Before placing the cuttings in water:
- Remove the lower leaves
- Trim away flowers or buds
- Cut the stem base on a diagonal
- Place the cutting in water immediately
The diagonal cut increases the exposed area at the base, helping the stem absorb water more efficiently. Placing the cutting into water right away also reduces the risk of dehydration.
For plants with large leaves, such as hydrangea, reduce moisture loss by removing some lower foliage and cutting the upper leaves in half. This helps the cutting conserve energy while it develops roots.
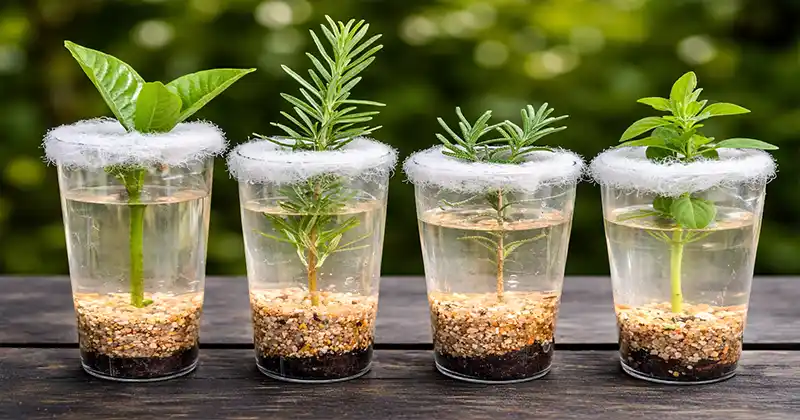
Why the White Fiber Cover Helps
One practical detail that improves this setup is placing a loose layer of synthetic fiber or filter floss around the top opening of the container, with the stem passing through it.
This does several useful things at once. It helps hold the cutting upright, reduces the amount of dust and debris entering the water, and makes it harder for mosquitoes to reach the water and lay eggs. It can also slightly slow evaporation, which is helpful in warm conditions.
The fiber should be kept light and airy, never packed tightly around the stem. The goal is support and protection, not pressure. The leaves should stay above the cover and remain exposed to light and air.
Placing the Cuttings in the Cup
Insert the cutting so the lower stem is in the water and sits securely among the stones. Make sure the leaves stay above the waterline. If the cup is wide enough, you can root more than one cutting, but avoid crowding them too closely.
Check the water level regularly. If the water drops too low, tender new roots can dry out quickly. Keep the lower rooting zone consistently submerged.
How to Know When It Is Ready
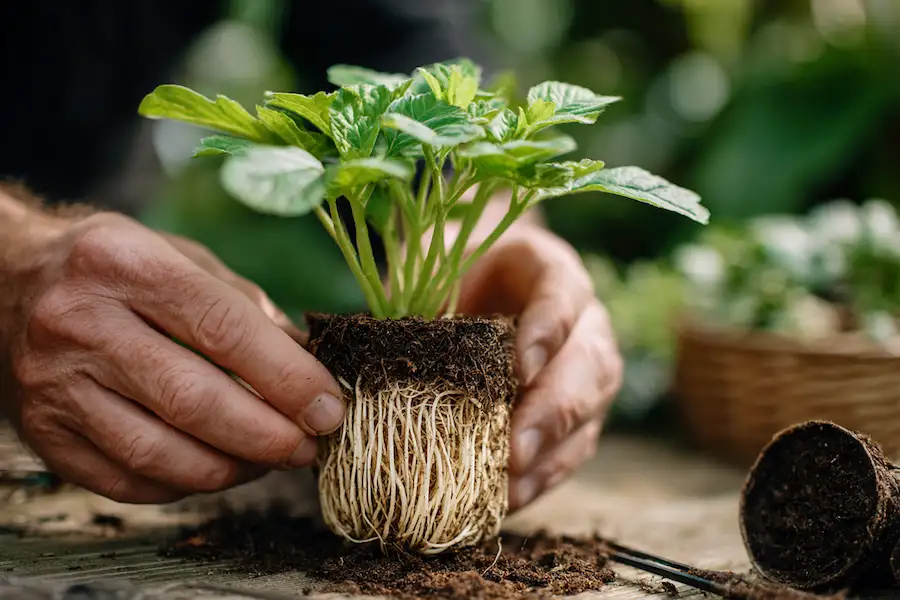
Before roots appear, the base of the stem often develops a callus, a slightly swollen area where new roots begin to form. After that, young roots usually emerge pale, cream-colored, or bright white.
Some plants root only at the cut base, while others may also produce roots from higher points along the submerged stem. Healthy new roots are usually fine, fresh-looking, and light in color.
Transplanting the Rooted Cutting
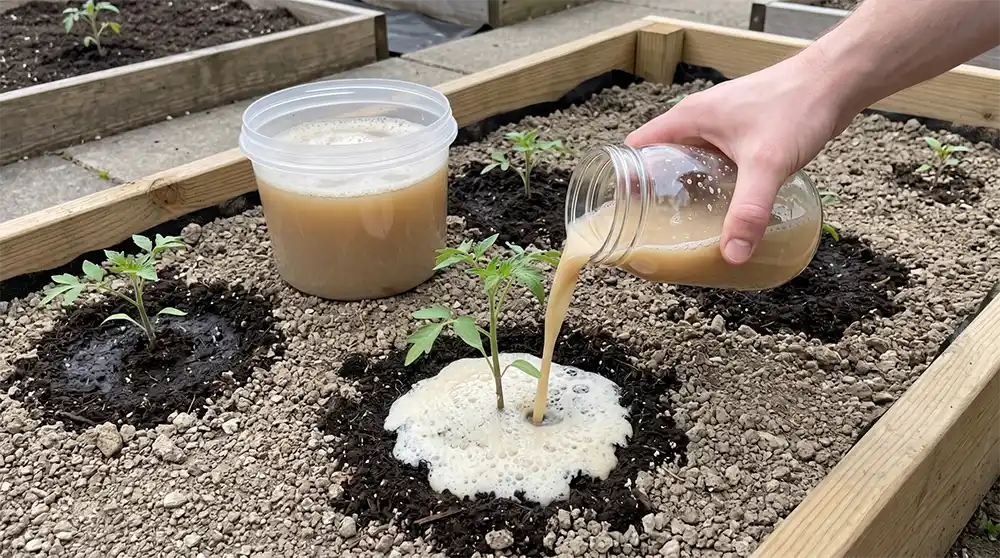
Once the cutting has developed a good cluster of roots, move it into a small pot of moist soil. Set the roots gently into place, cover them well, and water immediately after planting.
This first watering is important because it helps the roots adjust from the water environment to soil. Handle the cutting carefully, especially if the roots are long and delicate.
A More Effective Way to Multiply Plants
This method turns ordinary water propagation into a more supportive rooting system. With a clear container, a stable base, properly prepared stems, and a loose fiber cover at the top, cuttings can root in a cleaner, steadier environment.
When done well, this approach gives plant cuttings a stronger start, faster rooting, and an easier transition into soil.