How to Grow Ginger in Plastic Bags: The Secrets to Many Tubers
Ginger (Zingiber officinale) is a versatile and flavorful spice that is widely used in various cuisines and has numerous health benefits. Growing your own ginger at home is not only a rewarding gardening project but also a convenient way to access fresh ginger. One innovative and space-saving method for cultivating ginger is in large plastic bags. In this article, we will provide a step-by-step guide on how to grow ginger in plastic bags, from selecting the right materials to harvesting your bountiful ginger crop. We will also share some homemade fertilizer recipes to help you nurture healthy ginger plants.
Materials Needed:
- Ginger Rhizomes: Start with fresh, healthy ginger rhizomes from a local nursery or grocery store. Look for pieces with well-developed “eyes” or growing points.
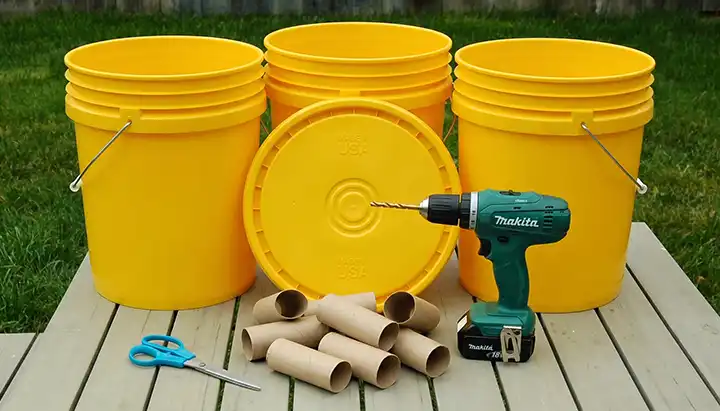
- Large Plastic Bags: Choose durable plastic bags with a capacity of at least 5 gallons (18.9 liters). Make sure they have drainage holes or can be easily perforated to allow water drainage.
- Potting Soil: Opt for a well-draining, organic potting mix.
- Homemade Fertilizers: We’ll discuss various homemade fertilizer recipes in the following sections.
- Watering Can or Hose: You’ll need a way to water your ginger plants regularly.
- Mulch: Organic mulch helps conserve moisture and suppress weeds.
Steps to Grow Ginger in Plastic Bags:
1. Selecting Ginger Rhizomes:
- Choose fresh ginger rhizomes with well-defined eyes. These eyes are the small, greenish, or pinkish buds on the surface of the rhizome.
2. Sprouting Ginger:
- Place your ginger rhizomes in a warm, well-lit area for a few weeks. You can use a seed tray filled with potting mix or simply lay them on top of the soil.
- Keep the soil consistently moist, and in a few weeks, you should see shoots emerging from the eyes of the ginger rhizomes.
3. Preparing Plastic Bags:
- Fill the plastic bags with well-draining potting soil, leaving a few inches at the top to allow room for watering.
- Ensure that each bag has drainage holes or poke holes in the bottom for water to escape.
4. Planting Ginger:
- Gently plant the sprouted ginger rhizomes about 2 inches deep into the potting soil in the plastic bags, spacing them a few inches apart.
- Ensure the eyes are facing up, and cover them with a thin layer of soil.
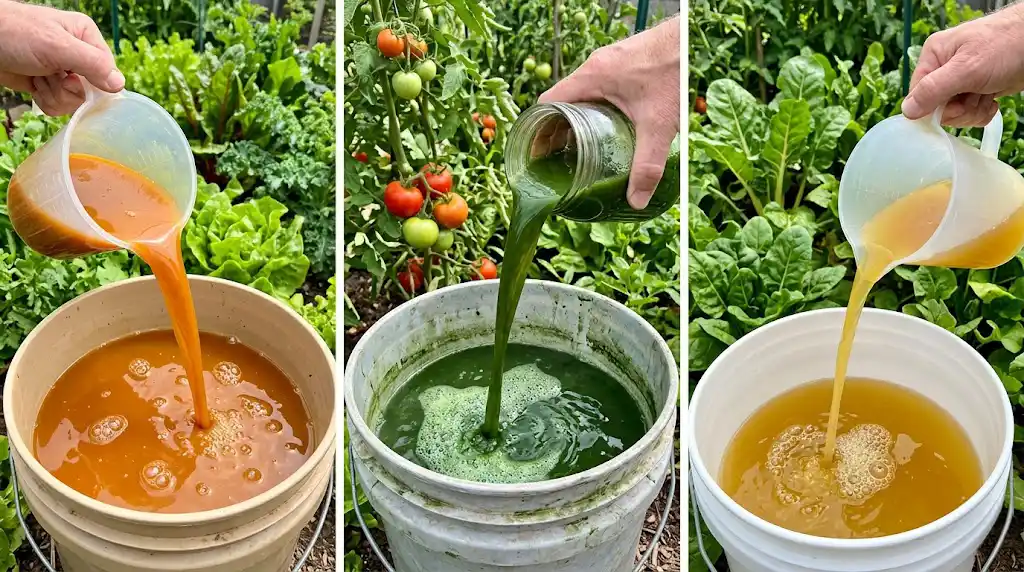
5. Homemade Fertilizers:
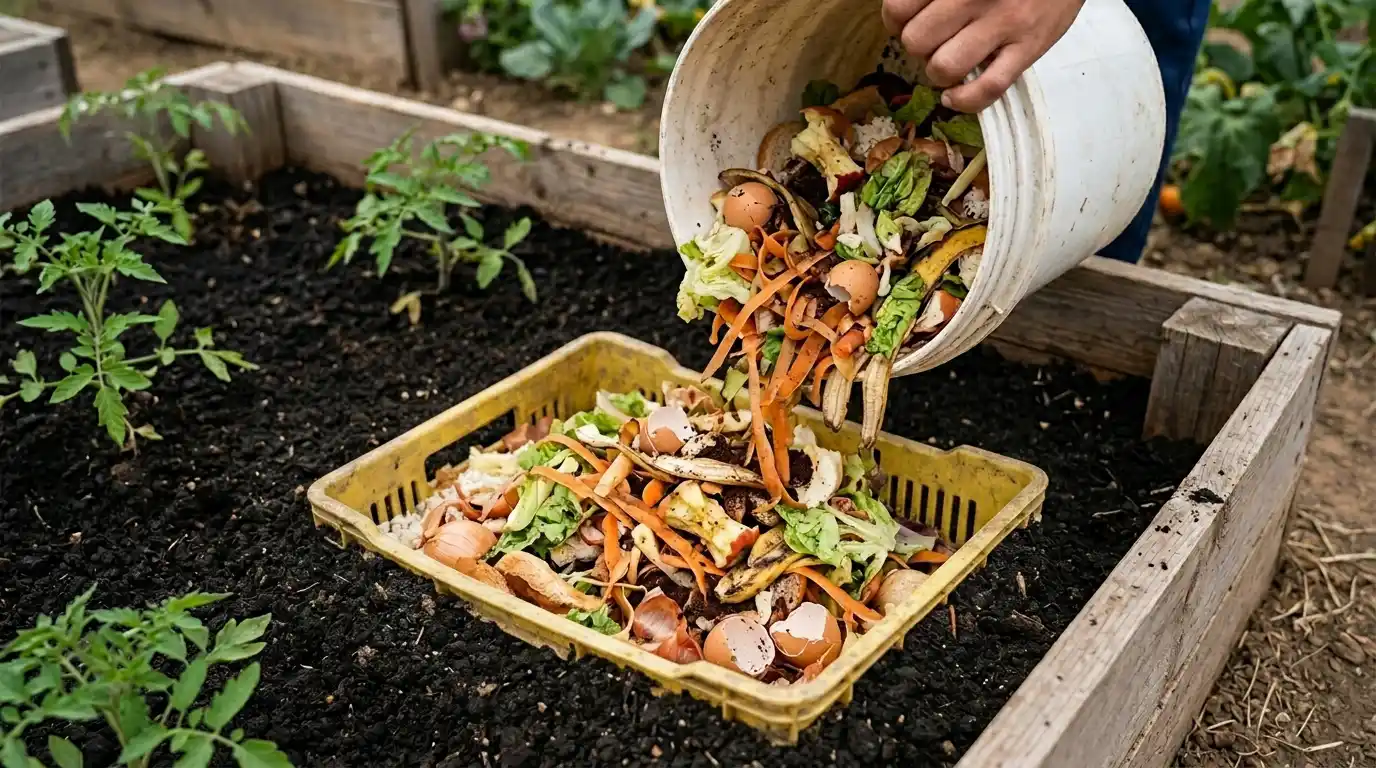
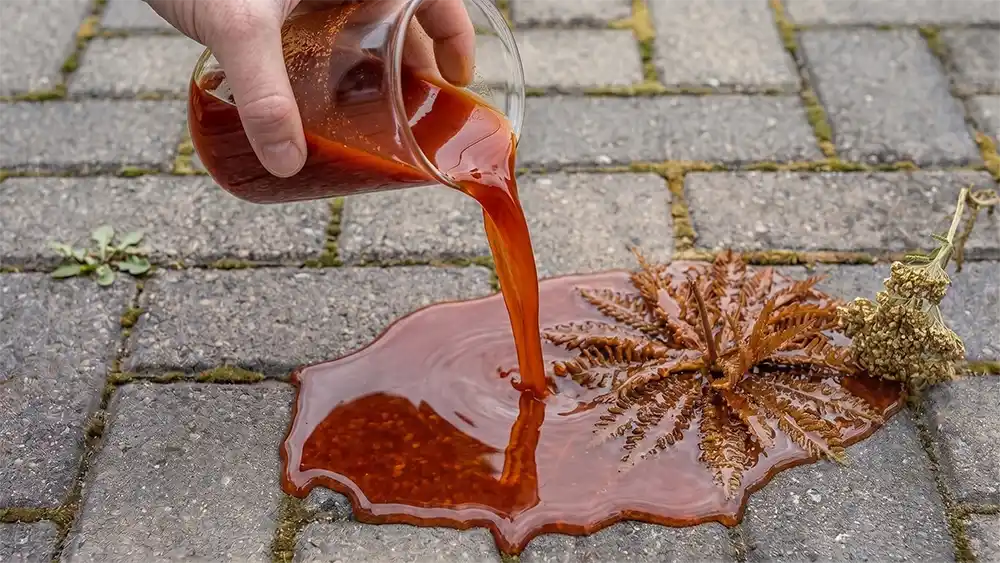
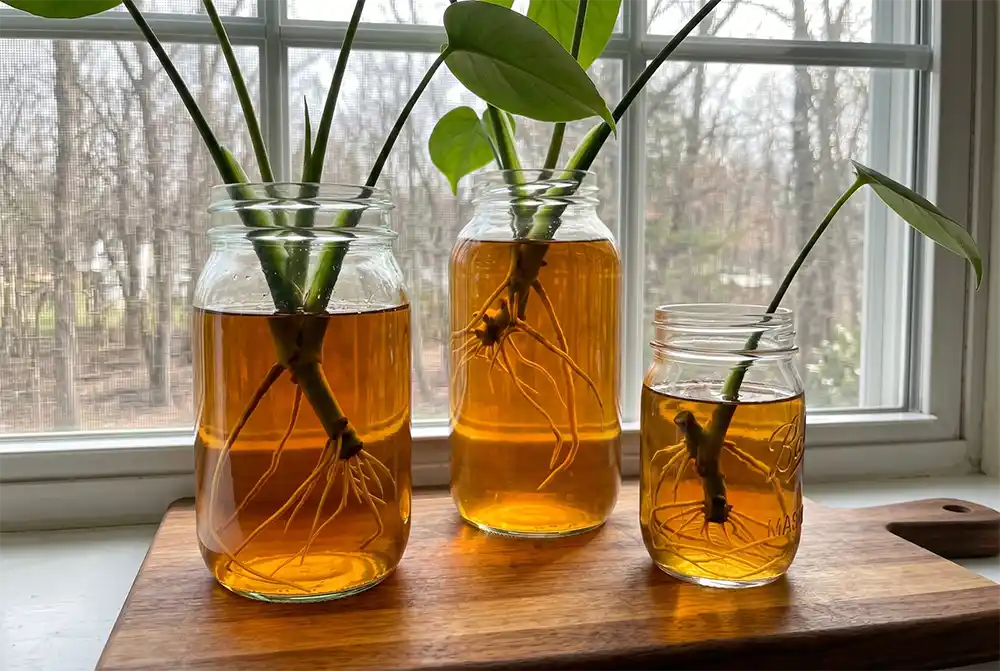
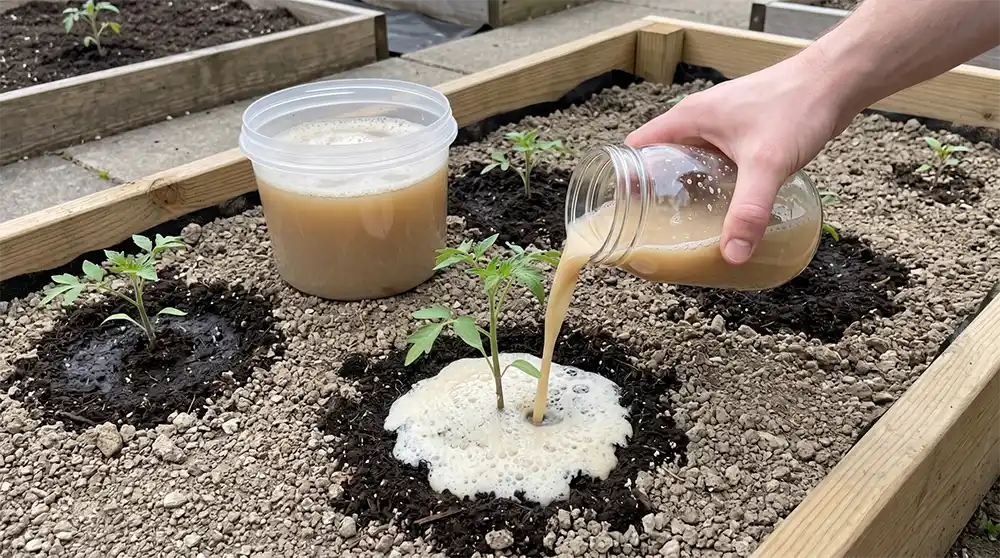
a. Compost Tea: Mix 1 part compost with 5 parts water, let it steep for a few days, and then use it to water your ginger plants every few weeks.
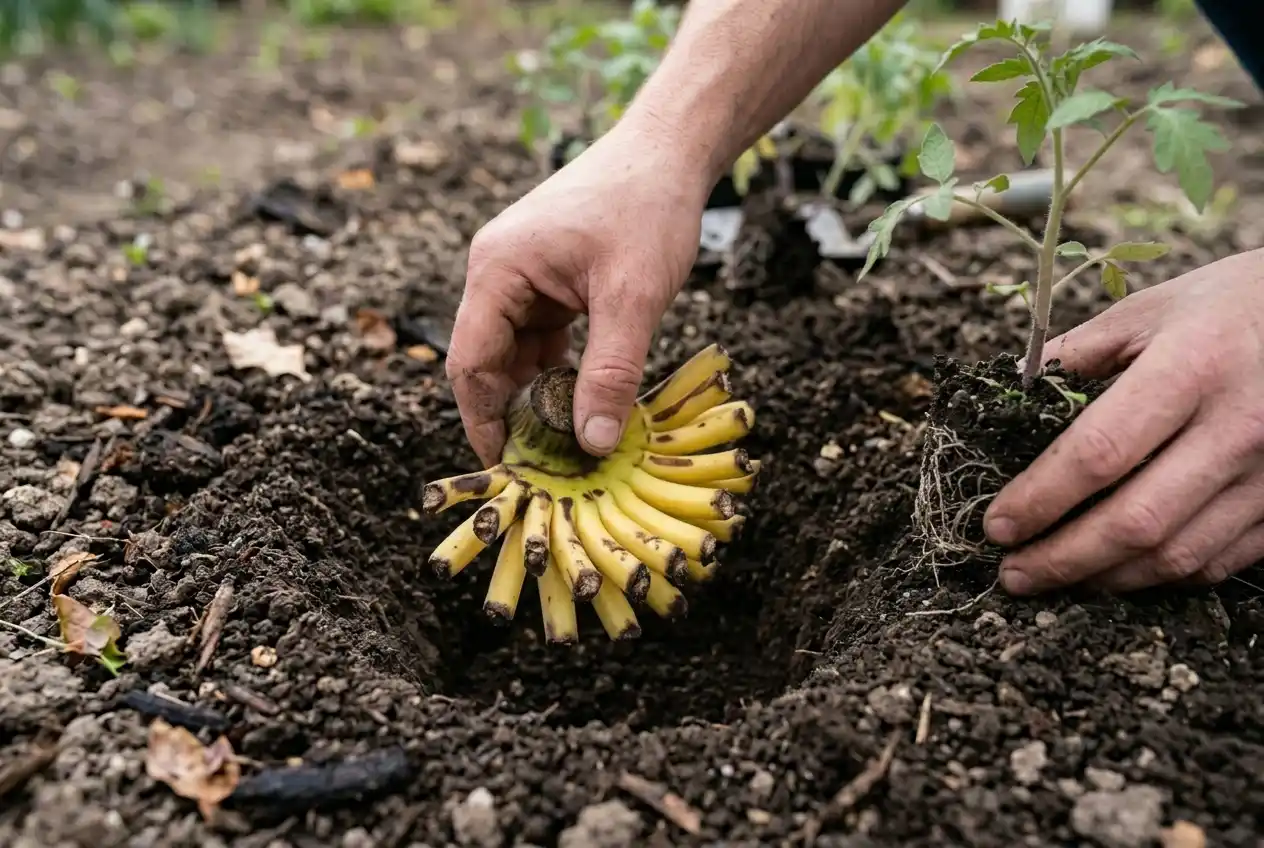
b. Banana Peel Fertilizer: Blend banana peels with water to create a nutrient-rich solution. Water your ginger plants with this mixture every 2-4 weeks.
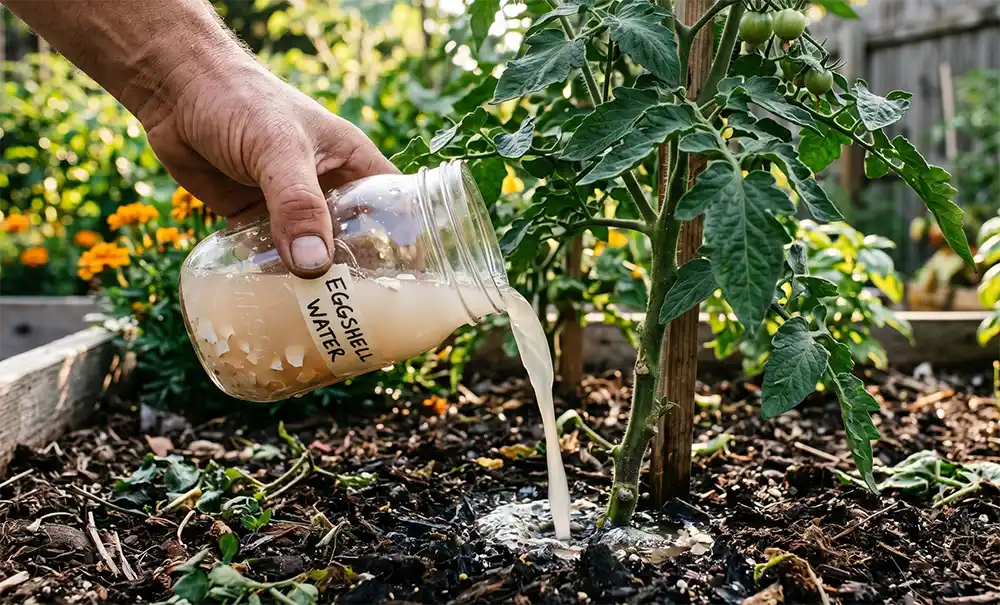
c. Eggshell Fertilizer: Crush eggshells and sprinkle them around your ginger plants to provide calcium and deter pests.
6. Care and Maintenance:
- Water your ginger plants regularly to keep the soil consistently moist but not waterlogged.
- Protect the plants from direct sunlight and strong winds, as ginger prefers filtered light and a humid environment.
- Apply organic mulch to help retain moisture and prevent weed growth.
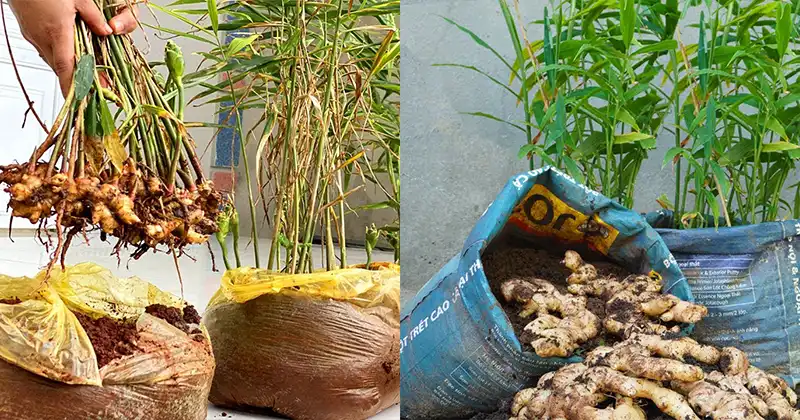
7. Harvesting Ginger:
- Ginger is typically ready to harvest 8-10 months after planting.
- Gently pull back the soil to reveal the rhizomes. Carefully cut or break off the desired amount, leaving some rhizomes in the soil to continue growing.
Conclusion:
Growing ginger in plastic bags is a space-saving and rewarding gardening method that allows you to enjoy a fresh and abundant supply of this versatile spice. With the right materials, proper care, and homemade fertilizers, you can successfully cultivate ginger at home. Enjoy the satisfaction of harvesting your own ginger and the opportunity to savor its delicious flavor and numerous health benefits. Happy gardening!