Best Tips and Tricks for Making a DIY Raised Bed in Your Garden
Creating a DIY raised bed in your garden is a rewarding project that can significantly enhance your gardening experience. Raised beds offer numerous benefits, including improved soil conditions, better drainage, easier weed and pest management, and more accessible gardening spaces. This article provides comprehensive tips and tricks to help you build a successful DIY raised bed, ensuring a fruitful and enjoyable gardening journey.
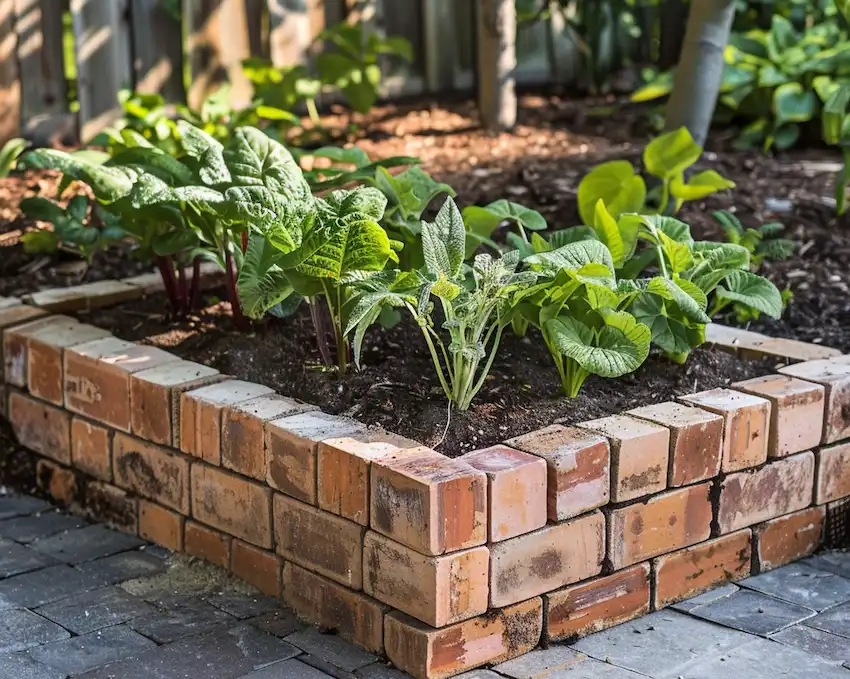
1. Planning Your Raised Bed
Choose the Right Location: Select a spot in your garden that receives at least six to eight hours of sunlight daily. Consider access to water and the overall aesthetics of how the raised bed will fit into your garden layout.
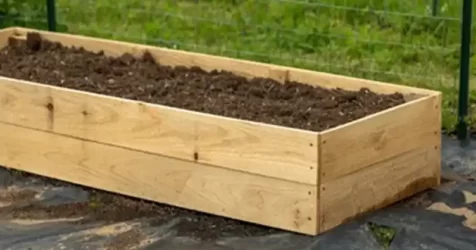
Size Matters: The ideal width for a raised bed is about 3 to 4 feet, allowing easy reach to the center from both sides. The length can vary based on your space, but keeping it under 8 feet helps prevent the structure from warping over time. A depth of 12 to 18 inches is suitable for most plants.
Select Durable Materials: Cedar, redwood, and composite materials are excellent choices for longevity and resistance to rot. Avoid treated woods from before 2003, as they may contain harmful chemicals.
2. Building the Raised Bed
Gather Tools and Materials: You’ll need your chosen wood, a saw (if cutting is necessary), screws or nails, a drill, and a tape measure. Additionally, consider landscaping fabric to line the bottom and deter weeds.
Assemble the Frame: Cut your wood to the desired lengths. Lay out the frame on a level surface and secure the corners with screws or corner brackets, ensuring everything is square.
Add Support: For beds longer than 6 feet, consider adding internal cross-braces to prevent bowing. These can be wooden stakes or metal brackets placed halfway along the length of the bed.
Prepare the Site: Remove grass and weeds from the bed area, and loosen the soil with a fork to improve drainage. Lay down cardboard or landscaping fabric at the bottom to further suppress weeds.
3. Soil and Planting
Choose the Right Soil Mix: Fill your raised bed with a mix of topsoil, compost, and other organic material such as peat moss or vermiculite. This creates a nutrient-rich, well-draining environment for your plants.
Consider Companion Planting: Planting compatible plants together can help deter pests and diseases while maximizing space. Research companion planting guides for the best combinations.

4. Maintenance Tips
Watering: Raised beds may dry out faster than traditional garden beds. Implement a consistent watering schedule, and consider a drip irrigation system for efficiency.
Mulching: Apply a layer of organic mulch to help retain moisture, regulate soil temperature, and reduce weed growth.
Rotation and Cover Crops: Rotate your crops each year to prevent soil depletion and disease buildup. Planting cover crops in the off-season can also enrich the soil.
DIY Raised Bed Recipe: The Simple Starter
Materials:
- 4 pieces of 2×6 cedar boards, 8 feet long
- 4 corner brackets or 4×4 cedar posts for corners, 12 inches long
- Screws or nails
- Landscaping fabric
- Soil mix (⅓ topsoil, ⅓ compost, ⅓ peat moss or vermiculite)
Steps:
- Cut and Assemble: If not pre-cut, saw your boards to the desired length. Assemble into a rectangle or square, securing the corners with brackets or screws into the corner posts.
- Site Preparation: Clear and level the area where your bed will go. Lay down cardboard or landscaping fabric to suppress weeds.
- Fill with Soil: Mix your soil components and fill the bed, leaving about an inch from the top.
- Plant: Choose your plants based on the season and your gardening goals. Water thoroughly after planting.
- Mulch and Maintain: Apply mulch and set up your watering system. Enjoy the fruits of your labor as your garden grows!
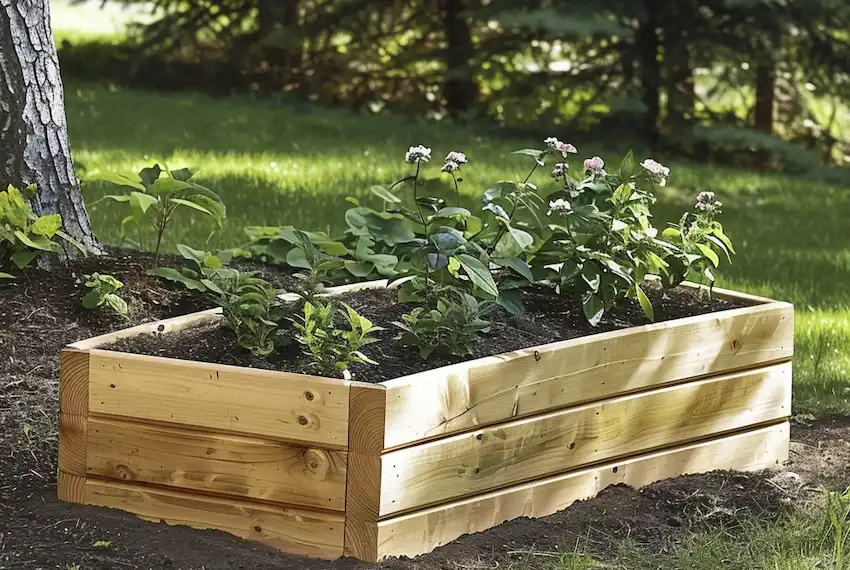
By following these tips and tricks, you can create a functional and beautiful raised bed garden. Whether you’re a seasoned gardener or just starting, a DIY raised bed offers a versatile and rewarding way to cultivate your green thumb.
