What Is Basin Irrigation and How to Implement It in Your Garden
Basin irrigation is an ancient and efficient method of watering crops, widely used in various parts of the world for its simplicity and effectiveness. It involves creating small basins or leveled areas around plants or groups of plants to hold water, allowing it to slowly infiltrate into the soil and reach the roots directly. This method is particularly beneficial for gardeners looking to conserve water while ensuring their plants receive adequate moisture. Here’s a comprehensive guide on what basin irrigation is and how you can implement it in your garden.
Understanding Basin Irrigation
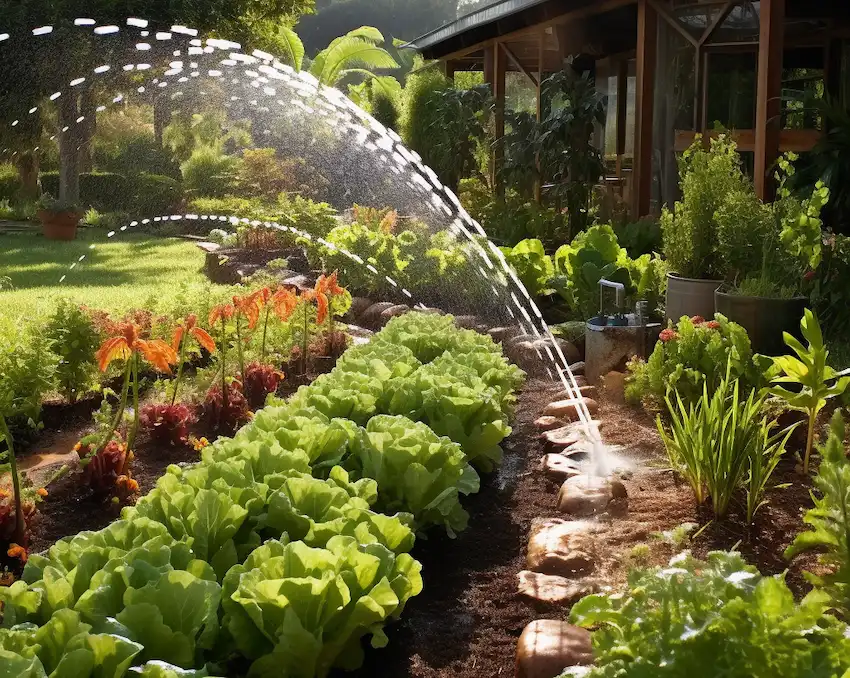
Basin irrigation is best suited for flat or gently sloping lands and is commonly used for crops that can tolerate standing water, such as rice. However, with some adaptation, it can be applied to a home garden setting to water trees, shrubs, and other plants efficiently. This method minimizes water wastage through evaporation and runoff, making it an eco-friendly option for gardeners.
Advantages of Basin Irrigation
- Water Efficiency: Allows water to penetrate deeply into the soil, reaching plant roots more effectively.
- Time-Saving: Requires less frequent watering than overhead or sprinkler systems.
- Cost-Effective: Low-tech and does not require expensive equipment.
- Weed Control: Helps suppress weed growth outside the basins.
- Versatility: Can be adapted for various garden sizes and types of plants.
How to Implement Basin Irrigation in Your Garden
Materials Needed:
- Spade or shovel
- Garden hoe or rake
- Water source (hose or watering can)
- Mulch (optional)
Step 1: Plan Your Layout
Identify the plants or areas of your garden that will benefit most from basin irrigation. Trees, shrubs, and larger perennial plants are ideal candidates. Consider the natural flow of water in your garden and plan your basins accordingly to maximize efficiency.
Step 2: Create the Basins
- For Individual Plants: Dig a basin around the base of each plant. The size of the basin should be roughly the same as the plant’s canopy, extending a few inches beyond the drip line. The depth can vary from 4 to 8 inches, depending on the size of the plant and the soil type.
- For Rows of Plants: If your garden is arranged in rows, you can create a single, elongated basin along each row. Ensure the sides of the basin are slightly raised to contain the water.
Step 3: Level the Basin Floor
Use a hoe or rake to level the bottom of each basin. This ensures water spreads evenly and does not pool in one area more than another.
Step 4: Water Your Plants
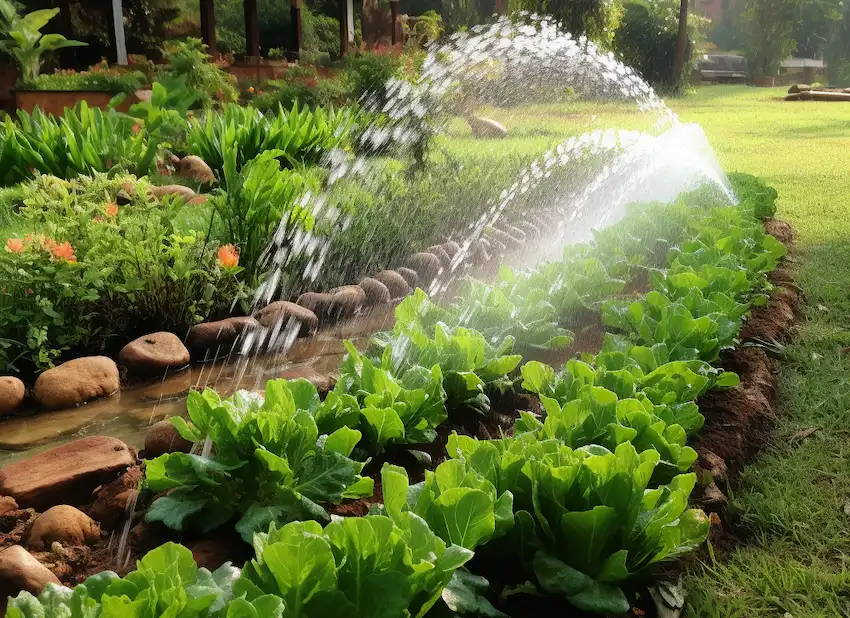
Fill the basins with water from a hose or watering can. Allow the water to slowly infiltrate the soil. If you notice any runoff, you may need to adjust the size or depth of your basins.
Step 5: Maintain Your Basins
Over time, the edges of your basins may erode or become compacted. Regularly check and adjust the basins as needed to maintain their shape and efficiency. Adding mulch within the basins can also help retain moisture and reduce evaporation.
Step 6: Monitor Plant Health
Observe your plants for signs of over or under-watering, and adjust your watering schedule accordingly. Basin irrigation typically requires less frequent watering, but the exact needs will depend on your climate, soil, and the type of plants you’re growing.
Basin irrigation is a time-tested method that offers a sustainable and efficient way to water your garden. By following these steps, you can create a simple yet effective irrigation system that conserves water, saves time, and promotes the health of your plants. Whether you’re an experienced gardener or just starting out, incorporating basin irrigation into your garden practices can lead to a more productive and eco-friendly garden.
