Unlocking Nature’s Bounty: Crafting Free Liquid Fertilizer Using an Ancient Method
In the quest for sustainable gardening, the wisdom of ancient practices offers invaluable insights. One such method, largely forgotten but incredibly effective, allows modern gardeners to create their own liquid fertilizer from almost any organic material. This guide explores how to harness this age-old technique to produce a nutrient-rich elixir, fostering plant health and growth without the need for commercial fertilizers.

The Essence of the Method
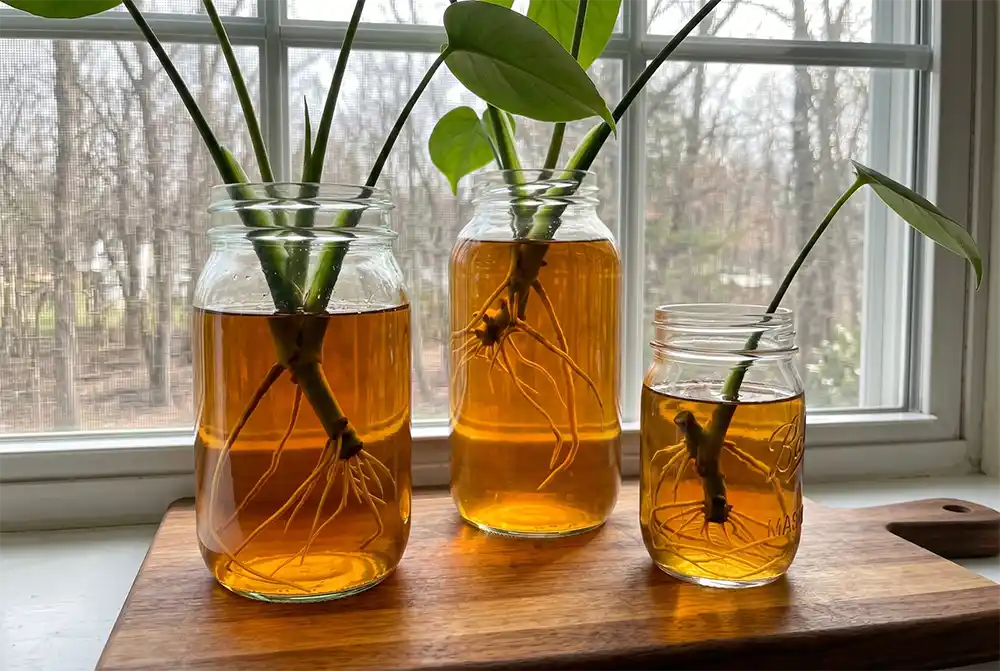
The core principle behind this ancient technique is fermentation. By allowing organic matter to decompose in water, it breaks down into its basic nutrients, which plants can then easily absorb. This process not only recycles waste but also enriches your garden with a potent, natural fertilizer, free of cost.
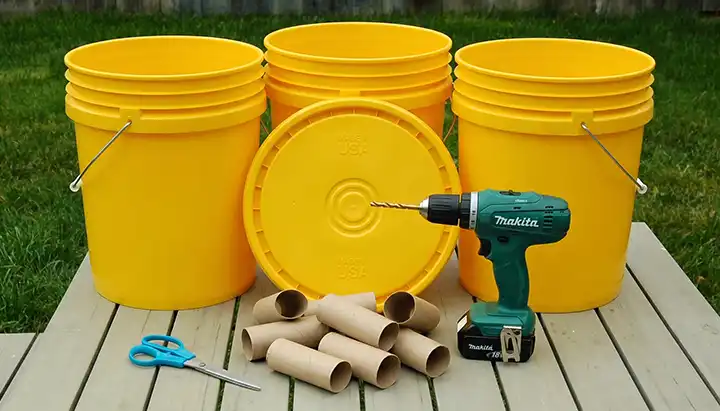
Materials Needed
- A large container (with a lid)
- Water
- Organic waste (kitchen scraps, lawn clippings, leaves, etc.)
- A straining cloth or fine mesh
- A stirring tool
Step-by-Step Guide to Making Liquid Fertilizer
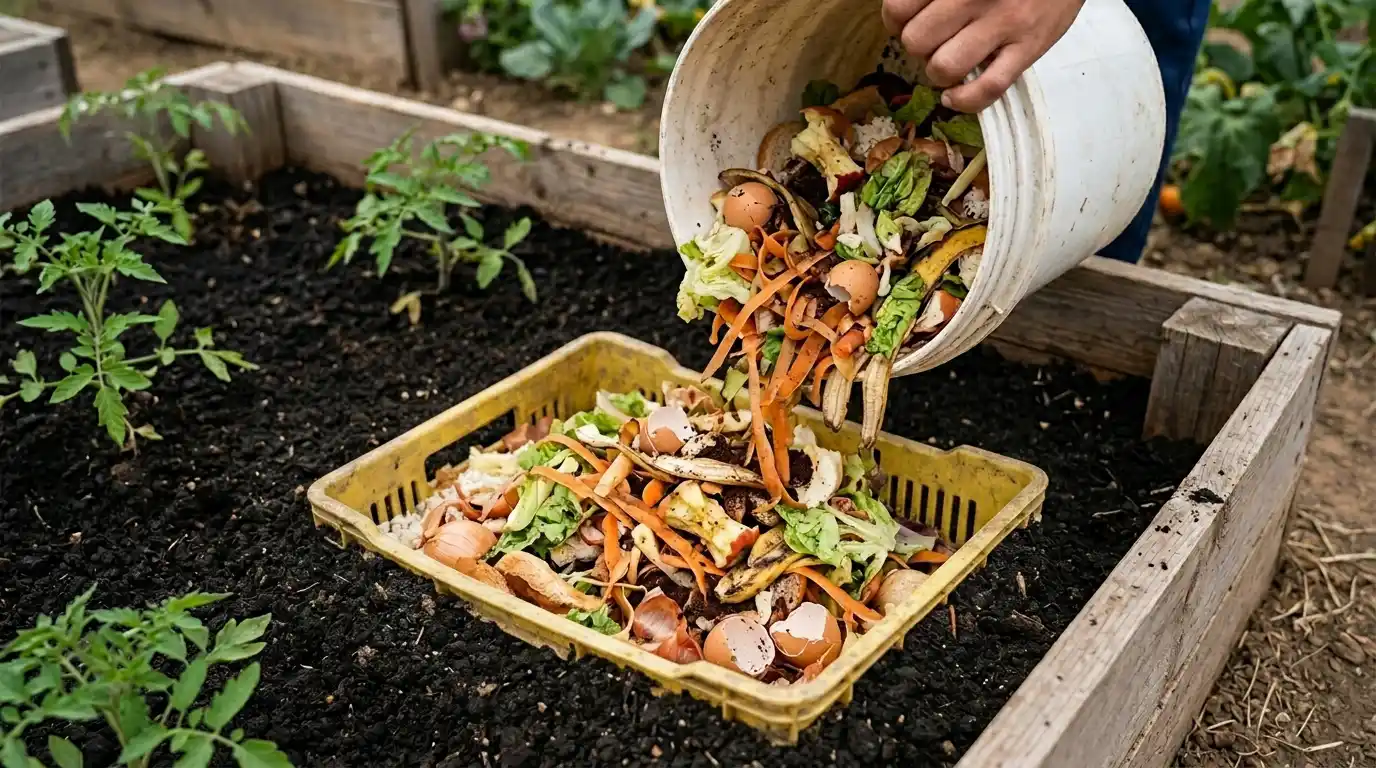
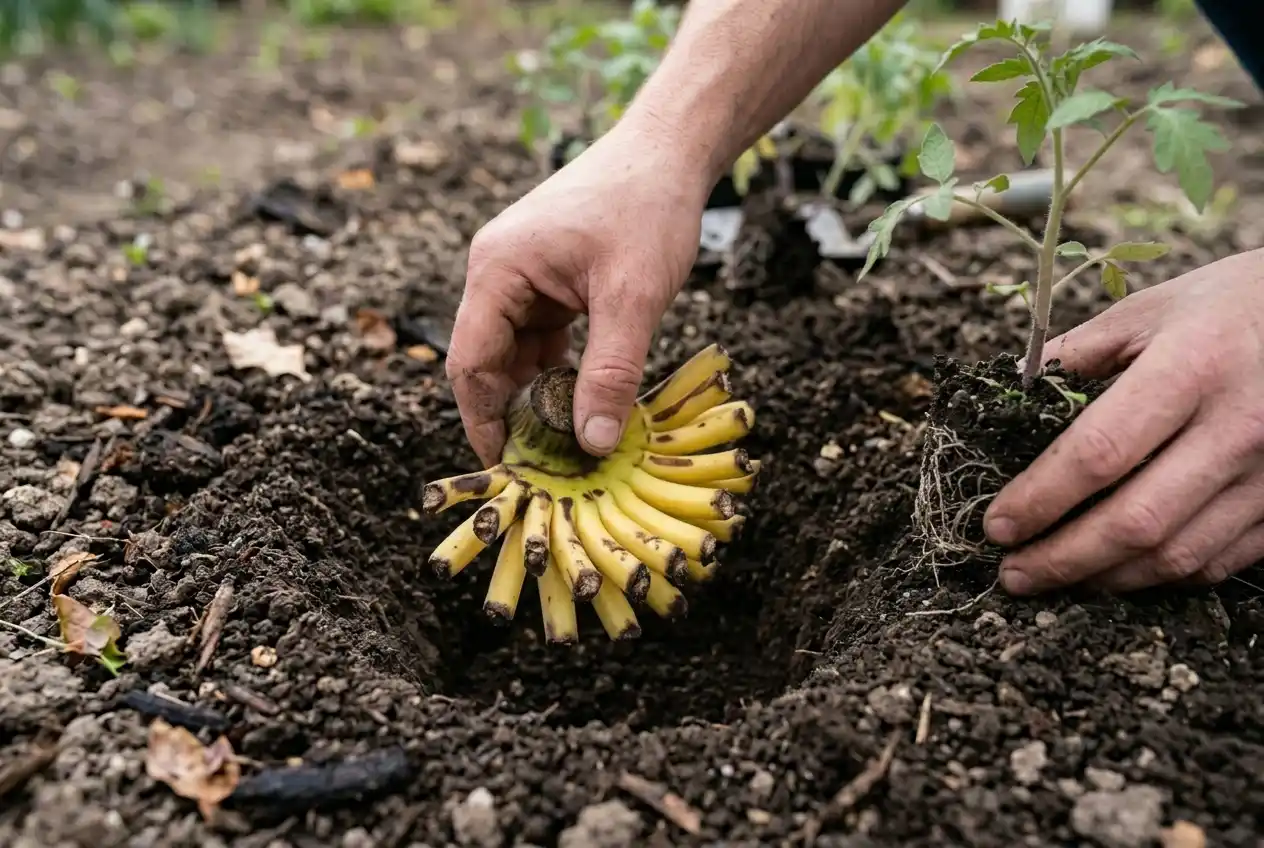
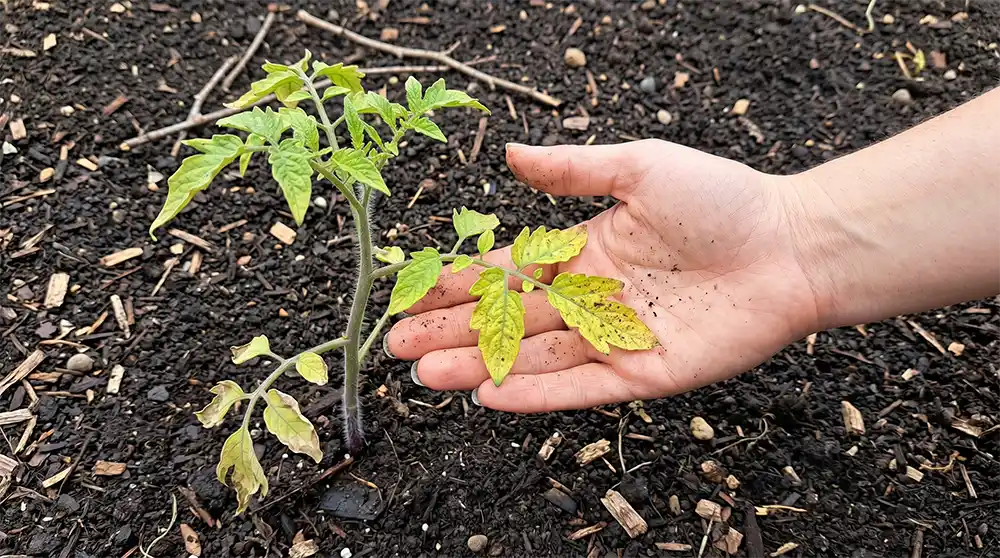
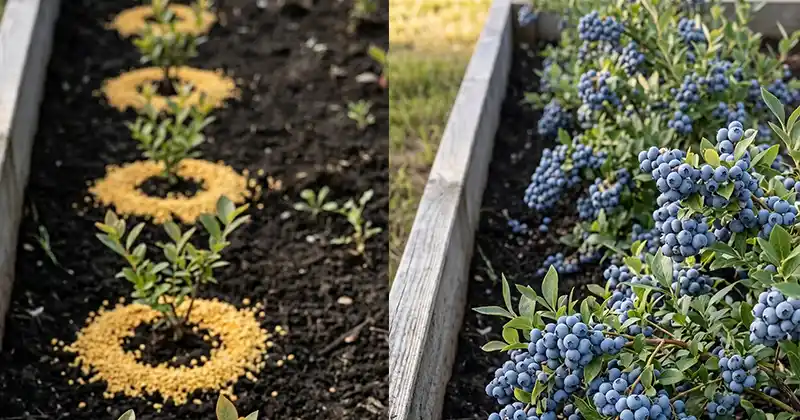
1. Collect Organic Material

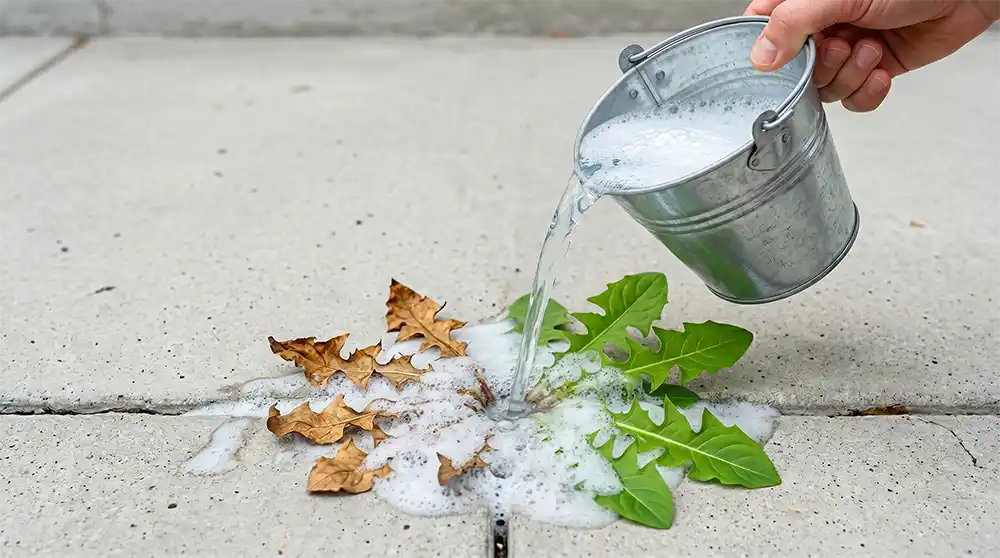
Gather organic waste, focusing on plant-based materials. Kitchen scraps (excluding meat and dairy products), yard waste like grass clippings and leaves, and even weeds can serve as the base for your fertilizer.
2. Prepare the Container
Place the organic material in the container, filling it up to about halfway. The size of the container will depend on the quantity of fertilizer you wish to make, but a standard 5-gallon bucket is a good start.
3. Add Water
Fill the container with water, covering the organic matter. Rainwater is ideal due to its purity, but tap water will suffice if left to sit for a day to allow chlorine to evaporate.
4. Fermentation Process

Seal the container with its lid, leaving it slightly ajar to allow gases to escape. Stir the mixture every few days to oxygenate it and facilitate the breakdown of materials. The fermentation process can take anywhere from two weeks to two months, depending on temperature and the materials used. You’ll know it’s ready when the mixture smells earthy and the solids have largely broken down.
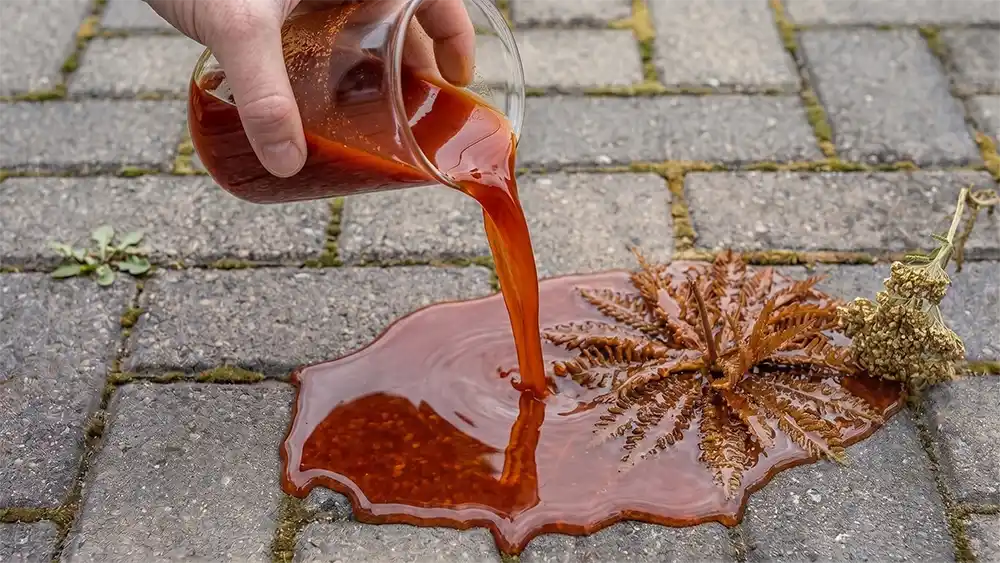
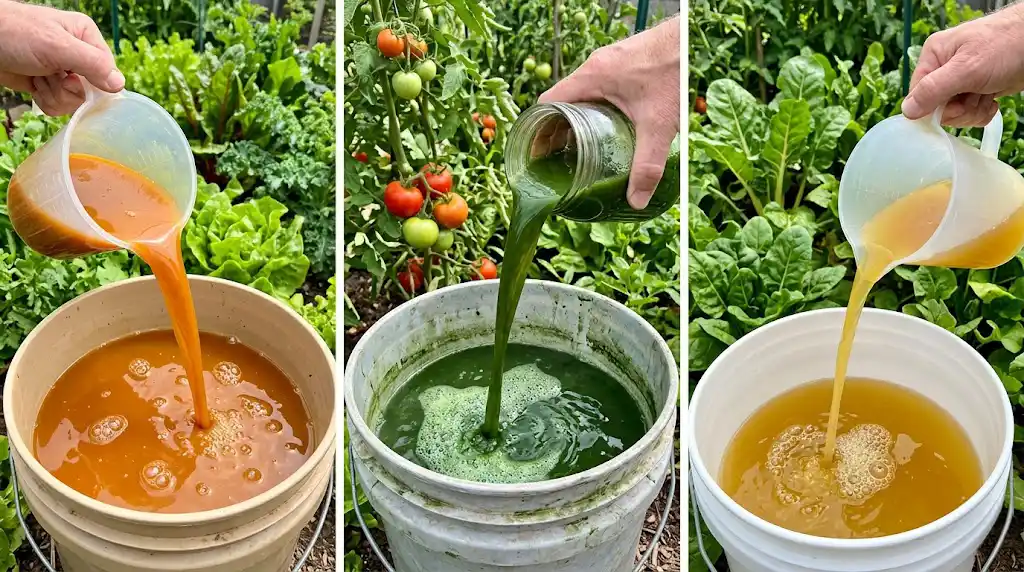
5. Strain the Liquid
Once fermentation is complete, strain the liquid into another container, removing the solid waste. The resulting liquid is your concentrated liquid fertilizer.
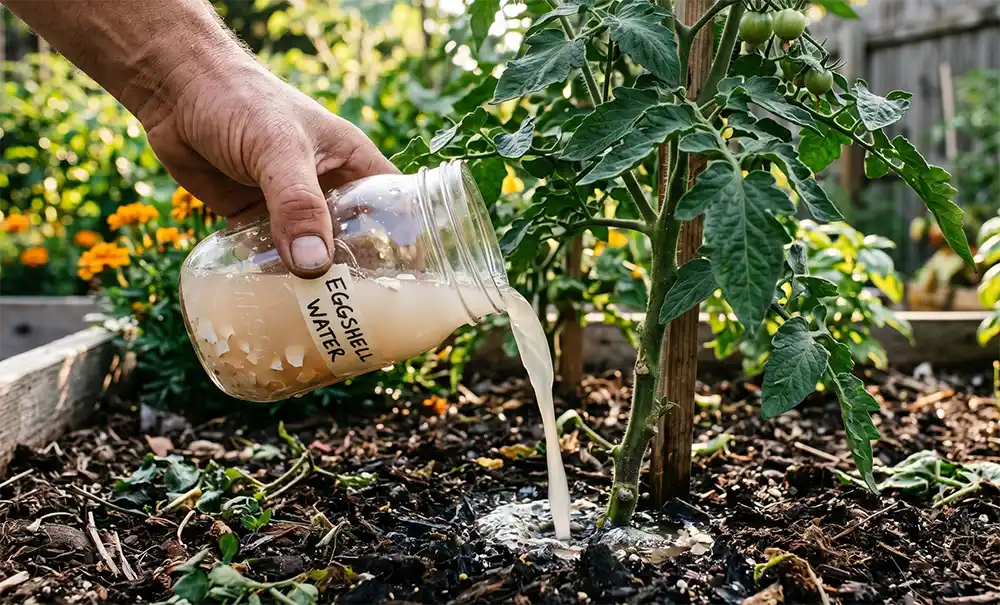
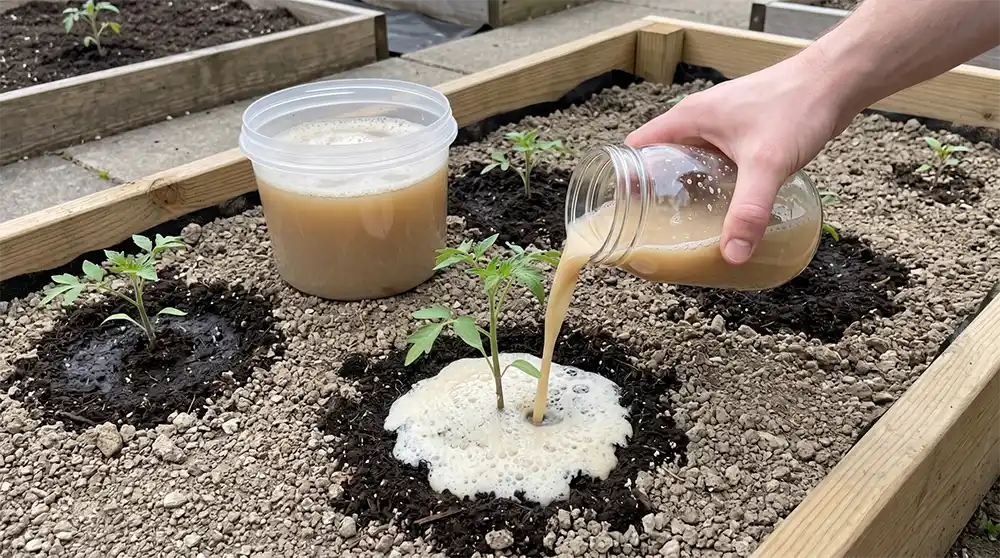
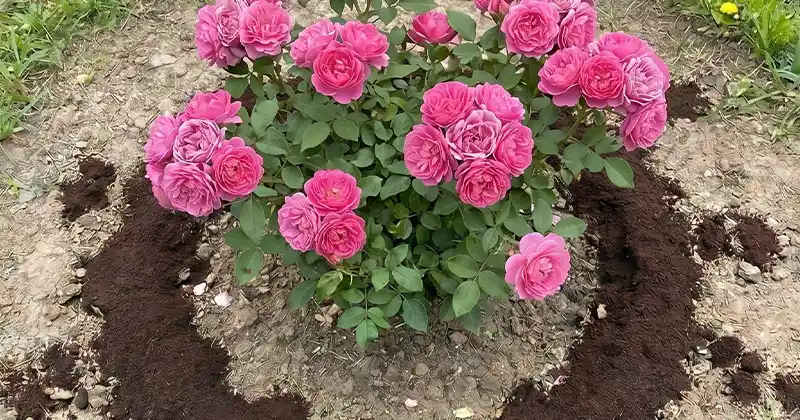
6. Dilution and Application
Before applying the fertilizer to your plants, dilute it with water to prevent nutrient burn. A general ratio is 1 part fertilizer to 10 parts water, but this can vary based on the concentration of your mixture. Apply the diluted solution directly to the soil around your plants.
Benefits and Considerations

- Eco-friendly: This method recycles waste into a valuable resource, reducing landfill use and chemical runoff.
- Cost-effective: It utilizes readily available materials, saving money on commercial fertilizers.
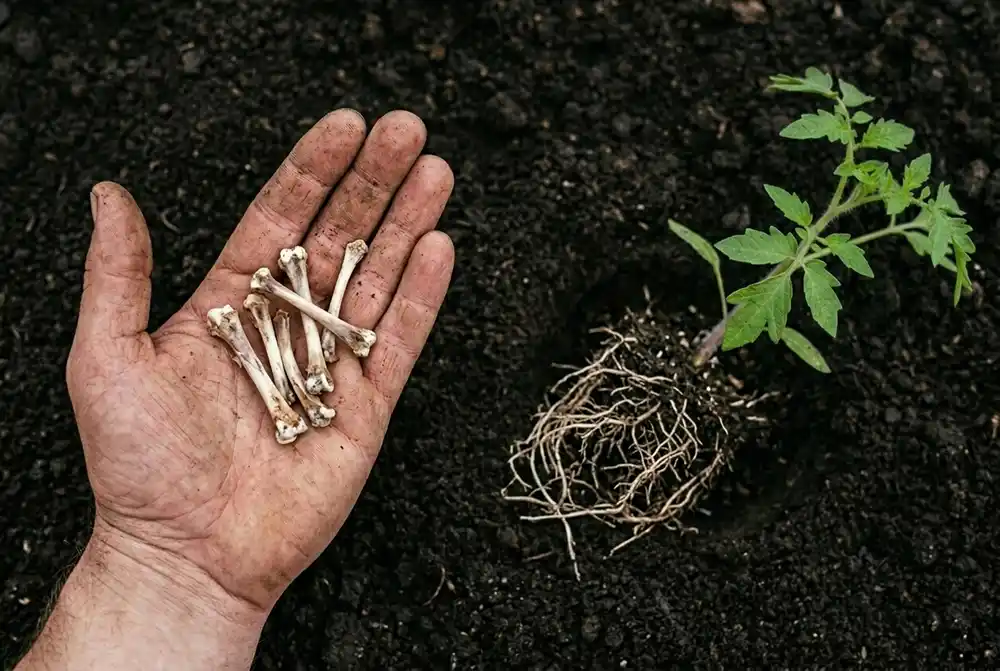
- Nutrient-rich: The final product is teeming with essential nutrients, including nitrogen, phosphorus, and potassium.
Embracing this ancient method of making liquid fertilizer not only supports sustainable gardening practices but also connects us with the timeless wisdom of nurturing the earth. By transforming everyday waste into a valuable resource, gardeners can contribute to a healthier planet while enjoying the bountiful rewards of their labor.