The Miraculous Tomato Slice Propagation Method: From One Tomato to 196 Plants in Just 29 Days
Discovering innovative gardening techniques can transform your approach to planting, and the tomato slice propagation method is a perfect example of such innovation. This simple yet effective technique demonstrates how a single tomato can become the progenitor of nearly 200 new tomato plants in less than a month. Here’s a detailed guide on how to replicate this green-thumb success story in your own garden or home.
Understanding the Method
The core idea is straightforward: by slicing a tomato and planting it in soil, you can harness the seeds within each slice to germinate multiple tomato plants. This method is not only cost-effective but also a great way to propagate tomatoes quickly and efficiently.
Materials Needed
- Ripe Tomato: Choose a healthy, mature tomato. Heirloom varieties are ideal as they’re open-pollinated and more likely to produce plants similar to the parent.
- Seed Starting Soil: A nutrient-rich, well-draining soil designed for seed germination.
- Containers: Small cups, Tupperware containers, or any other creative receptacles you have on hand. Ensure they have drainage holes.
- Lid or Plastic Wrap: To maintain moisture and warmth, aiding germination.
- Water: For keeping the soil moist.
Step-by-Step Guide
Step 1: Slice Your Tomato
Cut your chosen tomato into 1/4-inch thick slices. Each slice contains numerous seeds, ready to begin their germination journey.
Step 2: Prepare Your Containers
Fill your containers with seed starting soil, leaving about an inch of space at the top. The soil should be moist but not waterlogged.
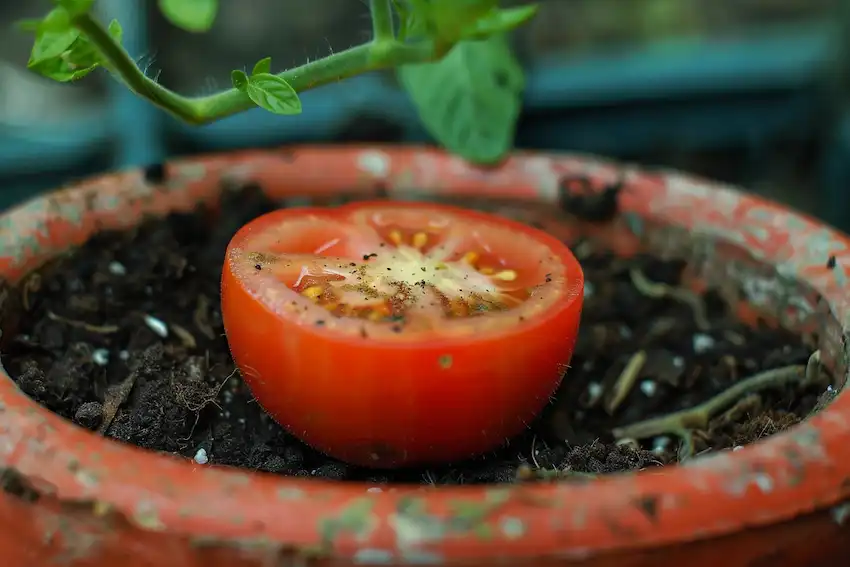
Step 3: Plant Your Slices
Place one tomato slice on top of the soil in each container. You can gently press down on the slice to ensure contact with the soil but avoid burying it deep.
Step 4: Cover with Soil
Sprinkle a thin layer of seed starting soil over each tomato slice, just enough to cover it. The goal is to ensure the seeds are in darkness, which aids germination.
Step 5: Create a Mini Greenhouse
Cover each container with its lid or plastic wrap. This setup maintains a humid environment that’s crucial for germination. Place your containers in a warm spot, but away from direct sunlight.
Step 6: Monitor and Uncover
Check your containers daily for signs of germination, which typically occurs within 5-14 days. As soon as you notice sprouts, remove the lid or plastic wrap to expose them to air and light.
Step 7: Let Them Grow
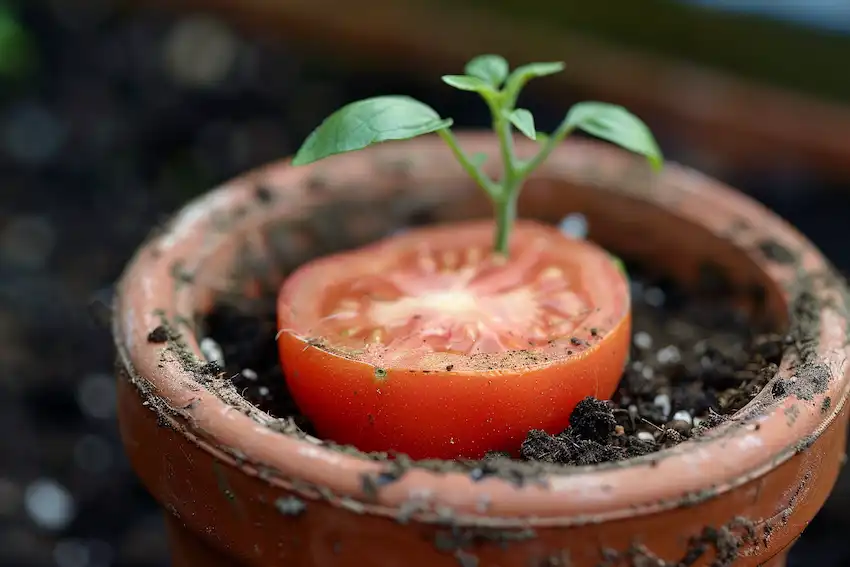
Continue to keep the soil moist and provide your sprouting tomato plants with plenty of indirect sunlight. Once they’ve grown sturdy and the risk of frost has passed, they’re ready to be transplanted outdoors or into larger pots.
Why It Works
Tomato seeds are encased in a gel-like sac containing growth inhibitors that prevent the seeds from sprouting inside the tomato. Planting the slices in soil bypasses this mechanism, as the soil microbes break down the sac and activate the seeds.
Tips for Success
- Choose the Right Tomato: Opt for organically grown tomatoes to avoid potential issues with germination.
- Patience is Key: While some seeds may germinate quickly, others might take a bit longer. Keep the soil moist and be patient.
- Transplant Carefully: When your seedlings are ready to move, handle them gently to avoid damaging the tender stems and roots.

The tomato slice propagation method is a testament to the wonders of nature and the creativity of gardeners. By starting with just a slice of tomato, you can rapidly expand your garden and enjoy a bounty of fresh tomatoes. Whether you’re a seasoned gardener or a curious beginner, this method offers a fun, rewarding way to grow tomatoes. So why not give it a try and see how many plants you can cultivate from a single tomato?