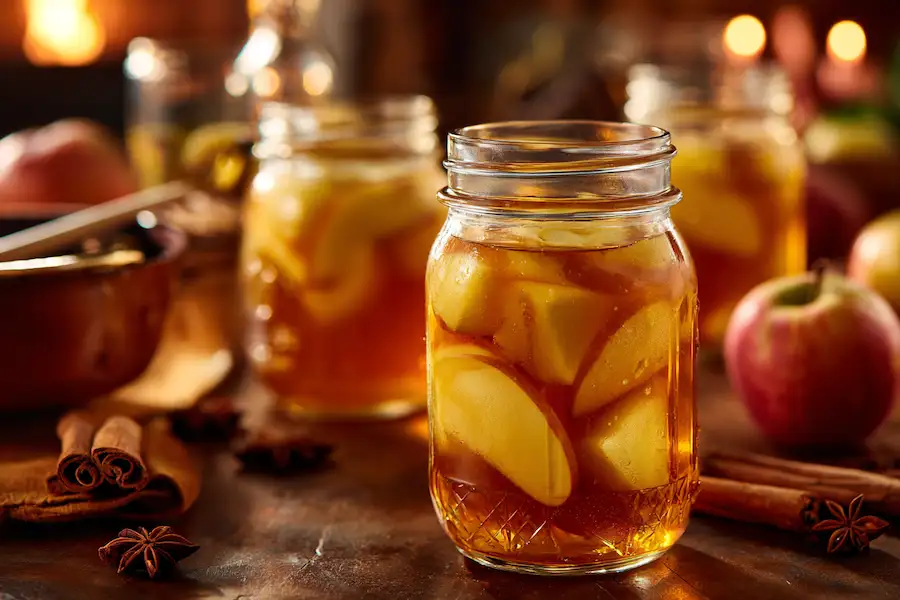
Store Homemade Apple Pie in a Jar for a Quick Dessert
If you love warm apple pie but don’t always have the time (or energy) to peel apples, cook filling, and bake from scratch, canning your own apple pie filling is a game-changer. With a few jars on the shelf, you can go from “I feel like dessert” to a bubbling, fragrant pie in the oven in just a few minutes—using either homemade or store-bought dough.
This guide shows you how to safely can apple pie filling at home, why the method matters, and how to turn each jar into fast, delicious desserts whenever you want.
Why Can Apple Pie Filling?
1. Instant dessert on busy days
Instead of starting from zero, you just grab a jar, open some dough (even bought dough works), fill, bake, and done. The slow work—peeling, slicing, cooking the apples—has already been done once.
2. Perfect apple texture every time
Canned pie filling uses firm apples and a special canning-safe thickener so the slices stay plump and tender, not mushy. You get a consistent, bakery-style filling each time.
3. Preserve apple season
When apples are cheap and at their best, you can put up enough jars to enjoy homemade apple desserts all year.
4. Less waste, more flavor
Those apples that are a bit too soft or spotty for eating fresh (but still sound once trimmed) are perfect to turn into filling instead of throwing away.
The Most Important Safety Rule: Use the Right Thickener
For pie filling that’s going to be canned in jars, you must use a canning-approved modified starch such as Clear Jel® (cook type), not regular flour or cornstarch.
Clear Jel stays stable through multiple rounds of heating and cooling, which means it will thicken the filling properly and still be safe for water-bath canning.
Regular starches (like flour, arrowroot, or ordinary cornstarch) can make the mixture too dense or unevenly heated, which can lead to unsafe canning.
Choosing the Best Apples
For canned pie filling, you want apples that stay firm when cooked, with enough acidity to balance the sugar. Good types include:
- Honeycrisp
- Golden Delicious
- Granny Smith
- Braeburn
- Jonagold
Avoid apples labeled as “great for applesauce” only, as they break down quickly and give you a mushy filling rather than nice slices.
Basic Apple Pie Filling Formula (Per Quart Jar)
This is a per-quart guide so you can scale the recipe up or down, based on the number of jars you want. It follows proportions similar to tested home-canning recipes for safety.
Per 1 quart of pie filling (about enough for part of one pie):
- 3½ cups blanched, sliced apples
- ¾ cup sugar (you can slightly reduce or increase to taste)
- ¼ cup Clear Jel® (cook type)
- ½ cup water
- ¾ cup apple juice
- 2 tablespoons bottled lemon juice (not fresh – for consistent acidity)
- ½ teaspoon cinnamon (optional)
- Pinch of nutmeg (optional)
To fill a standard 9-inch pie generously, you’ll usually need around 2 quarts of filling.
💡 Tip: It’s often easiest to make a big batch for 7 quarts at once (a common canner load). Just multiply everything by 7.
Equipment You’ll Need
- Water-bath canner (or a deep pot with a rack and lid)
- Quart or pint canning jars with two-piece lids
- Large stockpot
- Large bowl for apples
- Jar lifter, ladle, bubble remover or spatula, and canning funnel
Step-by-Step: How to Can Apple Pie Filling
1. Prep your jars and canner
- Wash jars, lids, and bands in hot soapy water and rinse well.
- Keep jars hot (in simmering water or a warm oven, not boiling).
- Fill your water-bath canner with enough water to cover the jars by at least 2–3 cm and start heating it so it’s hot but not boiling yet.
2. Prep and blanch the apples
- Peel, core, and slice apples into even slices (about 0.5–1 cm thick).
- Drop slices into a bowl with cool water and a little lemon juice to prevent browning.
- Bring a large pot of water or apple juice to a boil.
- Blanch the drained apple slices for about 1 minute in the simmering liquid.
- Drain and keep the apples hot in a covered pot or bowl.
Blanching helps the apples heat evenly in the jars and improves texture in the finished filling.
3. Cook the spiced syrup
In a large pot:
- Whisk together the sugar, Clear Jel, and spices (if using).
- Add the water and apple juice and stir well.
- Cook over medium heat, stirring constantly, until the mixture becomes thick and bubbly.
- Add the bottled lemon juice and boil the mixture for 1 more minute.
You now have a glossy, spiced syrup ready for the apples.
4. Combine apples and syrup
- Gently fold the hot apple slices into the thickened syrup.
- Stir carefully so you don’t break up the fruit, but make sure everything is evenly coated and hot.
5. Fill the jars
- Place a hot jar on a towel.
- Using a canning funnel, pack in the hot apple pie filling, leaving 1 inch (2.5 cm) of headspace at the top.
- Slide a non-metallic spatula or bubble remover down the sides of the jar to release trapped air. Add more filling if the level drops below 1 inch.
- Wipe the rim of the jar with a clean damp cloth.
- Put on the lid and screw band until fingertip-tight (snug, not cranked down).
Repeat with the remaining jars.
6. Process in a boiling-water bath
- Place filled jars in the canner, making sure they are covered by at least a couple of centimeters of water.
- Bring the canner to a full rolling boil with the lid on.
- Once boiling, process pints or quarts for 25 minutes if you are at altitudes up to 1,000 feet (about 300 m). Higher altitudes require a few extra minutes based on official guidelines.
- When time is up, turn off the heat, remove the lid, and let the jars rest in the hot water for 5–10 minutes. This helps prevent siphoning (when hot filling leaks out).
7. Cool and store
- Lift the jars carefully with a jar lifter and set them on a towel, leaving space between them.
- Let them cool undisturbed for 12–24 hours.
- Check seals: lids should be concave and should not flex when pressed in the center.
- Remove bands, wipe jars, label them with the contents and date, and store in a cool, dark place.
Properly processed and sealed jars are best used within 12–18 months for top quality.
Turn a Jar into Dessert in Minutes
Here’s the fun part: what to do when you actually open one.
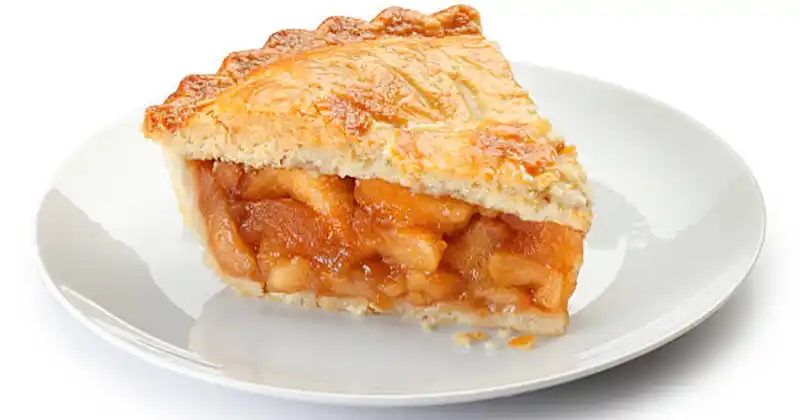
1. Classic quick apple pie (with store-bought dough)
You can absolutely use bought dough for this; that’s one of the big advantages!
- Preheat the oven to 190–200°C (375–400°F).
- Roll out a store-bought pie crust and line a 9-inch pie dish.
- Pour in about 2 quarts of your canned apple pie filling (or enough to reach just below the rim).
- Top with a second crust or cut strips for a lattice. Seal and crimp the edges, cut a few slits for steam, and brush the top with a little milk or egg wash if you like.
- Bake until the crust is golden and the filling is bubbling in the center—usually 35–45 minutes.
- Let rest a bit before slicing so the filling sets.
That’s it: you didn’t peel a single apple today, but you’ve got a homemade pie.
2. Super-fast apple crumble
- Pour 1 jar of filling into a baking dish.
- Mix together oats, sugar, flour, and cold butter to make a crumbly topping.
- Sprinkle on top and bake at 180–190°C (350–375°F) until the topping is browned.
You’ve just turned a jar into a rustic dessert with almost no work.
3. Mini pies and turnovers
- Use store-bought puff pastry or pie dough.
- Cut circles for mini pies (in a muffin tin) or squares for turnovers.
- Add a spoonful of filling, seal the edges, and bake until puffy and golden.
4. Toppings and breakfast treats
Pint jars are perfect for:
- Spoonfuls over ice cream
- Swirled into yogurt
- As a topping for pancakes, waffles, or French toast
- Layered in parfait glasses with granola and cream or yogurt
Extra Tips for Success
- Don’t skip the bottled lemon juice – it keeps acidity high and consistent for safe canning.
- Leave enough headspace – apple pie filling expands in the jar, so that full 1 inch is important.
- If a jar doesn’t seal – store it in the fridge and use within about a week instead of putting it on the shelf.
- Watch for siphoning – if some filling boils out into the canner, don’t panic. As long as the jar sealed, it’s still safe; just clean it once cooled and store as usual.

A Jar of Pie on Your Shelf
Canning your own apple pie filling is like stocking your pantry with jars of comfort and nostalgia. Once you’ve gone through the process a couple of times, it becomes a simple autumn ritual: apples in season, jars lined up, and future desserts already “half-made.”
With those jars ready, all you need is a roll of dough—homemade or store-bought—and a bit of oven time to turn an ordinary day into a quick, delicious apple-pie moment.