Starting a Mealworm Farm at Home for Chicken Feed: A Comprehensive Guide
Mealworms are a nutritious and sustainable feed option for chickens, and starting a mealworm farm at home can be a rewarding endeavor. Not only is it cost-effective, but it also ensures a steady supply of high-quality protein for your chickens. This detailed guide will take you through the process step by step, ensuring you have all the information needed to start a thriving mealworm farm.
Understanding Mealworms
Before diving into farming, it’s essential to understand what mealworms are. Mealworms are the larval form of the mealworm beetle, Tenebrio molitor, a species of darkling beetle. They are high in protein and fat, making them an excellent food source for poultry.
Step 1: Setting Up Your Mealworm Farm
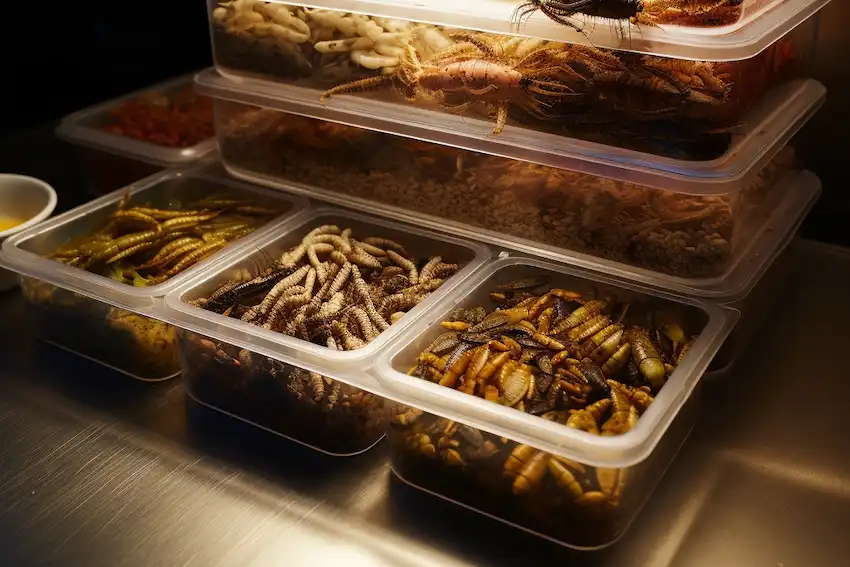
- Choose the Right Container: Start with a smooth-sided container to prevent mealworms from climbing out. Plastic storage bins or glass aquariums work well. Ensure the container is at least 12 inches deep.
- Prepare the Substrate: Mealworms need bedding that doubles as a food source. A mixture of wheat bran or oatmeal with a small amount of brewer’s yeast works well. Fill the container with about 3 inches of this substrate.
- Maintain Ideal Conditions: Mealworms thrive in temperatures between 75°F and 80°F with low humidity. Consider placing the container in a warm, dark place like a closet or a garage.
Step 2: Adding Mealworms
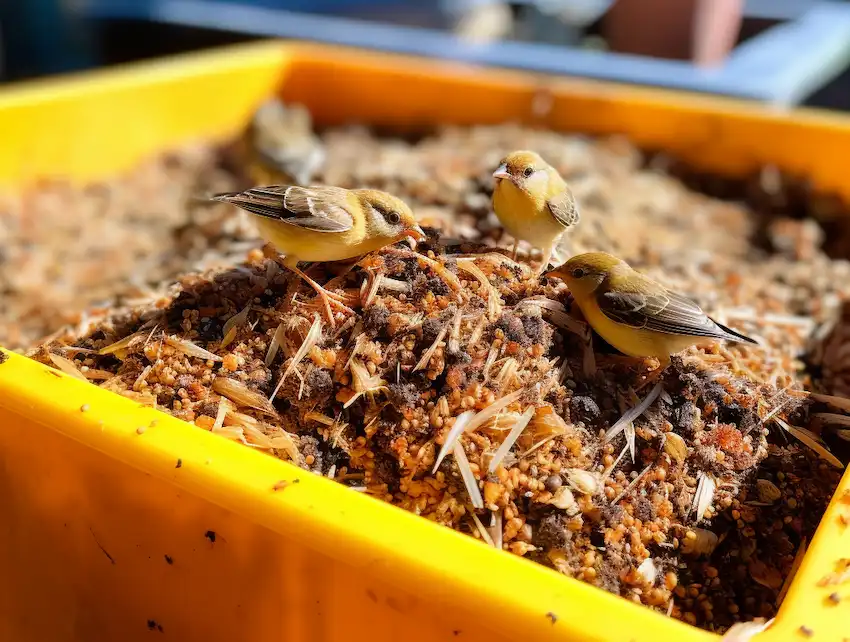
- Purchasing Mealworms: You can buy mealworms from pet stores, bait shops, or online. Starting with 500 to 1000 mealworms is a good initial population.
- Introducing Mealworms to the Farm: Gently place the mealworms on top of the substrate. They will burrow and make themselves at home.
Step 3: Feeding and Maintenance
- Feeding Your Mealworms: Offer fresh slices of fruits and vegetables such as carrots, potatoes, or apples for moisture. Remove and replace any uneaten or moldy pieces regularly.
- Regular Maintenance: Sift through the substrate weekly to remove frass (mealworm waste) and shed skins to prevent mold and mites. A kitchen strainer works well for this.
Step 4: Harvesting Mealworms
- Identifying Harvest Time: Mealworms are ready to harvest before they turn into pupae. Look for fully-grown, plump mealworms, about 1-2 inches long.
- Harvesting: Use a sieve or your hands to collect the mealworms. Store harvested mealworms in a container in your refrigerator to slow down their metabolism if you’re not using them immediately.
Step 5: Ensuring Continuous Production
- Allowing for Lifecycle Completion: To maintain your farm, allow some mealworms to mature into beetles. Beetles will lay eggs, ensuring a continuous supply of mealworms.
- Separating the Beetles: Once mealworms pupate and turn into beetles, move them to a separate container to lay eggs. This prevents cannibalism and ensures the eggs are laid in a fresh substrate.
Step 6: Troubleshooting Common Issues
- Mold: Ensure your farm is well-ventilated and remove any uneaten food promptly.
- Mites: Keep the farm clean and consider using food-grade diatomaceous earth to manage infestations.
- Odor: A well-maintained mealworm farm should not smell. Remove dead worms and excess food regularly.
Benefits of a Home Mealworm Farm
- Sustainability: Growing your mealworms reduces reliance on store-bought chicken feed and supports a more sustainable living practice.
- Cost-Effective: After the initial setup, the cost of maintaining a mealworm farm is minimal, mainly involving the substrate and occasional fresh produce.
- Nutritional Value: Mealworms are a rich source of protein and essential nutrients, contributing to the health and growth of your chickens.
- Closing Thoughts
- Starting a mealworm farm at home for your chickens is a straightforward and beneficial project. It’s a sustainable way to provide a high-protein diet to your poultry and can be a fascinating endeavor for anyone interested in a more self-sufficient lifestyle. By following the detailed steps outlined in this guide, you’ll be well on your way to establishing a successful mealworm farm right in your own home. Remember, patience and regular maintenance are key to your farm’s success. Happy farming!