Simple Pickled Hot Peppers: A Traditional Recipe
Pickling vegetables, especially hot peppers, is a delicious and time-honored method to preserve seasonal produce while enhancing their flavors. Pickled hot peppers add a tangy, spicy kick to your meals and balance flavors with a perfect mix of sour, salty, and heat. In this article, we’ll guide you through a simple process to pickle light green hot peppers, providing you with a tasty condiment that can be enjoyed all year long.
Why Pickled Hot Peppers?
Pickled hot peppers are versatile and can be used in a variety of dishes, from sandwiches and salads to grilled meats and pizzas. They elevate the flavors of any meal, whether you prefer mild heat or fiery spice. Plus, this pickling recipe is quick, easy, and requires basic kitchen ingredients, allowing you to enjoy long-lasting preserved peppers without the need for special equipment.
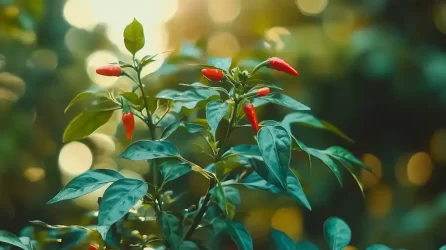
If you’re growing your own peppers, learn how to prune peppers for maximum production or discover secrets to grow peppers faster and bigger.
Ingredients:
- 1 kg of light green hot peppers (any variety)
- 4 tablespoons of salt
- 1 tablespoon of sugar
- 1 liter of water
- ½ cup of white vinegar
- 6–8 garlic cloves (optional)
- 1 lemon (cut into slices)
- 2 liters of plastic bottles (for initial pickling)
- Glass jars (for long-term storage)
Step-by-Step Instructions
1. Prepare the Peppers
Start by washing the light green hot peppers thoroughly. Cut them lengthwise, creating a slit so the brine can permeate the pepper. Place the peppers into clean, dry 2-liter plastic bottles. This container helps the peppers stay submerged in the brine during the fermentation process.
2. Make the Brine
In a large bowl, dissolve 4 tablespoons of salt and 1 tablespoon of sugar in 1 liter of water. Stir until fully dissolved. This brine will infuse the peppers with a tangy, salty flavor during fermentation.
3. Fill the Bottles
Carefully pour the brine into the plastic bottles, making sure the peppers are fully submerged. Seal the bottles with the caps, shake gently to mix, and place them in a warm, sunny spot for two days. This will initiate the fermentation process, helping the peppers absorb the flavors.
4. Drain and Prepare the Final Pickling Liquid
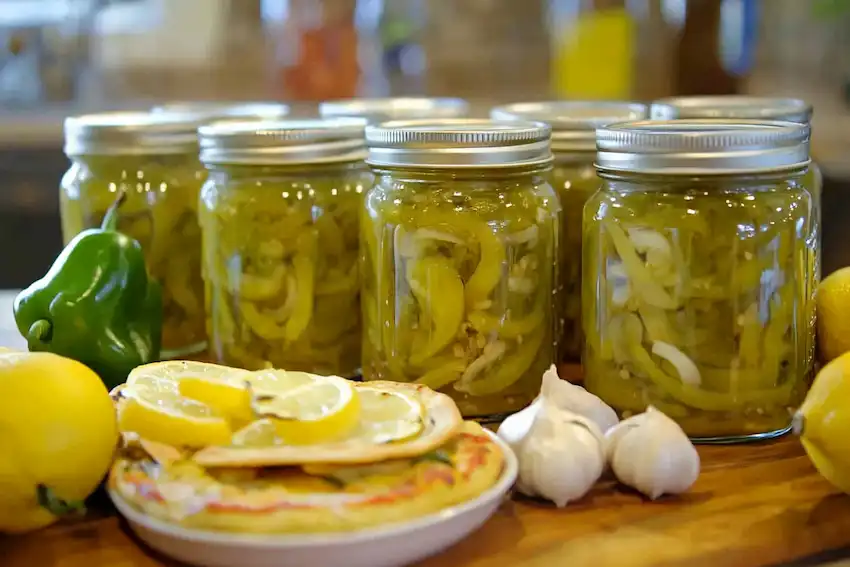
After two days, open the bottles and drain the liquid. In a new bowl, mix ½ cup of white vinegar, fresh water (enough to cover the peppers), garlic cloves, and lemon slices. This final brine enhances the flavor while preserving the peppers for long-term storage.
5. Transfer to Glass Jars
Move the peppers from the plastic bottles to glass jars, and pour the new brine mixture over them. Make sure the peppers are fully submerged. Glass jars are ideal for preserving and storing the peppers for months.
6. Store and Enjoy
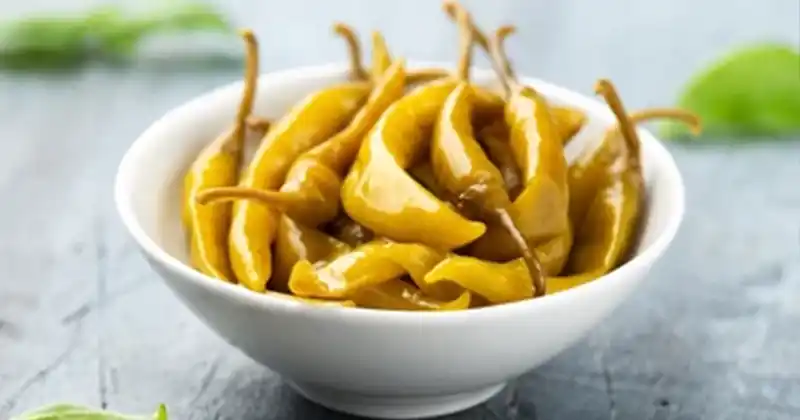
Seal the jars tightly and store them in the refrigerator. The peppers can be enjoyed after a day, but for the best flavor, let them sit for a week. Stored properly, your pickled hot peppers will last up to one year.
Additional Tips:
- Customizing Heat Levels: For a milder version, remove the seeds before pickling, or for a spicier kick, leave them in and even add extra chili flakes.
- Using the Pickling Liquid: The leftover brine is great as a base for salad dressings or marinades.
- Serving Ideas: Use pickled hot peppers in sandwiches, salads, grilled meats, or even on pizza for a spicy, tangy twist.
Pickling hot peppers is a simple, rewarding process that results in a delicious condiment perfect for adding spice and flavor to countless dishes. Whether you’re preserving homegrown peppers or store-bought ones, this recipe is foolproof and easy to follow. Pickled hot peppers can become a pantry staple, offering zest and heat to any meal. Try it today and enjoy the tangy, spicy goodness of homemade pickled peppers!