Mastering the Art of Threading a Needle: A Simple Trick with a Bottle Cap
Threading a needle can be a daunting and frustrating task at times. Whether it’s due to vision problems or simply the challenge of getting the thread through the tiny eye of the needle, we’ve all experienced moments when we wished for a simpler solution. But fear not! In this article, we’ll introduce you to a clever and easy-to-use trick that will make threading a needle a breeze. All you need is a bottle cap and some thin wire. Keep reading to discover how it’s done.
Steps to Thread a Needle Using a Bottle Cap:
Gather Your Materials:
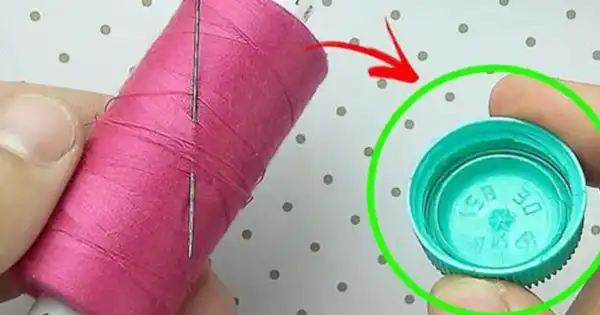
- A bottle cap: Ensure it’s large enough to accommodate the thread you’ll be using.
- Thin wire: Choose a slender yet sturdy wire that can be easily manipulated.
Cut the Bottle Cap as Follows:
- Take the bottle cap and, with utmost care, make a cut along the upper edge of the cap. This will create an opening for attaching the wire.
Shape the Wire: 2. Take the thin wire and fashion a hook at one end. This hook will be responsible for holding the thread and passing it through the needle’s eye.
Insert the Wire into the Bottle Cap: 3. Slide the end of the wire with the hook through the opening you created in the bottle cap. Ensure the hook remains inside the cap.
Use Your Improvised Threader: 4. Now, insert the needle, followed by the end of the thread, into the hook of the wire inside the bottle cap. Gently pull the wire outward, dragging the thread through the cap’s opening. You’ll witness the thread effortlessly threading itself!
And there you have it! You’ve crafted your very own improvised threader using a bottle cap and thin wire. Now, you can thread a needle without difficulty.
Say goodbye to the frustration of needle threading and hello to a handy solution that simplifies the task. With this bottle cap trick, you’ll be stitching, sewing, and mending with ease!