Master the Art of Fixing Wall Cracks and Fissures: Step-by-Step Guide (Quick and Easy)

As the years go by, it’s common to notice scratches and cracks in various parts of our homes. These issues are relatively easy to repair, but first, you need to determine whether you’re dealing with a simple scrape, a fissure, or a full-blown crack. In this guide, we’ll walk you through the step-by-step process of identifying and fixing these common wall imperfections.
Understanding Wall Damage:
Before attempting any repairs, it’s essential to differentiate between scratches, fissures, and cracks.
- Scratches: These are minor surface imperfections, usually around 1 centimeter deep, primarily affecting paint or plaster. They can be easily corrected with the following steps.
- Fissures: Deeper than scratches, fissures range from 1 to 3 centimeters in depth. They are safe to repair yourself as long as they don’t allow rainwater, wind, or streetlight to penetrate. However, if they are close to structural elements like beams, columns, or slabs, it’s advisable to consult a professional to rule out underlying structural issues.
- Cracks: Cracks are deeper than 3 centimeters (potentially dangerous) and should not be addressed without professional intervention, as attempting a DIY repair might hide severe structural problems.
With this understanding, you can decide whether to tackle the repair yourself or call in a professional. If you opt for the DIY approach, follow these steps carefully:
Materials You’ll Need:
- Rubber gloves
- Safety mask
- Plastic sheeting
- Sandpaper
- Trowel (plastic or metal)
- Spatula
- Brush
- Putty (or a similar product designed for this purpose)
Step-by-Step Repair:
- Begin by laying plastic sheeting around the repair area to prevent any mess on your floor.
- Prioritize your safety by wearing a safety mask and rubber gloves.
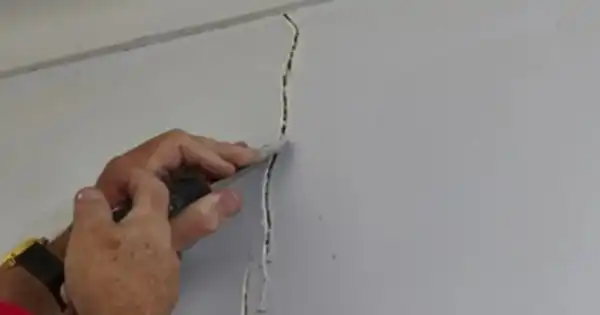
- Gently use a spatula to remove loose debris from within the crack or fissure.
- With a brush, ensure that all remaining dust is thoroughly removed to facilitate better adhesion of the repair product.
- It’s crucial that the repair area is completely dry.
- Gradually fill the crack or fissure with putty until it’s completely filled.
- Use the trowel to smooth the putty over the repair area, ensuring a neat finish.
- Allow the putty to dry for 24 to 48 hours.
- Once the putty is dry, use sandpaper to eliminate any imperfections.
- Finally, paint over the repaired area to match the color of your wall.
With these straightforward steps, you can successfully address this issue. If you’re not satisfied with the result, don’t hesitate to practice or seek assistance from a professional.


