Keep Your Plants Happy and Hydrated: The DIY Drip Irrigation System
Gardening enthusiasts know the perennial worry that comes with leaving plants unattended for a few days. Whether you’re planning a short trip away from home or simply wish to reduce the daily chores, ensuring your green friends receive the right amount of water is crucial. Enter the ingenious DIY drip irrigation system, a straightforward and cost-effective solution that caters to your plants’ watering needs in your absence.
Materials You’ll Need:
- A 5-liter (or larger) plastic bottle
- Two tubes, each about 1 meter in length and 1 cm in diameter
- A piece of cloth (preferably cotton)
- A drill or a sharp tool to make holes in the bottle cap
Step-by-Step Guide:
- Prepare the Bottle: Begin by cleaning the plastic bottle thoroughly. This system is not only environmentally friendly by recycling a plastic bottle, but it also ensures that your plants receive clean water, free from any contaminants.
- Modify the Cap: Use a drill or a sharp object to create two holes in the cap of the bottle. The diameter of these holes should be slightly smaller than that of the tubes to ensure a snug fit. This step is crucial as it lays the foundation for the controlled water flow that is central to this irrigation method.
- Thread the Tubes: Cut a piece of cloth into a narrow strip and thread it through the two tubes. This cloth acts as a wick, ensuring a consistent flow of water through the tubes, preventing any blockages and facilitating even distribution.
- Insert the Tubes: Push the tubes through the holes in the cap, ensuring they reach the bottom of the bottle. This setup allows the water to be pulled through the cloth and tubes, utilizing gravity and capillary action to water your plants.
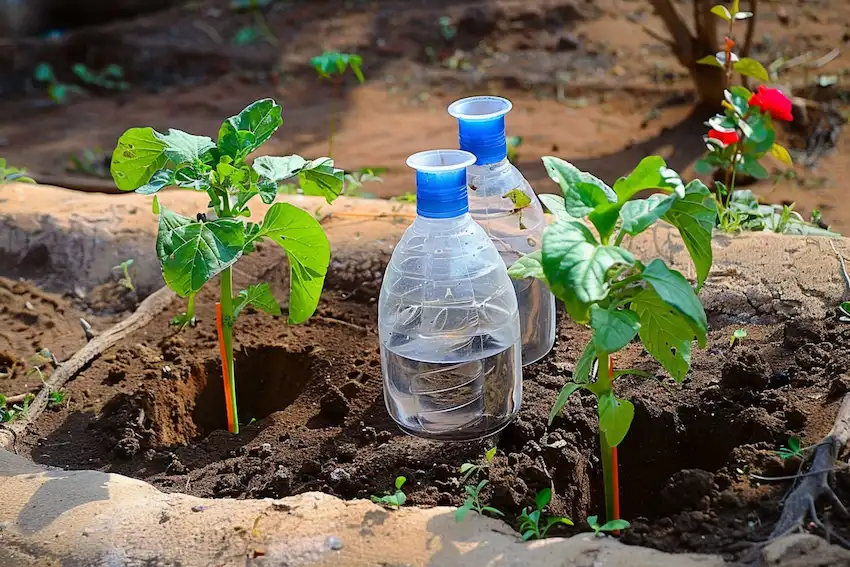
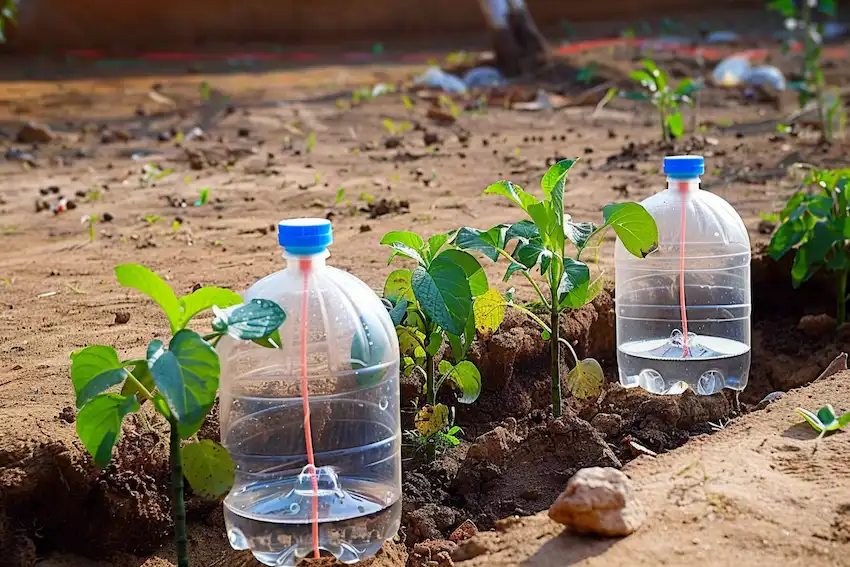
- Position the System: Fill the bottle with water, screw the cap on, and position it above the plants. Bend the parts of the tubes that extend out of the bottle and secure them to the sides of the bottle with ties, making sure the ends face the ground near the base of the plants.
- Adjust as Needed: The beauty of this system lies in its adaptability. For plants that require more water, you can use tubes with a larger diameter. Similarly, if you’re going to be away for an extended period, opt for a larger bottle to increase the water supply duration.
Benefits and Tips:
This DIY drip irrigation system offers a multitude of benefits. It’s not only an efficient way to recycle plastic bottles, but it also provides a steady and controlled supply of water to your plants, mimicking natural rainfall. The setup is adaptable to various plant types and sizes, ensuring that your garden remains vibrant and healthy.
For optimal results, consider the following tips:
- Position the bottle high enough to utilize gravity effectively but ensure it’s secure to prevent tipping.
- Experiment with different types of cloth to find the best wicking material for your setup.
- Monitor the system for the first few days to adjust the flow rate and positioning as necessary.
This unique DIY drip irrigation system is a testament to the power of simple, sustainable solutions to everyday gardening challenges. By repurposing household items, you can ensure your plants remain hydrated and healthy in an eco-friendly manner. Happy gardening!
Inspired by this? Share the article with your friends!