How to Plant in Straw Bales: A Step-by-Step Guide
Straw bale gardening is an innovative and efficient way to grow a variety of plants without the need for traditional soil beds. It’s especially popular among urban gardeners, those with limited space, or individuals looking for an alternative to traditional gardening methods. In this comprehensive guide, we’ll walk you through the steps to successfully plant and grow in straw bales.
Materials You’ll Need:
- Straw bales (avoid hay, as it contains seeds)
- Fertilizer
- Soil
- Plants or seeds
- Water source
- A sunny location
Step 1: Selecting the Right Straw Bales
- Choose straw bales that are tightly bound and in good condition.
- Ensure they have not been treated with herbicides or pesticides.
Step 2: Positioning Your Straw Bales
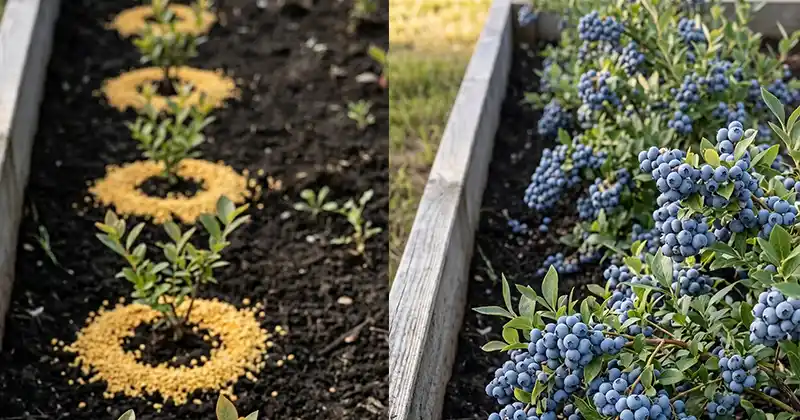
- Place the straw bales in a sunny location, as most plants require at least 6-8 hours of sunlight daily.
Step 3: Conditioning the Straw Bales
- Water the straw bales thoroughly for several days.
- Apply a nitrogen-rich fertilizer daily for about a week. This will kick-start the decomposition process inside the bales.
- Keep the bales moist during this conditioning phase.
Step 4: Creating Planting Holes
- After about ten days, the interior of the straw bales will become warm and nutrient-rich.
- Dig holes about 6 inches deep and 12 inches apart on the top of each straw bale.
- Fill the holes with a mixture of soil and compost.
Step 5: Planting
- Plant your seeds or seedlings in the prepared holes.
- Ensure proper spacing between plants to allow for growth.
Step 6: Watering
- Keep the straw bales consistently moist, especially during the initial growth phase.
- Straw bales tend to dry out faster than traditional soil, so regular watering is crucial.
Step 7: Fertilizing
- Continue to fertilize your plants regularly with a balanced fertilizer according to the specific requirements of the plants you’re growing.
Step 8: Maintenance
- As the straw bales decompose over time, they will provide nutrients to your plants.
- Monitor for pests and diseases and take appropriate measures to protect your crops.
Step 9: Harvesting
- Harvest your crops as they become ready.
- Enjoy the bountiful rewards of your straw bale garden.
Benefits of Straw Bale Gardening:
- Excellent aeration and root development.
- Reduced risk of soil-borne diseases.
- Elevated gardening height, reducing strain on your back.
- Ideal for individuals with poor soil quality.
Conclusion:
Straw bale gardening is a fantastic alternative to traditional soil gardening, offering numerous benefits and the ability to grow a wide variety of plants in a compact space. With the right care and maintenance, you can create a thriving garden using straw bales, even in areas with challenging soil conditions or limited space. Happy gardening!