How to make solar panels using old soda cans
Creating a solar pop can heater is an innovative way to harness renewable energy for heating purposes. This DIY project involves the construction of a passive solar air heater using recycled aluminum cans as the primary material. The following guide is based on a synthesis of various sources, ensuring the information is comprehensive and useful for anyone interested in building their own solar pop can heater.
Step-by-Step Guide to Making a Solar Pop Can Heater
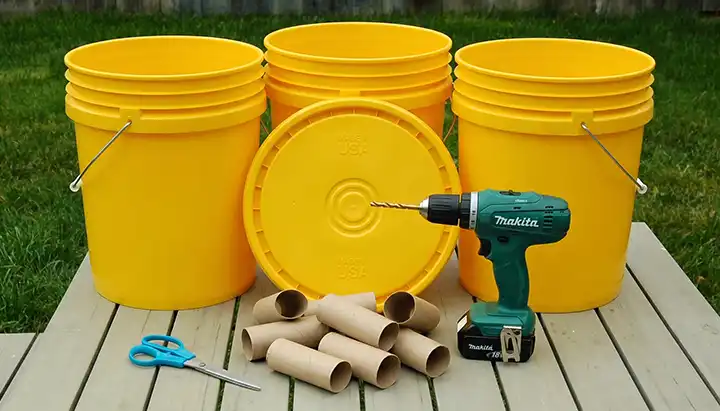
1. Collection of Materials

- Aluminum Cans: Start by collecting aluminum cans, such as pop cans, beer cans, and sparkling water cans. You will need a significant number of these cans, so begin collecting them early.
2. Gathering Additional Supplies
- High Heat Black Spray Paint: For painting the cans, which helps in absorbing heat.
- High Heat Caulk/Glue: For securing the cans together.
- Wood: Including 1x4s and a piece of 1/4″ thick plywood for the back.
- Insulation: Foam board insulation or similar material.
- Glass Panel: A panel of glass, plexiglass, or tempered glass.
- Drill and Wood Screws: For assembling the structure.
3. Preparation of Cans
- Drilling Holes: Carefully drill three holes in the bottom of each can. These holes allow air to pass through the cans. Ensure all cans are clean and dry before drilling.
4. Assembly of the Heater

- Building the Box: Construct a box from the wood and plywood to house the cans. The size of the box is determined by the number of cans and the size of the glass panel.
- Stacking Cans: Stack the drilled cans on top of each other, securing them with high heat caulk or glue.
- Insulating the Box: Line the back and sides of the box with foam board insulation. Caulk all edges to ensure it’s airtight. Once dry, paint the insulation with high heat matte black spray paint.
- Securing the Glass Panel: Attach the glass panel to the top of the box, ensuring a good seal to keep the unit airtight.
5. Operation and Testing
- Solar Heating: Place the heater in a sunlit area. The black cans inside the box will absorb the sun’s heat, warming the air inside the cans. The holes in the cans create a turbine effect, spinning the air and increasing the heat absorption.
- Monitoring Temperature: You can measure the temperature inside the box with a thermometer. It’s expected that even on a cool day, the temperature inside the box can reach up to 160 degrees Fahrenheit.
- Orientation and Tilt: Ensure that the box is slightly tilted and facing the sun for optimal performance.
Tips and Considerations
- Design Variations: There are various designs and methods for building a solar pop can heater. Some designs are simple, suitable for a quick DIY project, while others are more complex and may offer better efficiency.
- Material Quality: Using materials with efficient thermal performance can significantly enhance the heater’s effectiveness. Commercially produced versions, like Cansolair panels, use high-quality materials, but similar results can be achieved with carefully selected DIY materials.
- Passive Solar Heating: This method is considered one of the most cost-effective renewable energies. It utilizes the energy from the sun by capturing it with an absorbing medium, in this case, the painted aluminum cans.

Building a solar pop can heater is a feasible and environmentally friendly project. By following these steps and using readily available materials, you can create an efficient heating source that harnesses solar energy. This project not only recycles materials but also provides a practical application of renewable energy principles. Remember to consider the specific requirements of your location, such as sun exposure and climate, to optimize the performance of your solar heater.