How To Make Skeleton Leaves
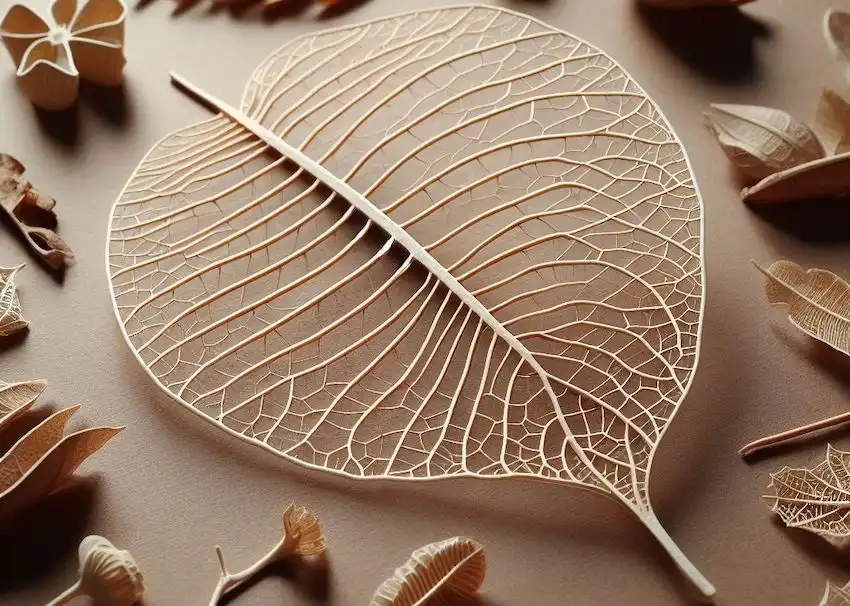
Skeleton leaves, with their intricate and delicate structures, are a beautiful and artistic way to preserve nature. These leaves are perfect for crafts, scrapbooking, or even as a standalone decoration. The process of making skeleton leaves involves removing the leaf tissue from between the veins while keeping the intricate vein structure intact. Here’s a detailed guide on how to create your own skeleton leaves.
Materials Needed:
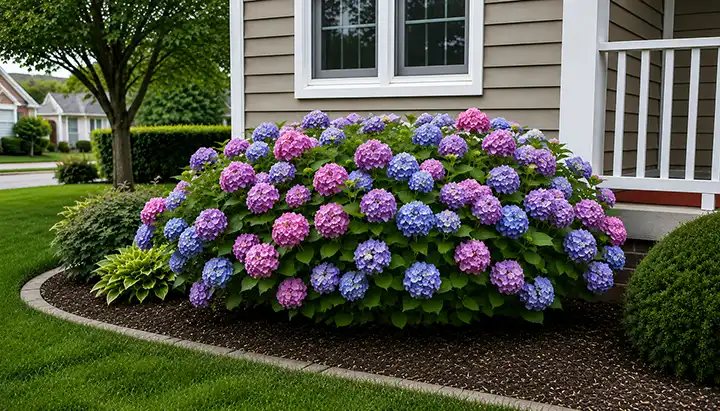
- Leaves (thicker leaves like magnolia or hydrangea work well)
- A large pot
- Water
- Washing soda (sodium carbonate)
- A soft brush or an old toothbrush
- A container for soaking
- Glycerin (optional, for preserving the leaves)
Step-by-Step Process:
- Collecting and Preparing Leaves: Choose leaves that are fresh and green, as dry leaves may break during the process. Thicker leaves tend to work best for skeletonizing.
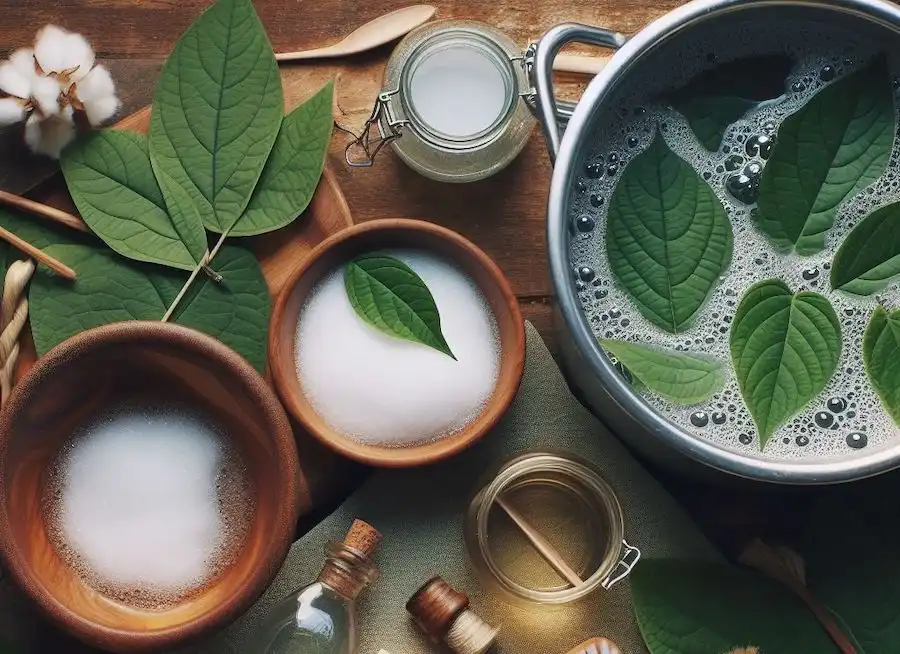
- Creating the Washing Soda Solution: Fill a large pot with water and heat it until warm, not boiling. Add about a tablespoon of washing soda per liter of water. Washing soda helps break down the leaf tissue.
- Soaking the Leaves: Submerge the leaves in the washing soda solution. Make sure they are fully immersed. The soaking time can vary from a few hours to a day, depending on the thickness and type of leaves.
- Removing the Flesh: After soaking, gently remove the leaves and lay them on a flat surface. Use a soft brush or an old toothbrush to carefully brush away the flesh of the leaf, leaving behind the vein structure. This step requires patience and a delicate touch.
- Rinsing and Drying: Once the leaf’s flesh is completely removed, rinse the skeleton leaf under running water to remove any remaining washing soda. Lay the leaves flat on a towel or hang them to dry.
- Preserving the Leaves (Optional): To preserve the skeleton leaves, you can soak them in a mixture of glycerin and water (one part glycerin to two parts water) for a few days. This step helps to keep the leaves flexible and less brittle.
- Drying and Storage: After preservation, if you choose to do so, allow the leaves to dry thoroughly. Store them flat in a cool, dry place until you are ready to use them in your projects.
Creative Uses:
Skeleton leaves can be used in a variety of craft projects. They are great for scrapbooking, card making, or even as part of a floral arrangement. You can also frame them as a unique piece of natural art.
Making skeleton leaves is a fun and rewarding craft that captures the beauty of nature in a delicate and unique form. With patience and careful handling, you can transform ordinary leaves into stunning pieces of art.