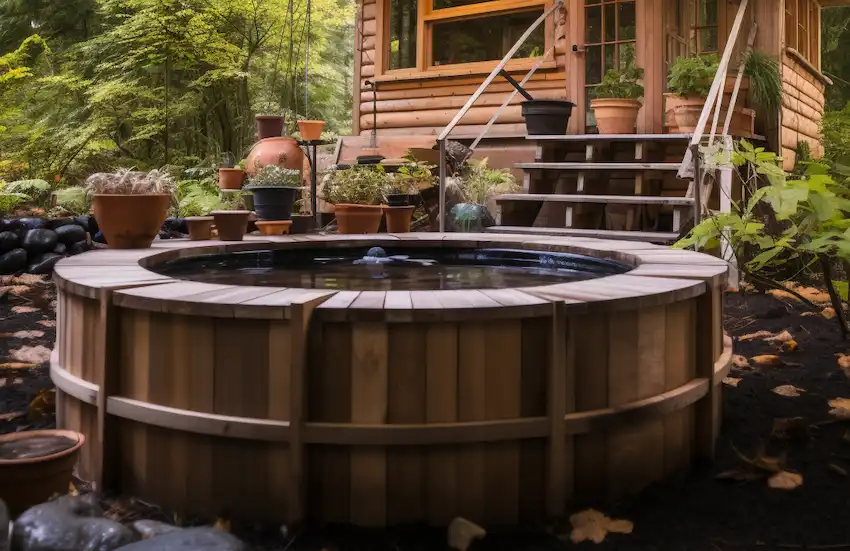
How to Build Your Own Wood-Fired Hot Tub
Creating your very own wood-fired hot tub can be a rewarding DIY project. Not only will it provide a cozy and relaxing space in your backyard, but it also brings a sense of accomplishment and the joy of craftsmanship. This comprehensive guide will walk you through the steps of building a wood-fired hot tub, ensuring you can enjoy those tranquil moments in no time.

Materials and Tools Required
1. Materials:
- Cedar or Redwood lumber (for durability and resistance to rot)
- Stainless steel screws and bolts
- Aluminum stove pipe (for the wood stove)
- Silicone sealant
- Heat resistant piping
- Fiberglass insulation (optional for heat retention)
- Copper coils (for the heating system)
- Sand and gravel (for base)
2. Tools:
- Circular saw
- Drill
- Measuring tape
- Level
- Shovel
- Wrench set
- Pipe wrench
- Sandpaper
Step-by-Step Guide
1. Designing Your Hot Tub:
- Determine the size and shape of your hot tub. Traditional tubs are circular, but you can opt for a square or rectangular shape based on your preference and space.
- Plan the seating inside the tub and ensure there’s enough room for the number of people who will use it.
2. Preparing the Site:
- Choose a solid, level area in your backyard. Clear the space of any debris, grass, or stones.
- Dig a foundation if required, and fill it with a layer of gravel for drainage, followed by sand for a level and stable base.
3. Building the Tub:
- Cut the lumber to your desired dimensions. Sand the edges to prevent splinters.
- Assemble the sides of the tub using screws and bolts. Ensure the corners are square and the sides are vertically level.
- Install seats inside the tub by securing wooden planks at your preferred height.
4. Sealing and Insulating:
- Apply silicone sealant between the lumber joins to make your tub watertight.
- If desired, add fiberglass insulation around the exterior of the tub to retain heat.
5. Creating the Heating System:
- Build a wood-fired stove using a metal barrel or purchase a pre-made wood stove.
- Install the stove near the tub and connect it using heat-resistant piping.
- Coil copper piping inside the tub, connecting it to the stove. This will allow water to heat as it circulates through the pipes.
6. Finishing Touches:
- Fill the tub with water and fire up your wood stove. Check for any leaks and ensure the water heats up effectively.
- Add accessories like a wooden cover to keep debris out and retain heat when the tub is not in use.
- Consider adding a drain for easy water changes and a staircase or deck for easy access.

7. Safety Considerations:
- Ensure the wood stove is stable and positioned on a non-flammable surface.
- Regularly check the temperature of the water to prevent it from getting too hot.
- Maintain clear space around the stove and ensure proper ventilation to prevent smoke and fire hazards.
Building your own wood-fired hot tub is a challenging yet fulfilling project. It requires careful planning, a bit of muscle, and attention to detail. Once completed, it provides a rustic and relaxing retreat right in your backyard. So grab your tools, roll up your sleeves, and get ready to soak in the fruits of your labor!


