Cultivating Onions in Plastic Cups: A Space-Saving Guide to Indoor Gardening
In today’s fast-paced world, the desire to grow your own fresh produce has led to innovative solutions for urban gardening. One such method is cultivating onions in plastic cups. This space-efficient and beginner-friendly approach allows you to enjoy homegrown onions even if you have limited outdoor space. In this article, we will walk you through the steps to successfully grow onions in plastic cups, from selecting the right varieties to caring for your plants until harvest.

Materials Needed:
- Plastic cups (1 per onion plant)
- Onion sets or seeds
- Potting soil
- Watering can or spray bottle
- Sunny windowsill or artificial grow lights
- Fertilizer (optional)
Step-by-Step Guide:
1. Choose the Right Onion Variety:
Selecting the appropriate onion variety is crucial for success. Since you’ll be growing them in plastic cups, opt for smaller or miniature onion varieties that are better suited for container gardening. Some recommended varieties include ‘White Lisbon,’ ‘Evergreen Long White Bunching,’ and ‘Purplette.’
2. Prepare the Plastic Cups:
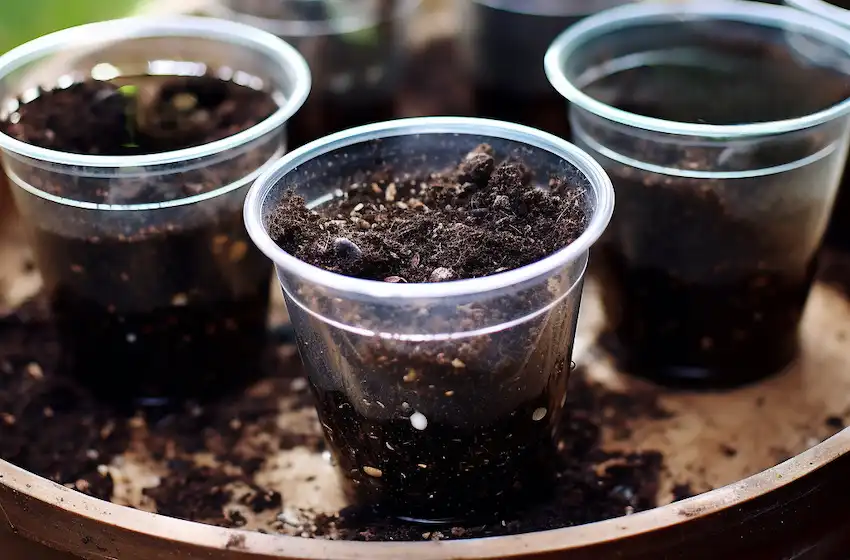
Choose plastic cups with a capacity of at least 8-10 ounces and with drainage holes at the bottom. Fill the cups with well-draining potting soil, leaving about an inch of space at the top.
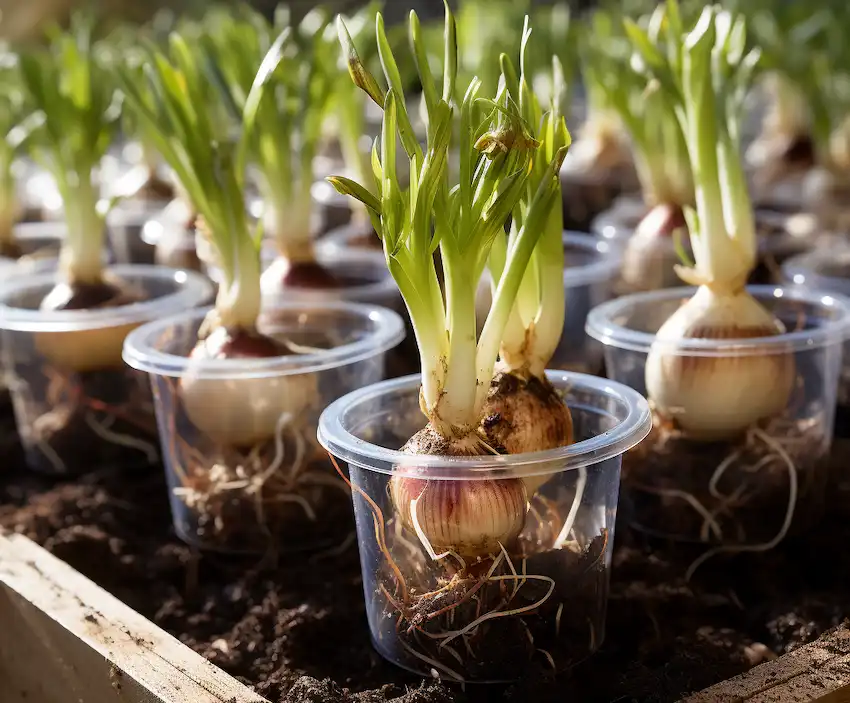
3. Planting Onions:
- If using onion sets (small bulbs), plant them with the pointed end facing up. Push the sets about an inch into the soil, leaving the tip exposed.
- If using onion seeds, scatter them evenly across the soil surface and lightly press them into the soil. Cover with a thin layer of soil.
4. Watering:
Water the soil thoroughly after planting to ensure proper moisture. Use a watering can or a spray bottle to avoid disturbing the seeds or sets. Keep the soil consistently moist but not waterlogged throughout the growing process.
5. Provide Adequate Light:
Place the plastic cups in a location with ample sunlight, preferably a sunny windowsill. If natural light is insufficient, you can supplement it with artificial grow lights, keeping them on for 12-14 hours a day.
6. Thin the Seedlings (if necessary):
If you’ve planted onion seeds and multiple seedlings emerge in one cup, thin them out to provide each plant with enough space to grow. Snip off the weaker seedlings at ground level, leaving the strongest one to flourish.
7. Fertilizing (optional):
Onions don’t require heavy feeding, but a diluted liquid fertilizer can be applied every few weeks during the growing season to support their growth. Follow the instructions on the fertilizer label for proper dilution.
8. Maintain Proper Care:
- Keep an eye on the moisture level of the soil, ensuring it doesn’t dry out completely.
- Rotate the cups occasionally to ensure even sunlight exposure and prevent leaning growth.
- Trim any dead or yellowing leaves to encourage healthy growth.
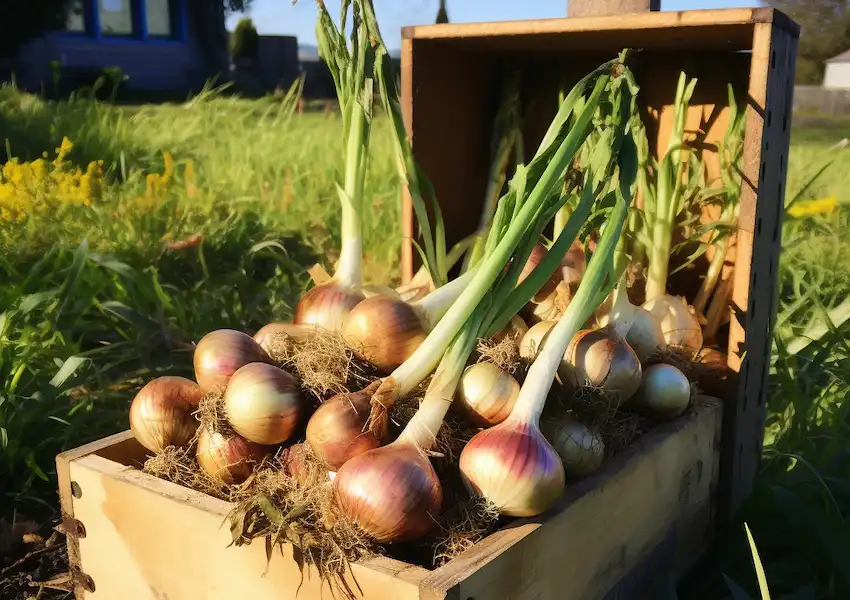
9. Harvesting:
As your onion plants grow, the tops will start to yellow and flop over. This signals that they are ready for harvest. Gently pull the onions from the soil and allow them to cure in a dry, well-ventilated area for a week or two. Once the outer layers are dry, brush off any loose dirt and store your harvested onions in a cool, dry place.
Growing onions in plastic cups is an accessible and space-efficient way to experience the joy of cultivating your own fresh produce, even in limited spaces. With the right variety, proper care, and a little patience, you can enjoy the rewarding experience of watching your onion plants thrive and produce homegrown onions that are full of flavor and nutrition. Happy indoor gardening!