Create a Nutrient-Rich Mini Ecosystem: Bottle Composting 101
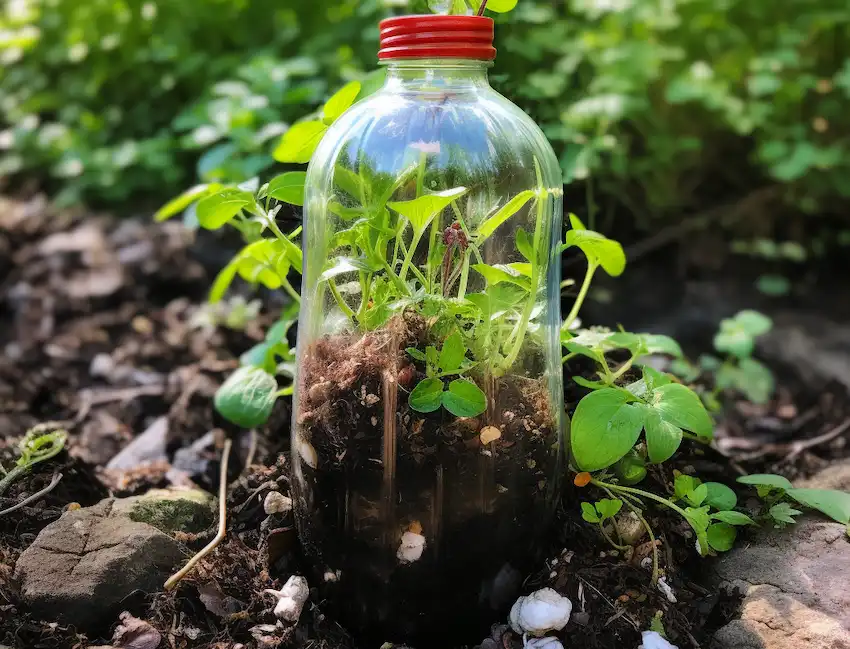
Transform an ordinary plastic bottle into a miniature composting powerhouse with this simple and sustainable DIY project. Perfect for urban dwellers, educators looking to bring hands-on sustainability lessons into the classroom, or anyone interested in reducing their ecological footprint, bottle composting is an excellent way to start.
Materials You’ll Need:
- A large clear plastic bottle (a 2-liter bottle is ideal)
- A sharp pair of scissors or a utility knife
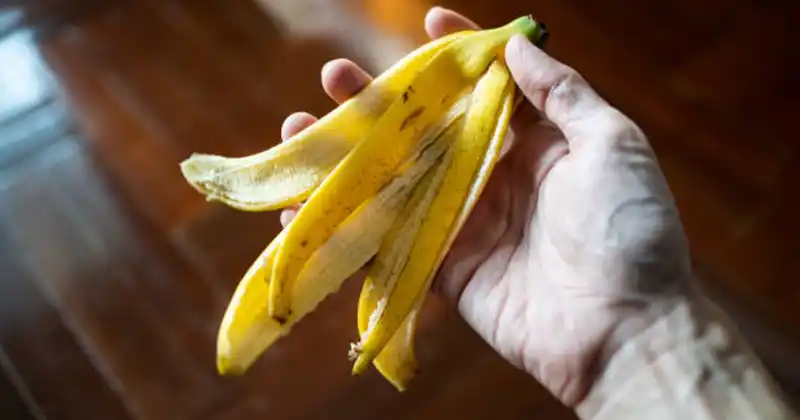
- A variety of organic waste (vegetable peels, fruit scraps, coffee grounds)
- Shredded newspaper or other carbon-rich materials
- Soil (a few handfuls of garden soil will do)
- A drill or a sharp object to make small drainage holes
Building Your Bottle Compost – Layer by Layer:
- Prepare the Bottle: Clean the bottle thoroughly, removing labels and adhesives. Cut the top off to create a wide opening, and poke several small drainage holes in the bottom.
- Layer 1 – Soil: Place a layer of soil at the bottom of the bottle to start the composting process with microorganisms.
- Layer 2 – Veggie and Fruit Scraps: Add a layer of chopped-up vegetable and fruit scraps. Smaller pieces decompose faster.
- Layer 3 – Soil: Another layer of soil goes on top of the scraps to cover them. This helps to reduce odors and speed up decomposition.
- Layer 4 – Leaves and Grass: Add dried leaves or grass clippings. These add carbon, which is essential for compost balance.
- Layer 5 – Soil: A third layer of soil is added, continuing the pattern of alternating between green and brown materials.
- Layer 6 – Newspaper: A layer of shredded newspaper will absorb excess moisture and further aid in carbon balancing.
- Layer 7 – Veggie and Fruit Scraps: Again, add another layer of your kitchen scraps to keep the green and brown material ratio even.
- Layer 8 – Soil: Add more soil to cover the organic materials.
- Layer 9 – Topsoil or Fertilizer: Finish with a layer of rich topsoil or a thin layer of organic fertilizer to introduce additional nutrients and microorganisms.
Maintaining Your Compost:
- Moisture: Check the moisture level regularly. The contents should feel like a damp sponge, not too wet or too dry.
- Aeration: Shake or stir the contents gently every week to aerate the compost, which is crucial for breaking down materials.
- Location: Keep the bottle in a warm area but away from direct sunlight.
The Waiting Game:
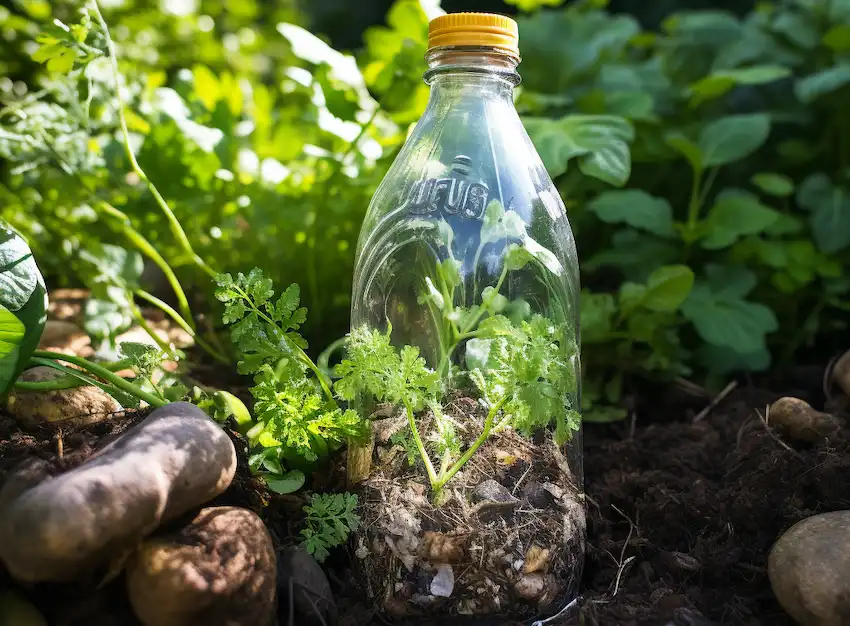
- Composting is a slow process; it may take a few months for the materials to break down into compost fully.
- When the bottom layers have turned into dark, crumbly compost, you can harvest it and use it to enrich your garden soil.
Bottle composting is a microcosm of nature’s recycling system. It’s an educational tool and a practical solution to organic waste. By following these steps, you’ll reduce your waste and create a valuable soil amendment for your plants. Get composting today and watch as your waste turns into wealth for your garden!
Inspired by this? Share the article with your friends!