How to Make a Compost Pile: A Comprehensive Step-by-Step Guide
Creating a compost pile is an eco-friendly way to recycle kitchen scraps and yard waste into nutrient-rich soil amendment for your garden. It’s a simple, cost-effective method to enrich your soil, reduce waste, and contribute to a healthier environment. This comprehensive guide will walk you through the process of building and maintaining an effective compost pile, step by step.
Understanding Composting
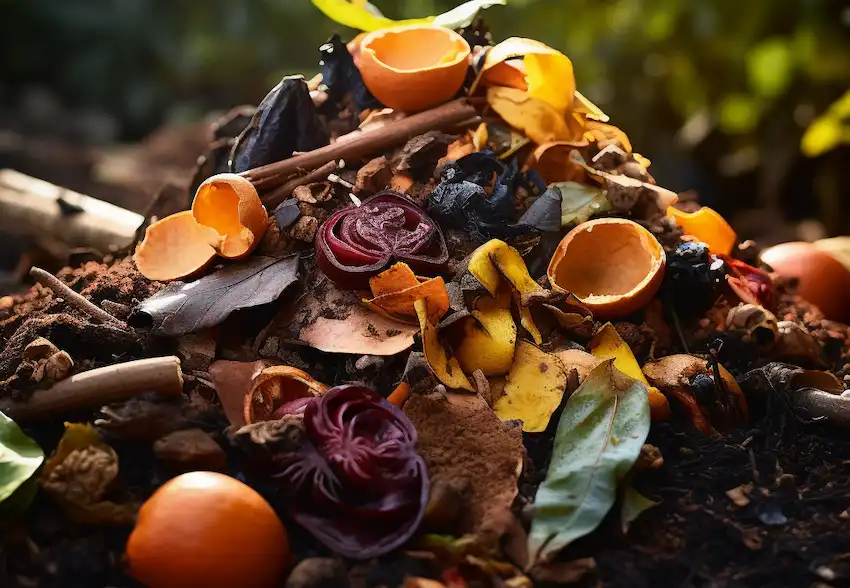
Composting is a natural process where organic materials decompose into a dark, crumbly substance that enriches the soil. Microorganisms, fungi, insects, and worms break down the organic matter in the presence of oxygen and moisture.
Step 1: Choose the Right Location
- Accessibility: Place your compost pile or bin in a convenient location, close to where you’ll use the compost and where you can easily add materials.
- Sunlight: A balance of sunlight and shade is ideal. Too much sun can dry out the pile, while too much shade can keep it too wet.
- Drainage: Ensure the location has good drainage to prevent waterlogging.
Step 2: Create a Base
Start with a layer of coarse material like small twigs or straw. This helps with aeration and drainage, preventing the pile from becoming too compacted and smelly.
Step 3: Add Compost Materials
Composting materials are divided into two categories:
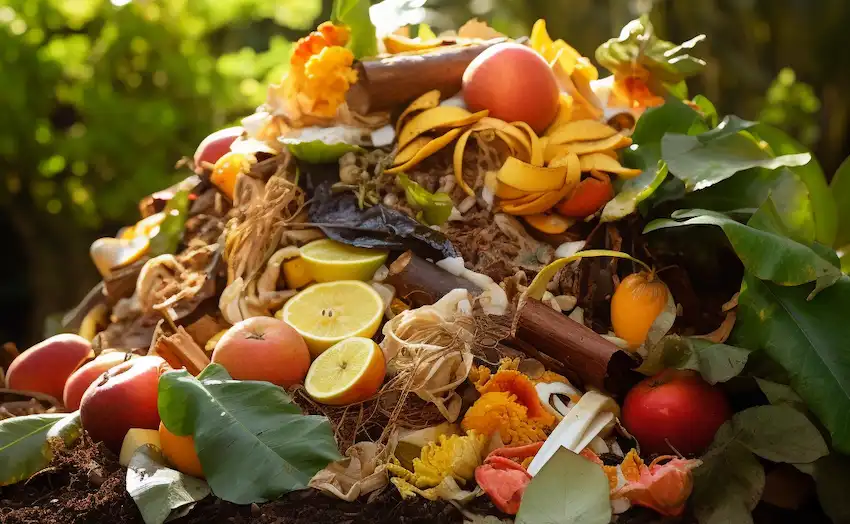
- Greens (Nitrogen-rich): Includes materials like kitchen scraps (vegetable and fruit peels), coffee grounds, fresh grass clippings, and plant trimmings.
- Browns (Carbon-rich): Includes dry leaves, straw, wood chips, shredded newspaper, and cardboard.
Tip: Maintain a balance of roughly 2 parts browns to 1 part greens. This ratio helps maintain the right amount of moisture and ensures a faster composting process.
Step 4: Build the Pile
- Layering: Alternate layers of greens and browns. Each layer should be a few inches thick.
- Moisture: As you build the pile, ensure it’s moist like a wrung-out sponge. If it’s too dry, add water; if too wet, add more browns.
- Size: A pile should be at least 3 feet high and wide. This size helps retain heat and moisture, speeding up the composting process.
Step 5: Maintenance
- Aeration: Turn the pile every few weeks to help oxygenate it, which is crucial for the composting process.
- Moisture: Check the moisture level regularly. The pile should remain moist but not waterlogged.
- Monitoring: Observe your pile for signs of too much moisture (bad odors) or too much dryness (slow decomposition).
Step 6: Harvesting Your Compost
- Timeframe: Compost is generally ready in 3 to 6 months, depending on factors like material size, pile temperature, and turning frequency.
- Appearance: Finished compost is dark, crumbly, and has an earthy smell.
- Use: Use your compost to enrich garden soil, as a part of potting mix, or as mulch.
Making a compost pile is a rewarding process that contributes positively to your garden and the environment. It’s a simple cycle: your garden waste nourishes the compost, and the compost, in turn, nourishes your garden. Embrace this sustainable practice and enjoy the benefits of rich, homemade compost in your garden. Happy composting!


