Grow Fresh Mint with Recycled Plastic Bottles: A Hanging Garden DIY

Mint is a versatile herb that can be used in a variety of dishes and drinks, and having it readily available in your home is a real convenience. You can grow mint indoors, but what if you want to combine functionality with aesthetics? In this article, we’ll show you how to create a hanging garden system using recycled plastic bottles to grow fresh mint. Not only will this project add a touch of greenery to your living space, but it will also provide you with a continuous supply of fragrant, homegrown mint.
Materials You’ll Need:
- Two plastic bottles (preferably of the same size)
- A sharp knife or scissors
- A piece of string or twine
- Mint cuttings or small mint plants
- Potting mix
- An infusion system (plastic or drip irrigation)
- A wider straw with holes
- Water
Step-by-Step Instructions:
1. Prepare the Bottles:
- Take one of the plastic bottles and cut it in half horizontally. The top part will be used as a water reservoir, and the bottom part will be used for the potting mix and mint.
2. Create the Watering System:
- Attach an infusion system to the cap of the top bottle. This will serve as the watering system for your mint plants. The infusion system can be as simple as a plastic or drip irrigation system. Make sure it is securely attached.
3. Set up the Water Reservoir:
- Hang the top bottle (water reservoir) upside down. It should be placed higher than the second bottle to allow for a gravity-driven watering system. You can use a piece of string or twine to hang it securely.
4. Prepare the Mint Bottle:
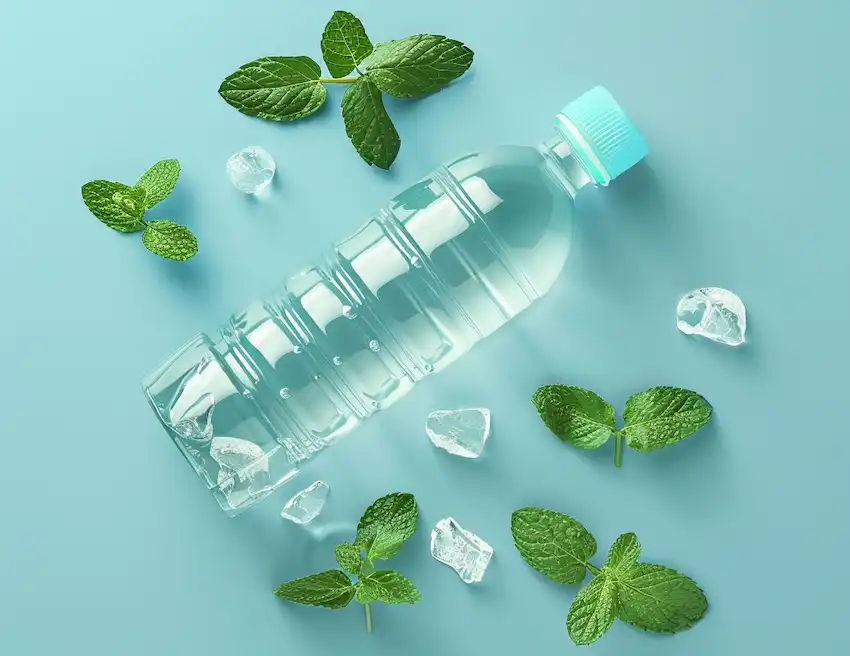
- Take the second bottle (the one with the bottom intact) and make small holes all around the sides. These holes will be used to insert the mint cuttings or small mint plants.
5. Create the Infusion System for the Mint Bottle:
- Insert a wider straw with holes all along its length into the middle of the second bottle. This straw will serve as the conduit for the watering system. Make sure the straw is long enough to reach the bottom of the bottle and has an opening at the top to connect to the infusion system from the water reservoir.
6. Add Potting Mix:
- Fill the second bottle (the one with the holes and straw) with potting mix. Ensure that the straw stays centered and doesn’t obstruct the holes.
7. Plant the Mint:
- Insert your mint cuttings or small mint plants into the holes around the second bottle. Make sure they are well-secured in the potting mix.
8. Connect the Watering System:
- Connect the infusion system from the water reservoir (top bottle) to the straw in the second bottle. This will allow a controlled flow of water from the top bottle to the mint plants.
9. Maintain and Enjoy:
- Hang your newly created mint garden in a suitable location where it can receive adequate light. Watering will be taken care of by the gravity-driven system you’ve set up. Regularly check the water level in the top bottle and refill it as needed to keep your mint plants hydrated.
By upcycling plastic bottles and creating a hanging garden, you can enjoy the benefits of fresh mint while adding a touch of greenery to your living space. This DIY project is not only eco-friendly but also a fun and practical way to grow an ornamental herb. Now you can enjoy the aroma and taste of mint in your culinary creations while reducing plastic waste and adding a unique piece of decor to your home. Happy gardening!
