Cultivating Peppers in Large Plastic Bottles: A Practical Guide
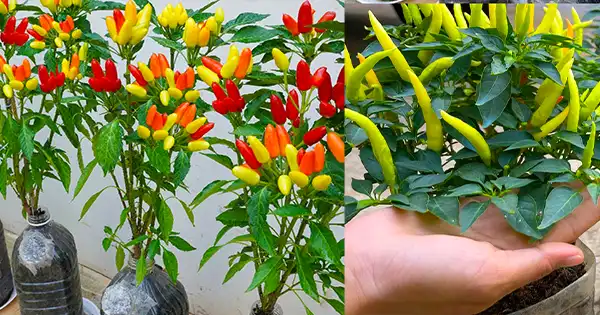
Cultivating peppers in large plastic bottles is an innovative and space-efficient way to enjoy homegrown produce, especially in urban environments or limited gardening spaces. This method not only reduces the need for traditional garden beds but also repurposes plastic bottles, contributing to sustainability efforts. In this guide, we’ll walk you through the steps of successfully cultivating peppers in large plastic bottles, from preparation and planting to care and harvesting.
Materials Needed:
- Large plastic bottles (2-liter or bigger)
- Potting soil
- Pepper seeds or seedlings
- Scissors or utility knife
- Watering can or spray bottle
- Fertilizer (liquid or slow-release granular)
- Mulch (optional)
- Sunny location
Step-by-Step Guide:
- Selecting the Plastic Bottles: Choose clean and sturdy plastic bottles with caps. Larger bottles allow for better root development and moisture retention. Wash and sterilize the bottles thoroughly to remove any residue.
- Preparing the Bottles: Using scissors or a utility knife, cut the top third of the bottle off, creating a wide opening. This will serve as the planter’s opening. You can also make holes in the bottom for drainage, allowing excess water to escape.
- Creating the Growing Medium: Fill the bottle with well-draining potting soil, leaving about 2-3 inches of space from the top. Potting soil ensures proper aeration, drainage, and nutrient availability.
- Planting Pepper Seeds or Seedlings: Plant pepper seeds or seedlings in the prepared bottles. If using seeds, plant them according to the seed packet instructions. If using seedlings, carefully transplant them into the soil, ensuring they are at the same depth they were in their original containers.
- Placement and Sunlight: Place the bottles in a sunny location. Peppers require at least 6-8 hours of direct sunlight daily. A balcony, patio, or windowsill with ample sunlight is ideal.
- Watering: Water the peppers regularly to keep the soil consistently moist but not waterlogged. Plastic bottles can retain moisture well, so monitor the moisture level and adjust your watering frequency accordingly. A spray bottle can be used to mist the soil surface to prevent disturbing the seeds or seedlings.
- Fertilizing: Feed the peppers with a balanced liquid fertilizer or slow-release granular fertilizer according to the product’s instructions. Fertilize every 2-3 weeks to provide essential nutrients for healthy growth.
- Support and Training: As the pepper plants grow, they may need support to prevent them from bending or breaking. You can insert small stakes into the soil or gently tie the plants to vertical supports.
- Mulching (Optional): Applying a layer of organic mulch around the base of the plants can help retain moisture, suppress weeds, and regulate soil temperature.
- Pruning: Pinch off any lateral shoots that develop in the leaf axils to encourage upward growth and focus energy on fruit production.
- Pest and Disease Management: Keep an eye out for common pests such as aphids or whiteflies. Use organic insecticidal soap if necessary. Also, ensure good air circulation around the plants to prevent fungal diseases.
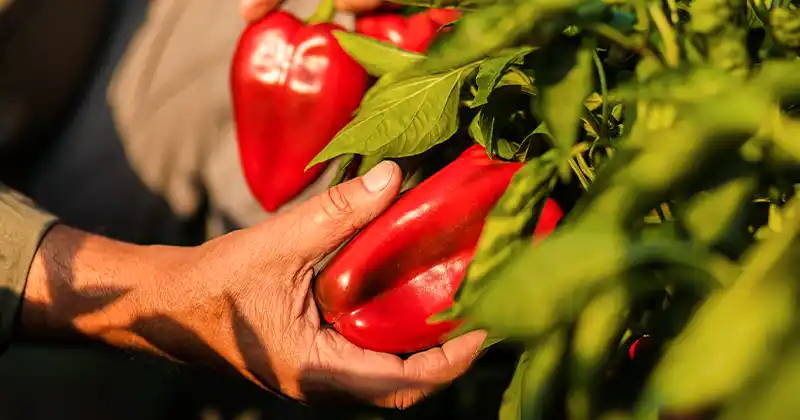
- Harvesting: Peppers can be harvested once they reach the desired size and color. Use pruning shears to cut the peppers carefully from the plant.
Conclusion: Cultivating peppers in large plastic bottles offers an accessible and creative way to grow your own produce, even in limited spaces. By following these steps and providing proper care, you can enjoy a bountiful harvest of homegrown peppers while contributing to sustainability efforts through plastic bottle repurposing. Happy gardening!
Inspired by this? Share the article with your friends!