Never Worry About Reviving a Rootless Orchid Again!
Say goodbye to worries about rootless orchids! We have a fail-proof method to bring these plants back to life. With just a few simple steps, you can enjoy a thriving orchid all year round with minimal effort. Let’s dive into the secrets to successfully reviving your rootless orchid.
The Perfect Environment for Orchids:
Orchids are indoor plants that even those without a green thumb can manage. They don’t require excessive care, making them a perfect choice for anyone. By following some basic rules, you can ensure your orchid blooms year-round effortlessly. The right position is crucial – bright but not direct sunlight, and away from frequently opened windows to avoid drafts. Moderate watering is essential, as the soil should be kept slightly moist. Additionally, using natural fertilizers can significantly aid in their growth.

Reviving a Rootless Orchid:
Step by Step If you’re here to revive a rootless orchid, you’ve come to the right place! We’ll share a method used by professional gardeners, so you no longer have to worry. Below, you’ll find all the details you need to successfully rejuvenate your plant.
- Assess and Trim: Inspect your orchid’s roots and remove any completely black or decaying ones. The roots you keep should have a greenish to grayish color.
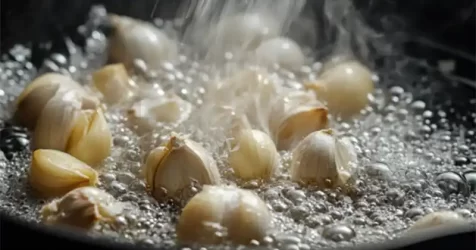
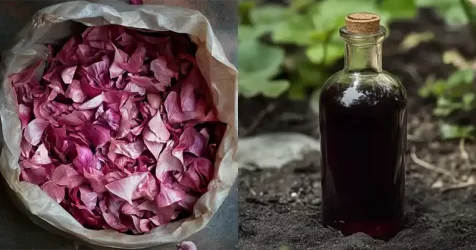
- Apply Garlic: Garlic comes to the rescue! Crush a garlic clove using a garlic press or mortar. Mix the extracted juice with half a liter of water and strain to remove any residues. Dab a cotton pad into the garlic-infused water and gently apply it to all the plant’s leaves.
- Soak in Garlic Water: Place the plant’s stem into a glass and pour the garlic water until it covers the base. Let it soak for about 30 minutes.
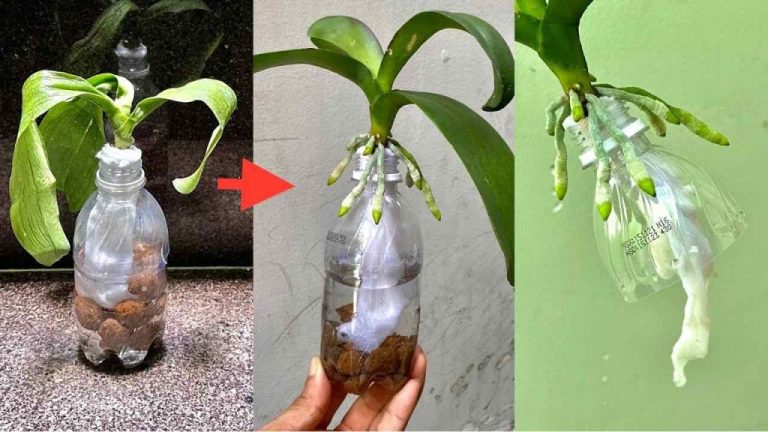
- Use Terracotta Seeds: Add terracotta seeds into the remaining water. Place a soft, highly absorbent cloth (such as gauze) on top of the seeds.
- Assemble a Special Vase: Cut a bottle to obtain the neck and bottom portions. Around 5 cm of the neck and 10 cm of the bottom will suffice. Wrap the orchid stem with the gauze, inserting it into the narrow end of the bottle. Place the terracotta seeds and clean water into the bottle’s bottom.
- Maintain the Moisture: Seal the other end of the bottle to keep the cloth damp at all times. This will ensure the plant’s base remains moist. Keep the vase in a cool spot for approximately two weeks and mist the leaves every two days. Replace the water if it becomes dirty or low.
- Observe the Growth: In about two months, you’ll begin to see results, and once the roots reach 6-7 cm, you can transplant the orchid.

With this straightforward process, your orchid will soon flourish, showcasing its stunning blooms once again.


