Propagating Rose Cuttings Using the Potato Method Made Easy
If you’re eager to embark on a gardening journey without breaking the bank on specialized equipment or seed-starting resources, we’ve got the perfect solution for you! Propagating a stunning rose garden can be a fun and alternative experience, using none other than potatoes. With just a few simple materials and a sprinkle of patience, you’ll transform your gardening dreams into a reality.

Are you ready to infuse your life with vibrant greenery and witness the magic of nurturing your very own blossoming garden? Let’s delve into the fascinating world of growing roses in potatoes and unlock the secrets to success!
Essential Materials:

To successfully grow rose cuttings in potatoes, gather the following supplies:
- Rose cuttings, approximately 6 to 8 inches long
- Jars
- Labels
- Clean pruning shears
- Rooting hormone
- Red or white potatoes (large enough to accommodate 1/2 inch of a rose stem)
- Drill or screwdriver
- Large 5-gallon pot (optional)
Step-by-Step Guide on Growing Rose Cuttings in Potatoes:
Embrace the simplicity and joy of growing rose cuttings in potatoes, a delightful method that sets the stage for an enchanting collection of rose bushes in your backyard. Follow these steps to breathe life into your vision:
Step 1 – Cutting the Stems:
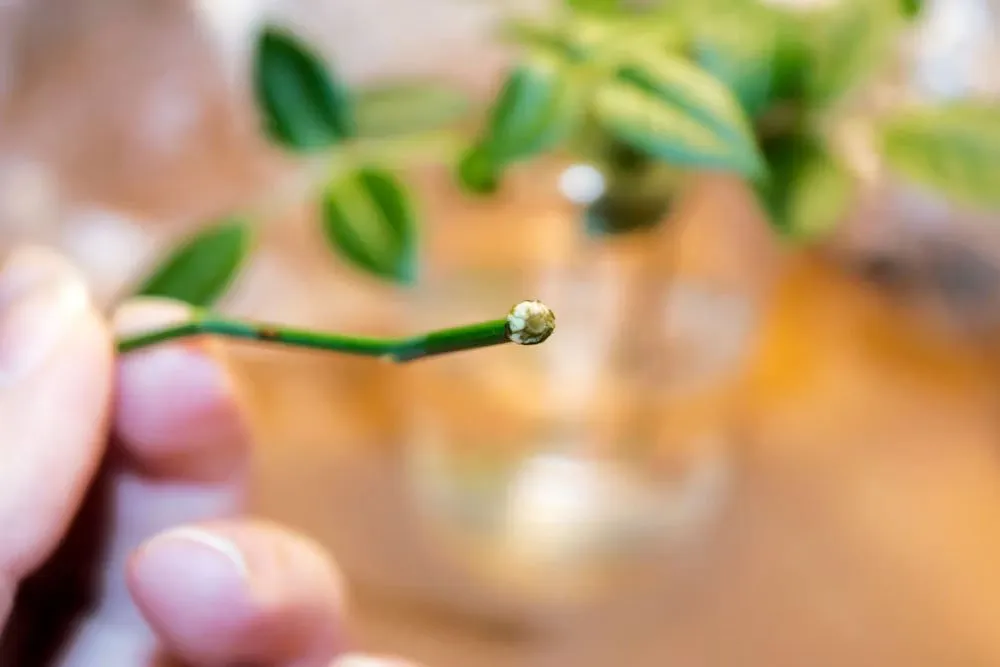
Begin by selecting two or three of the healthiest and longest stems from a rose bush. Obtain cuttings from a local florist or kindly ask a neighbor for some. Trim the stems to approximately 6 to 8 inches in length, removing any leaves from the bottom half. Place these precious cuttings in clean jars filled with water, ensuring they stay hydrated while you prepare the potatoes for their cozy beds. To keep track of different rose types, label each jar accordingly. Once your stem cuttings are ready, let’s move on to the next step.
Step 2 – Precise Cutting and Rooting Hormone:
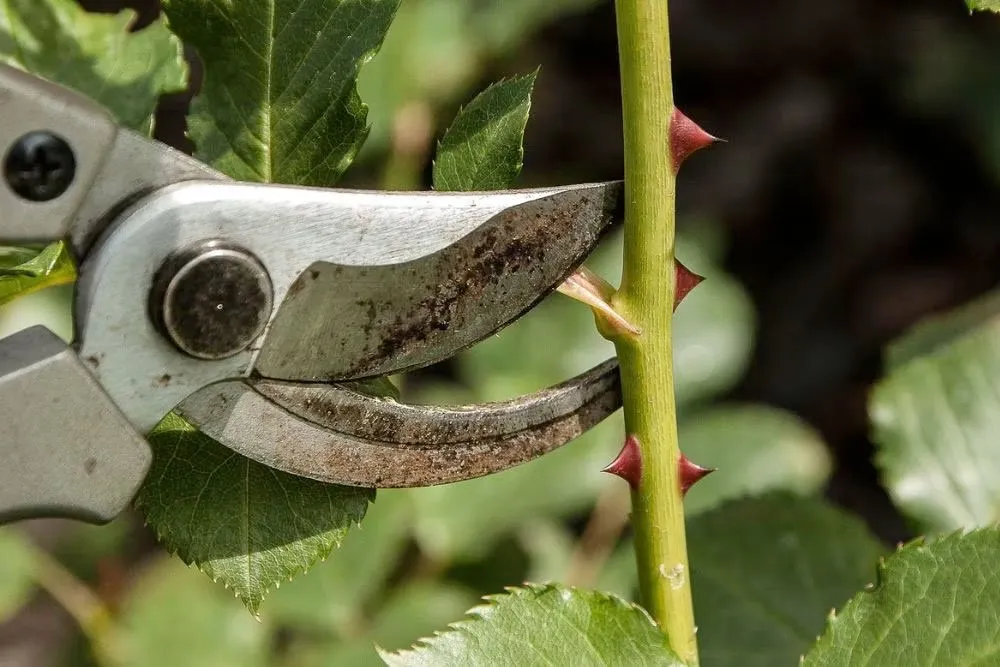
With your rose cuttings all set, it’s time to perform precise cuts. Trim about half an inch from the bottom of each rose cutting. Next, delicately score the sides of the cane (rose stem) near the bottom to remove a small outer layer, promoting better adherence of the rooting hormone. Now, dip the end of the cutting into the rooting hormone compound. This hormone boost ensures successful rooting and establishment in their new potato homes.
With these essential steps completed, it’s time to proceed to the most intriguing part – planting them in their potato beds.
Step 3 – Inserting into Potatoes:
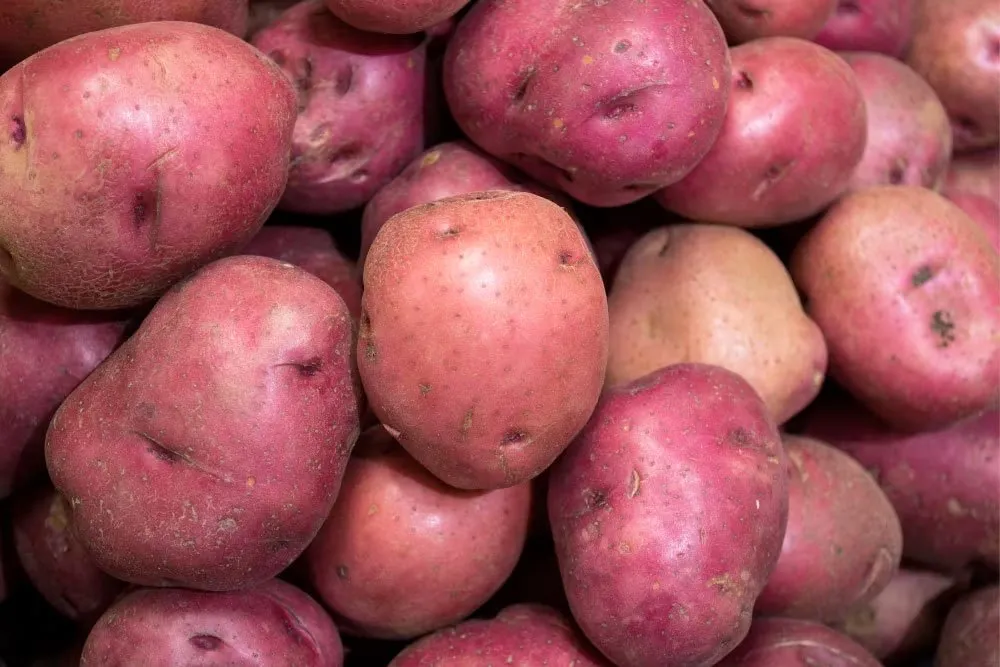
Prepare the potatoes for your rose cuttings by using a screwdriver or drill bit slightly smaller than the diameter of the stems. Pierce the center of each potato with the tool. Now, carefully place the prepared rose cuttings into the holes, ensuring they fit snugly but not completely through the potatoes.
Step 4 – Planting and Caring:
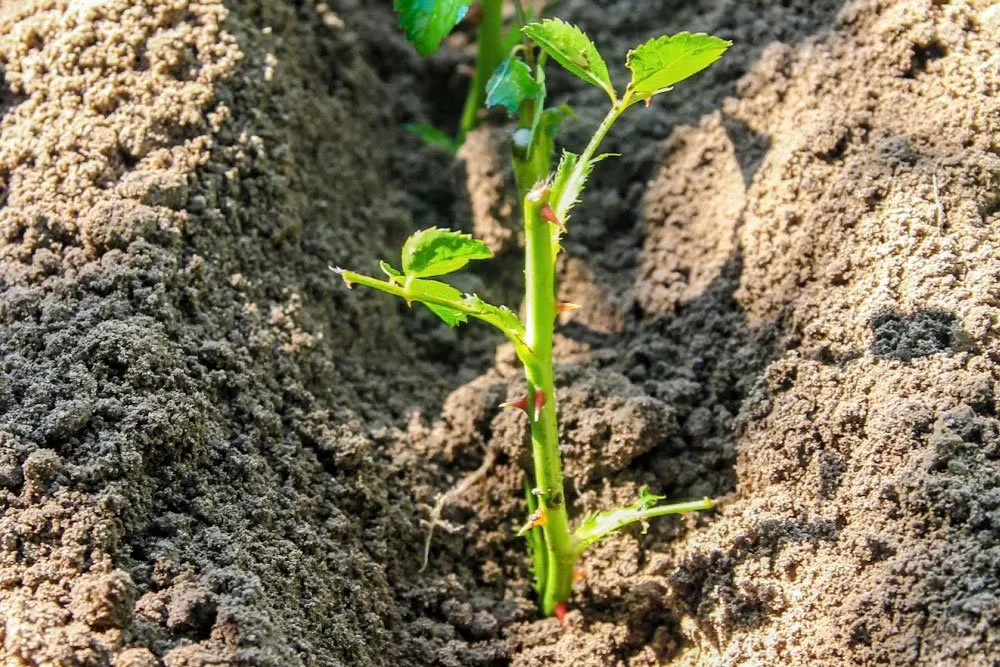
With the rose cuttings safely nestled in the potatoes, it’s time to proceed with planting. Plant the potatoes in the soil, making sure they are at least 3 inches deep. Gently tamp the soil around the potatoes to secure them in place. To safeguard the cuttings from extreme temperatures and maintain the necessary humidity, place jars over the planted cuttings. Keep the covers in place until the roots have taken hold.
Monitor the soil moisture, ensuring it remains adequately hydrated without drying out too quickly. If you have limited garden space, consider planting your cuttings in a 5-gallon pot and covering it with a plastic bag.
Regularly water your rose cuttings and keep a close eye out for signs of growth. Within approximately a month, your roses will establish roots, indicating successful propagation.
The Potato Method – Pros and Cons:

Growing rose cuttings in potatoes is an intriguing and unconventional approach, carrying its own set of advantages and considerations.
Pros:
- Potatoes provide moisture, beneficial for the rose cuttings’ root development, especially in dry or arid conditions.
- Potatoes are readily available and cost-effective, saving you on gardening expenses.
- The nutrient-rich soil surrounding the potatoes provides essential nutrients, nourishing the cuttings’ developing roots.
Cons:
- There is a risk of sprouting or rotting potatoes if planted, making this method somewhat less reliable.
- Excessive moisture in and around the potatoes while submerged in the ground can lead to rotting, potentially attracting animals that pose a threat to the cuttings.
- In moderate climates with proper soil hydration during planting, the potato method may be unnecessary.
Cultivating Beautiful Blooms:
And there you have it! A straightforward approach to growing roses from cuttings using potatoes. Pay attention to the details and closely monitor the progress of your plants. Before you know it, you’ll be rewarded with healthy and magnificent roses blooming in all their glory.
Now that you’ve acquired this unique gardening skill, share it proudly with your family and friends. If you have any questions, feel free to leave them in the comments below. Thank you for reading.
